

You’ve probably seen the ads: “Brand-new garage floor in just one day!” It sounds great, until you see the quote.
Here’s the thing: there’s no magic behind a one-day floor. It’s just the right products and a good game plan. And you can absolutely do it yourself. In this guide, we’ll walk you through how to coat your garage floor in a single day, from bare concrete to a tough, speckled flake floor.
It’s Not Paint. It’s a Floor System
A lot of people think a garage floor coating is just fancy paint. It’s not.
Paint is one thin layer that sits on top of the concrete. Hot tires, oil and dragged toolboxes wear right through it. A flake floor system is built in layers, and each one has a job:
- Moisture Vapor Barrier: seals the concrete and acts as your primer.
- Epoxy Floor Flakes: add color and texture, and give the floor grip.
- Clear Polyaspartic Floor Topcoat: locks everything in and protects the floor from scratches and sun.
Both coatings dry fast, and that’s what makes a one-day floor possible.
What You’ll Need
Tools:
- 1 pair of spiked shoes
- 2 pairs of gloves
- 2 × 9.5" lint-free roller covers (10 mm)
- 1 professional roller frame
- 1 telescopic pole (2'–4')
- 2 × 10" mixing sticks
- 2 × 3" brushes
- 2 × 3-gallon graduated buckets
Materials:
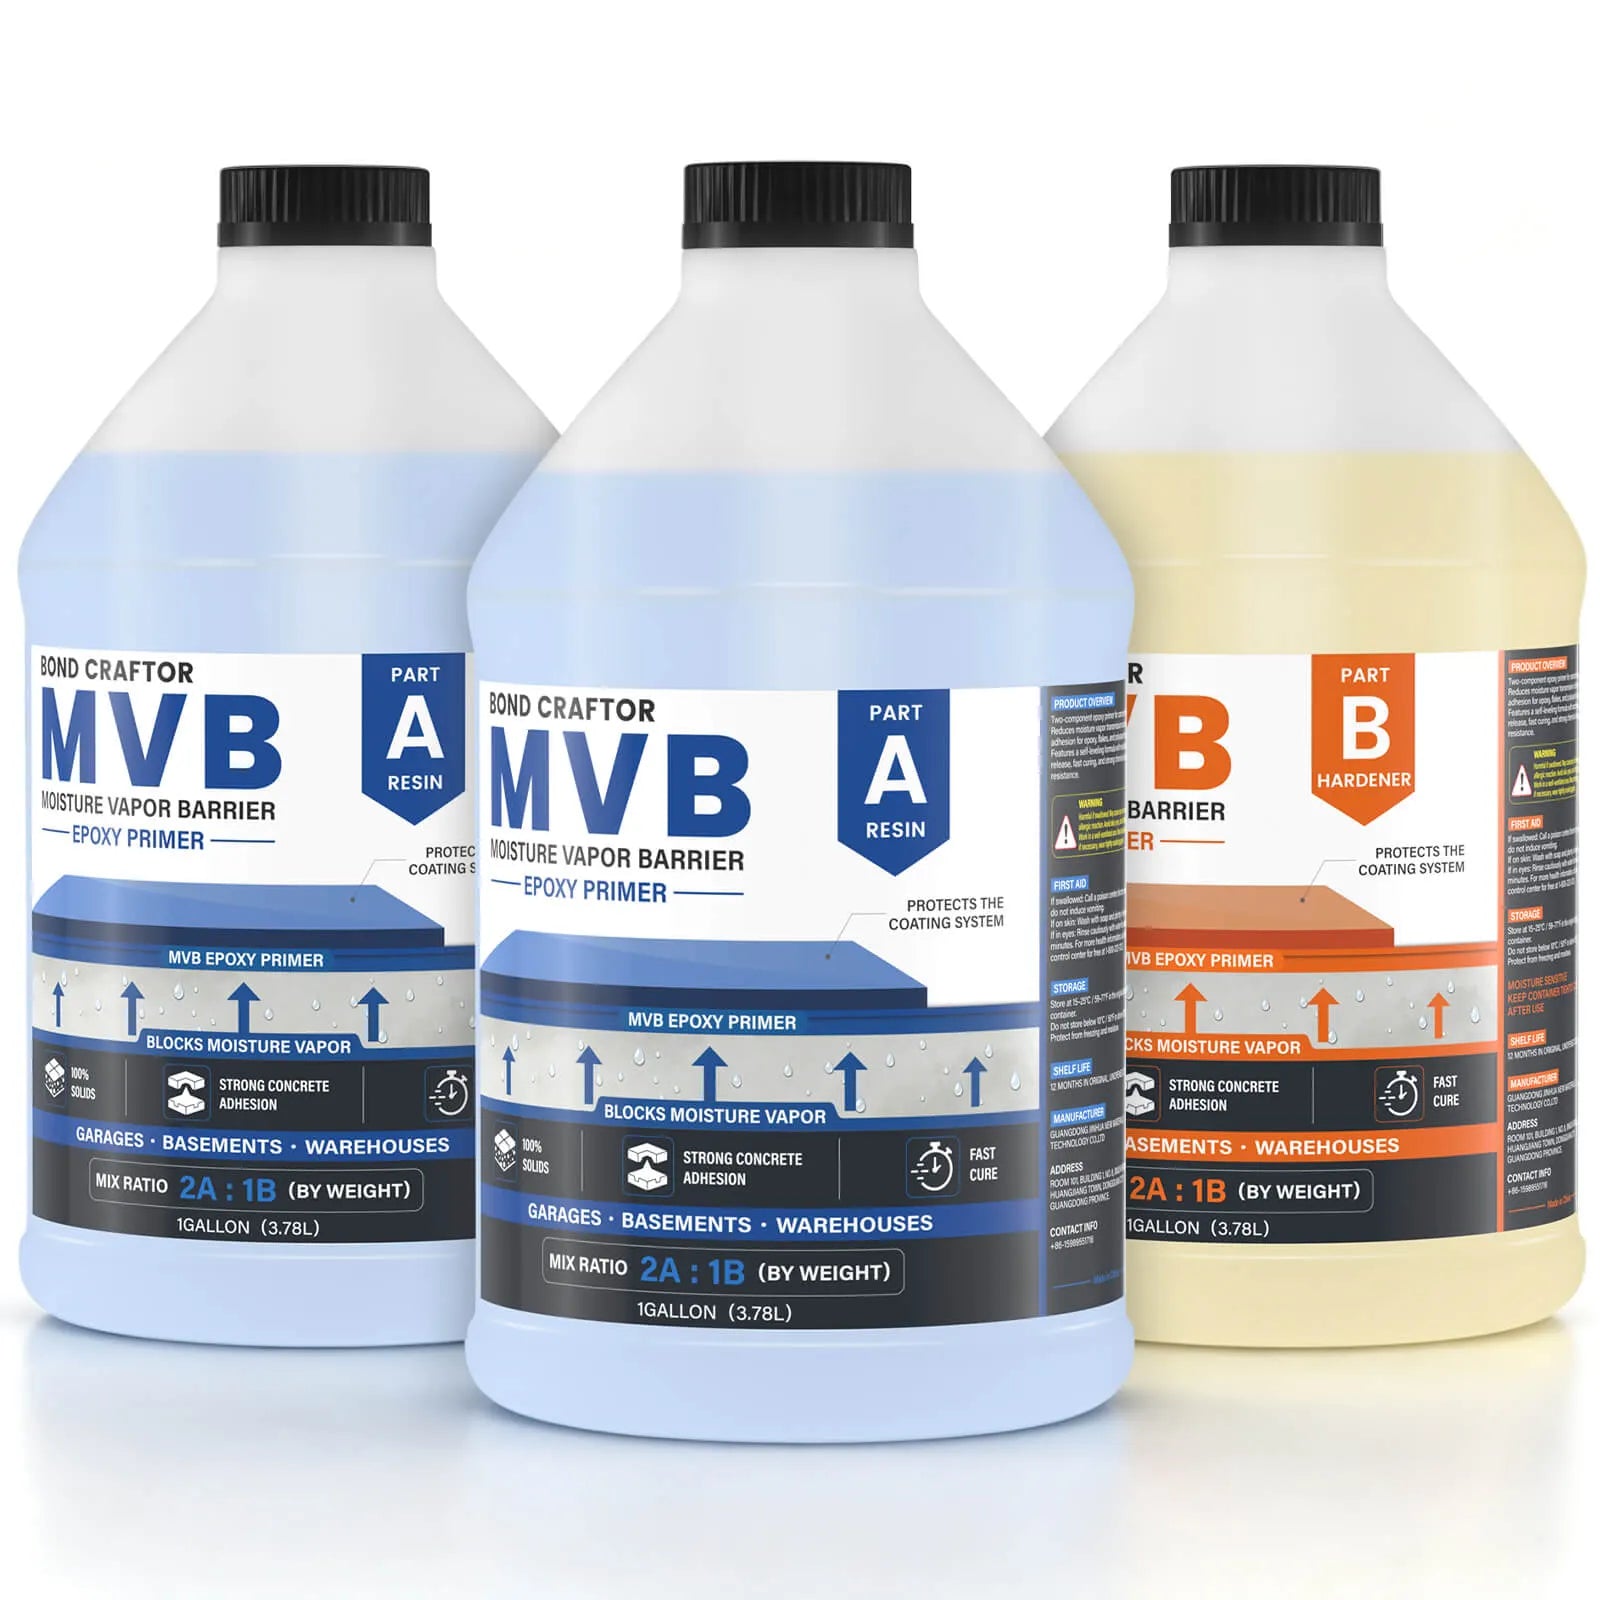
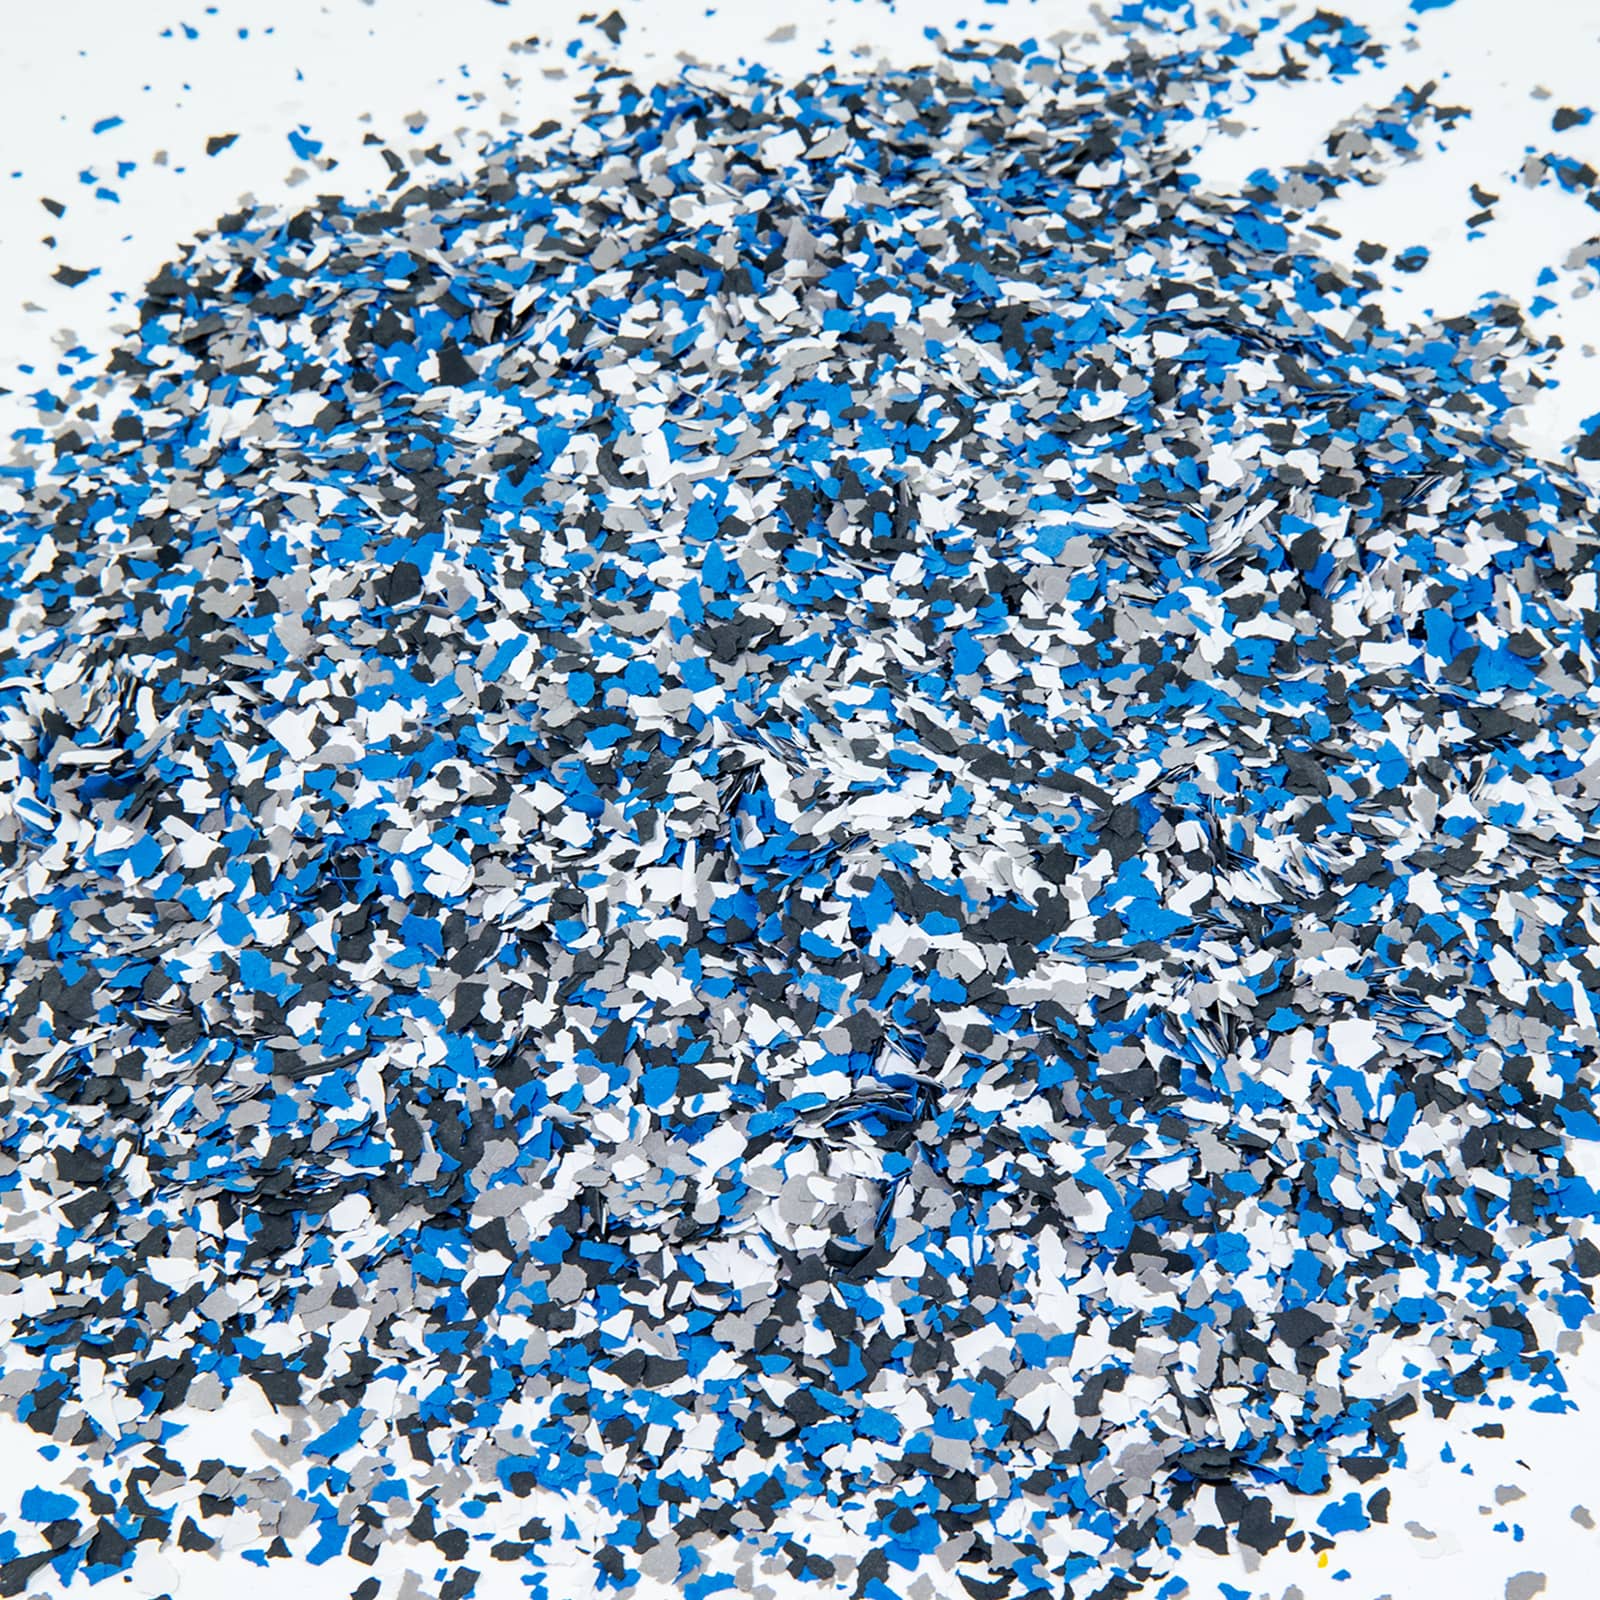
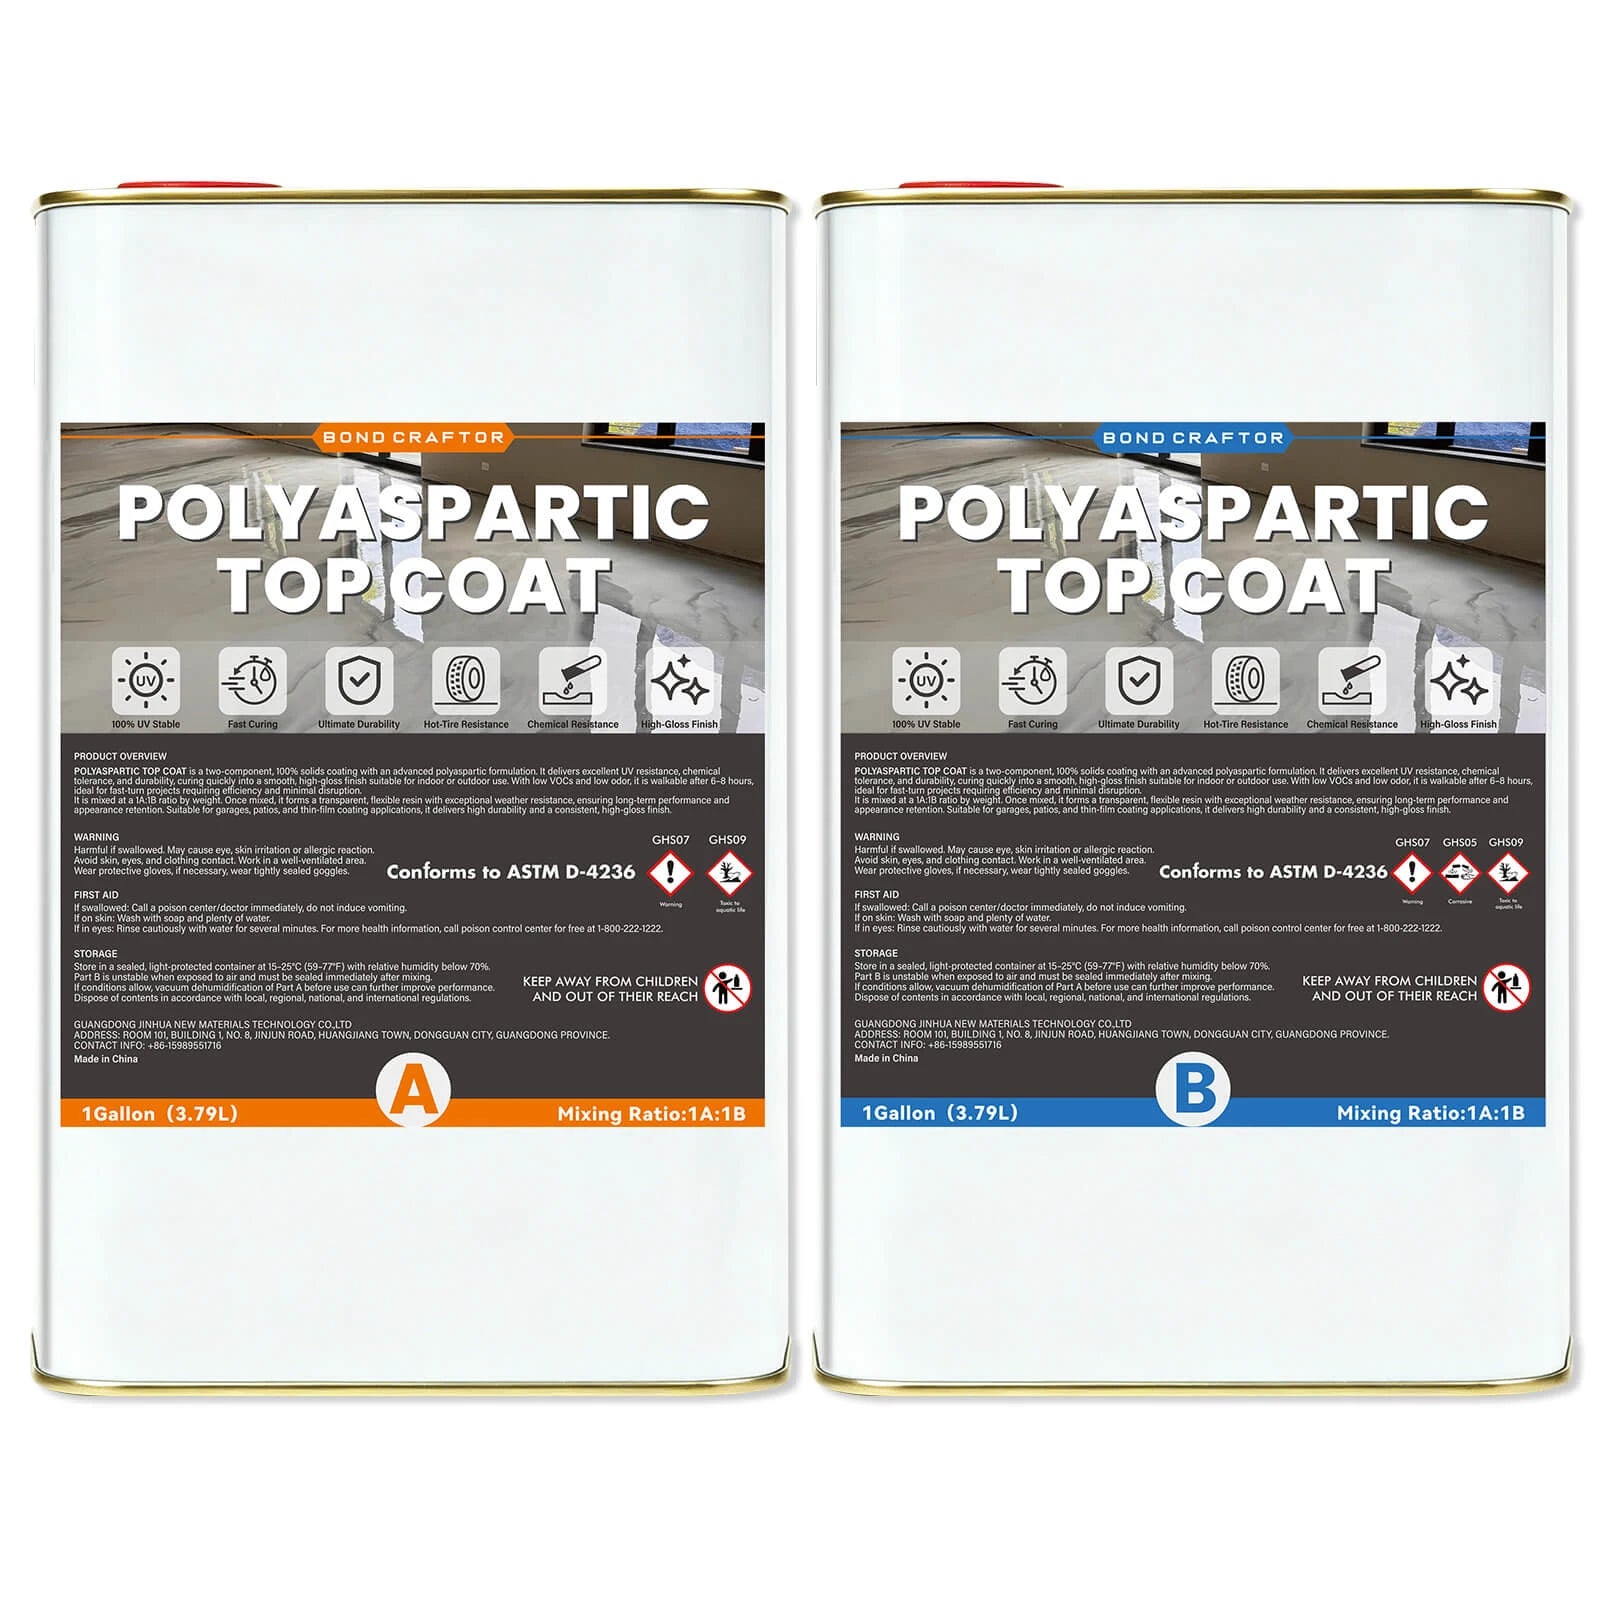
You’ll also want a broom and a shop vac for cleaning up loose flakes.
The Day Before: Prep Your Floor
Do your prep the day before, so you can knock out the whole coating job in one go.
- Clear out the garage. Move everything out, corners included.
- Grind the concrete. This opens up the surface so the coating can grab on. You can rent a floor grinder at most tool rental shops.
- Clean it well. Sweep, vacuum, and get rid of all dust, oil, and grease.
- Fill cracks and holes. The flakes hide a lot, but not deep cracks.
Prep is the most work of the whole project, but it’s what makes your floor last.
Your One-Day Game Plan
10:00 AM – Roll On the Moisture Vapor Barrier
Concrete pulls moisture up from the ground. Over time, that moisture can push your coating right off the floor. That’s why most floor failures start at the concrete, not the surface. The MVB stops it before it starts.
- In a graduated bucket, mix 2 parts A to 1 part B, by weight.
- Mix with a helix drill mixer until fully blended.
- Brush the edges and corners first.
- Roll out the rest of the floor with the roller and telescopic pole.
Right After – Broadcast the Flakes
Don’t wait. Flakes only stick while the MVB is wet.
Grab handfuls of flakes and toss them up and out, so they rain down evenly. Keep going until the floor can’t take any more and you can’t see the coating underneath. This is called a full broadcast. If you need to step onto the wet floor, wear your spiked shoes.

2:00 PM – Sweep Off the Extra Flakes
After about four hours, the MVB is firm enough to lock the flakes in place.
- Sweep up all the loose flakes. You can save the clean ones for touch-ups.
- Vacuum the floor with a shop vac.
- Lightly scrape the surface to knock down any flakes sticking up.
This step makes your topcoat go on smooth, so take your time.
3:00 PM – Roll On the Polyaspartic Topcoat
Think of this as a screen protector for your floor. It seals in the flakes, takes the scratches, and won’t turn yellow in the sun.
- In a graduated bucket, mix 1 part A to 1 part B, by weight.
- Mix with a helix drill mixer until fully blended.
- Brush the edges, then roll out the floor in a thin, even coat.
Evening – Let It Cure Overnight
The topcoat is dry to the touch in about 5–7 hours. But hold off on walking on it tonight. Close the garage door and let it cure overnight.
The Finished Floor
Wake up the next morning to a brand-new garage floor:
- A speckled, high-gloss finish that hides dust and small stains
- Real grip, thanks to the textured flake surface
- Easy cleanup, since oil, spills, and tire marks wipe right off
- A floor that hides flaws, with patched cracks and old stains covered up

Quick Cheat Sheet
| Time | Step | Mix ratio | Dry to touch | Full cure |
|---|---|---|---|---|
| 10:00 AM | Moisture Vapor Barrier + flakes | 2 : 1 by weight | ~4 hr | 48 hr |
| 2:00 PM | Sweep and scrape loose flakes | — | — | — |
| 3:00 PM | Polyaspartic Topcoat | 1 : 1 by weight | 5–7 hr | 24–48 hr |
Times are at room temperature (about 68–77°F). Colder temps mean longer wait times.
How Long Before You Can Walk or Park on It?
| What you want to do | When it’s OK |
|---|---|
| Walk on it | The next morning |
| Move light stuff back in | About 24 hours after the topcoat |
| Park your car | About 48 hours after the topcoat |
Hot tires are tough on a floor that hasn’t fully cured. Giving it the full 48 hours before you park is worth it.
The Bottom Line
You don’t need a pro crew to get a one-day garage floor. Prep the day before, then:
- Roll on the moisture vapor barrier.
- Broadcast the flakes.
- Seal it with a polyaspartic topcoat.
Let it cure overnight, and your new floor is ready the next morning.
Ready to start? Shop the Bond Craftor epoxy floor system →
FAQ
Is a flake floor slippery?
No. The flake texture gives it grip, even when it’s wet.
Can I use it in my basement?
Yes. The moisture vapor barrier makes it a great fit for basements, where moisture coming up through the slab is common.
How many flakes do I need?
One 40 lb bag covers about 500 sq ft with a full broadcast.
How do I clean my flake floor?
Sweep regularly and mop with warm water and a mild, pH-neutral cleaner.