

Ever stood in your garage, stared at that stained gray slab, and thought, “Could I actually pull off an epoxy floor myself?” You’re not alone. It’s one of the most common questions on DIY forums, usually from people who are pretty handy but have never touched floor coating before.
Here’s the short answer: yes, you can. And it’s a lot easier than the internet makes it sound. In this guide, we’ll show you how to apply epoxy colored sand floor paint to a garage floor in three simple steps: seal it, color it, protect it. No pro skills needed.
Why DIY Epoxy Floors Get a Bad Rap
If you’ve done any research, you’ve probably read some horror stories. Most of them come down to three things:
- Thin store-bought kits. As one Reddit user pointed out, many big-box epoxy kits are water-based with only about half the solids of pro-grade epoxy. Thin coatings wear through fast.
- Epoxy sets fast. Once you mix it, the clock is ticking. People panic, rush, and end up with streaks and missed spots.
- Seams and lap marks. Rolling a big floor in sections can leave visible lines where one section meets the next.
And the biggest one of all? Skipping prep. As one forum member put it, “If you just sweep and apply, the epoxy will come up in a couple of years.”
What Makes This Way Easier
The good news: every one of those problems has a fix.
- Thick, high-solids formula. Bond Craftor Epoxy Colored Sand is solvent-free with ≥95% solids, so one coat builds a solid 1.2–1.3 mm layer. No watery kit here.
- It levels itself. Pour it out, give it a push, and it flows into a smooth, seamless surface on its own. That means way fewer lap marks to worry about.
- Three layers, three jobs. Think of it like painting a wall: primer, color, clear coat. Each layer has one job, so you always know what you’re doing and why.
What You’ll Need
Here’s the tool kit for the whole project:
- 1 pair of spiked shoes
- 2 pairs of gloves
- 2 × 9.5" lint-free roller covers (10 mm)
- 1 professional roller frame
- 1 telescopic pole (2'–4')
- 2 × 10" mixing sticks
- 2 × 3" brushes
- 2 × 12" helix drill mixers
Plus your floor coatings:
Before You Start: Prep Is the Real Work
Let’s be honest: this is the least fun part, but it’s what makes your floor last.
- Clear out the garage. Move everything out, including the stuff in the corners.
- Grind or sand the concrete. This opens up the surface so the coating can grab on. Most tool rental shops have floor grinders.
- Clean it like you mean it. Sweep, vacuum, and remove every bit of dust, oil and grease.
- Fill cracks and holes. Patch them now, because the coating will show every dip.
Once your floor is clean, dry and smooth, the hard part is behind you.
Step 1: Seal Out Moisture with a Moisture Vapor Barrier
Think of this as your primer.
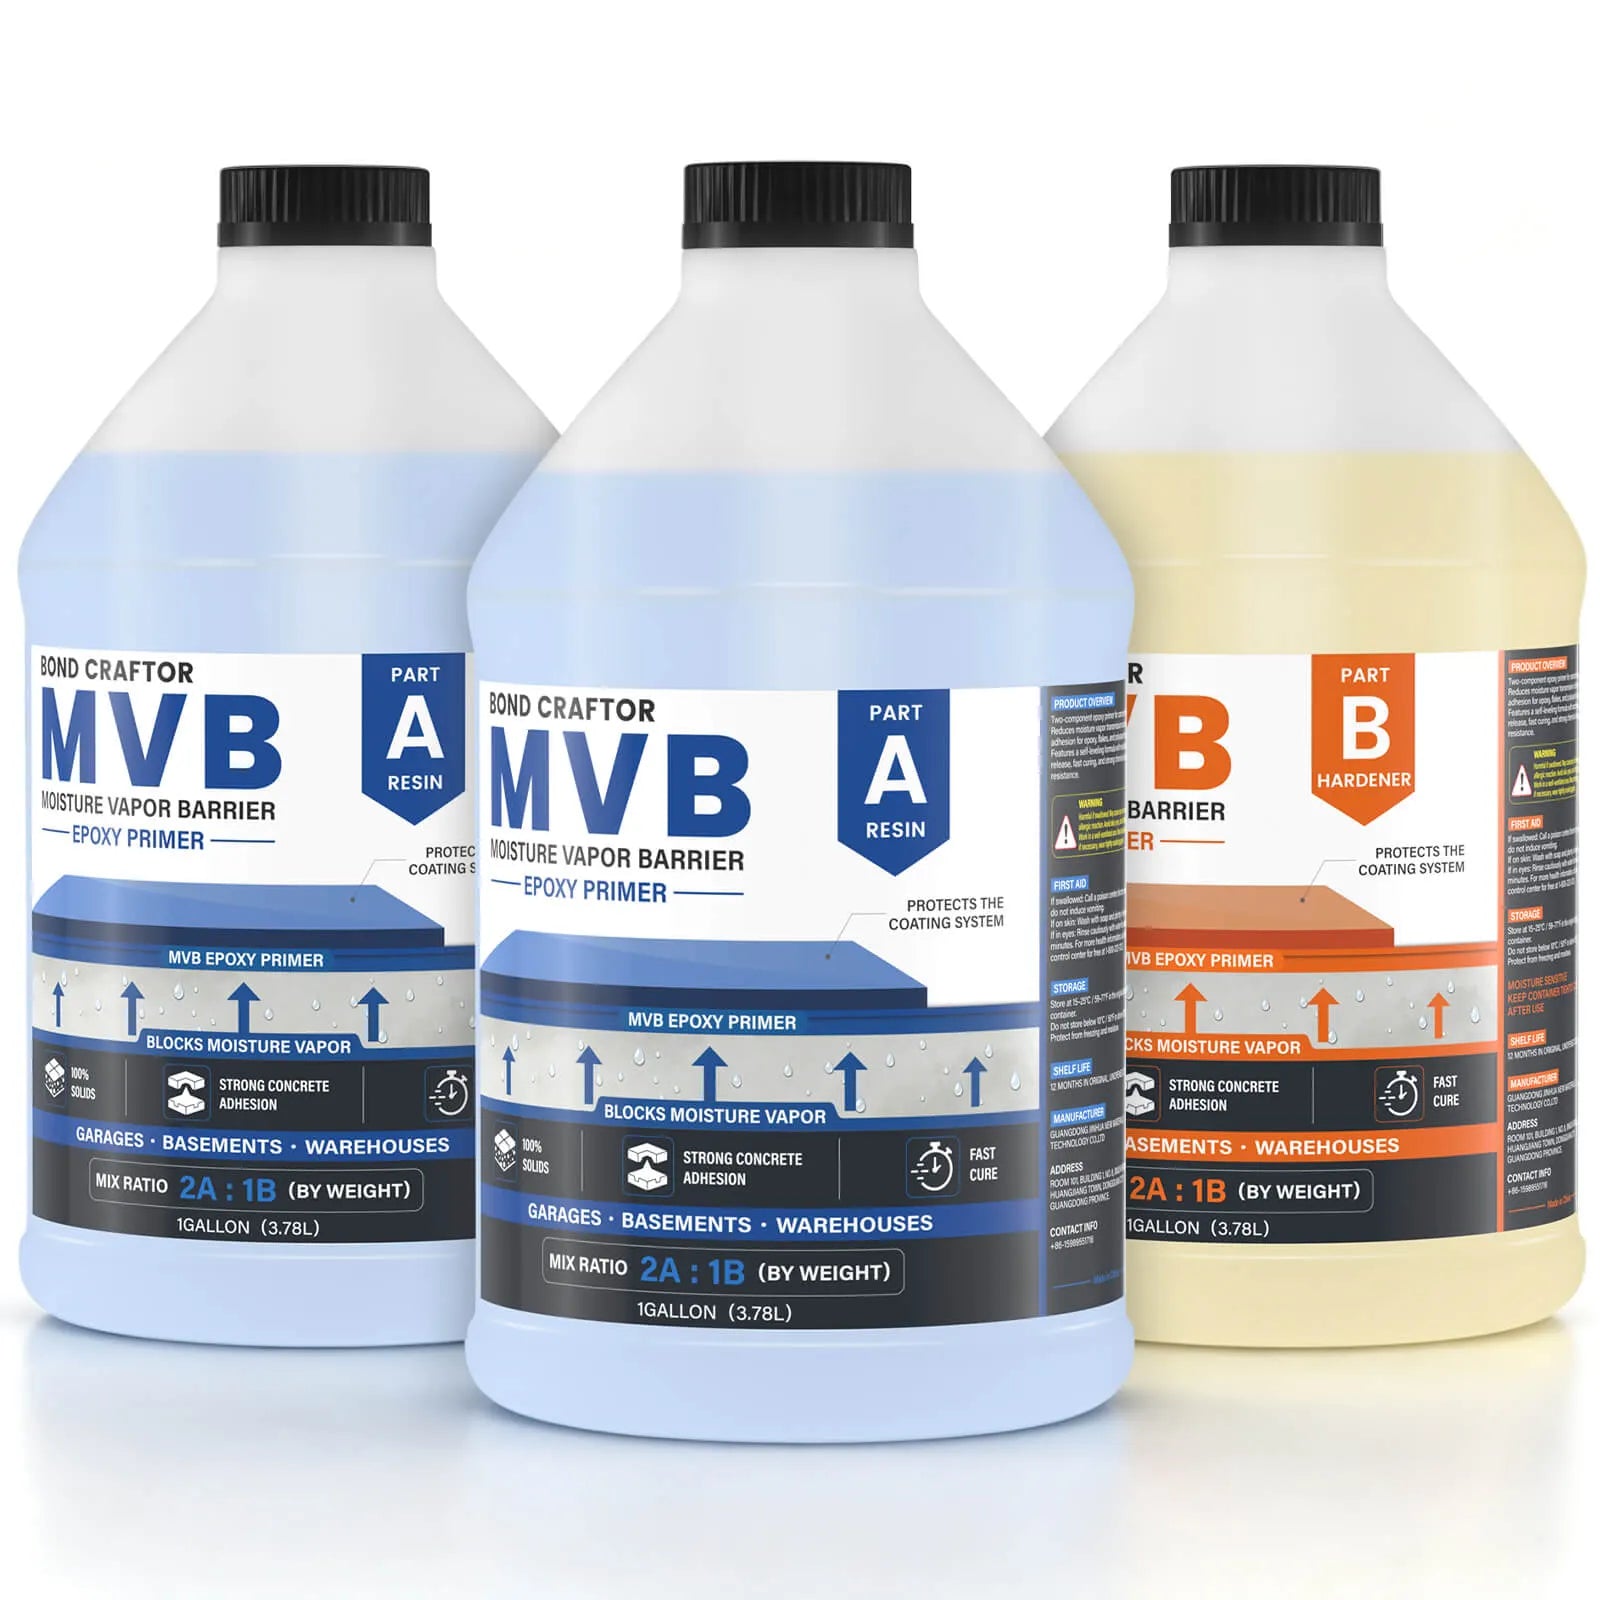
Concrete pulls moisture up from the ground. Over time, that moisture can push your new floor right off the slab. The moisture vapor barrier (MVB) stops it before it starts.
How to do it:
- In a graduated bucket, mix 2 parts A to 1 part B, by volume. The markings on the bucket make this easy.
- Mix with a helix drill mixer until it’s fully blended.
- Cut in the edges and corners with a 3" brush.
- Roll out the rest of the floor with the roller and telescopic pole.
Let it cure for Let it cure for about 4–6 hours at room temperature (until it’s no longer tacky) before moving on to Step 2. It reaches full cure in about 48 hours, but you don’t need to wait that long to start the next layer. before moving on to Step 2.

Step 2: Pour the Color with Epoxy Colored Sand
This is the fun part, where your floor gets its color and texture.
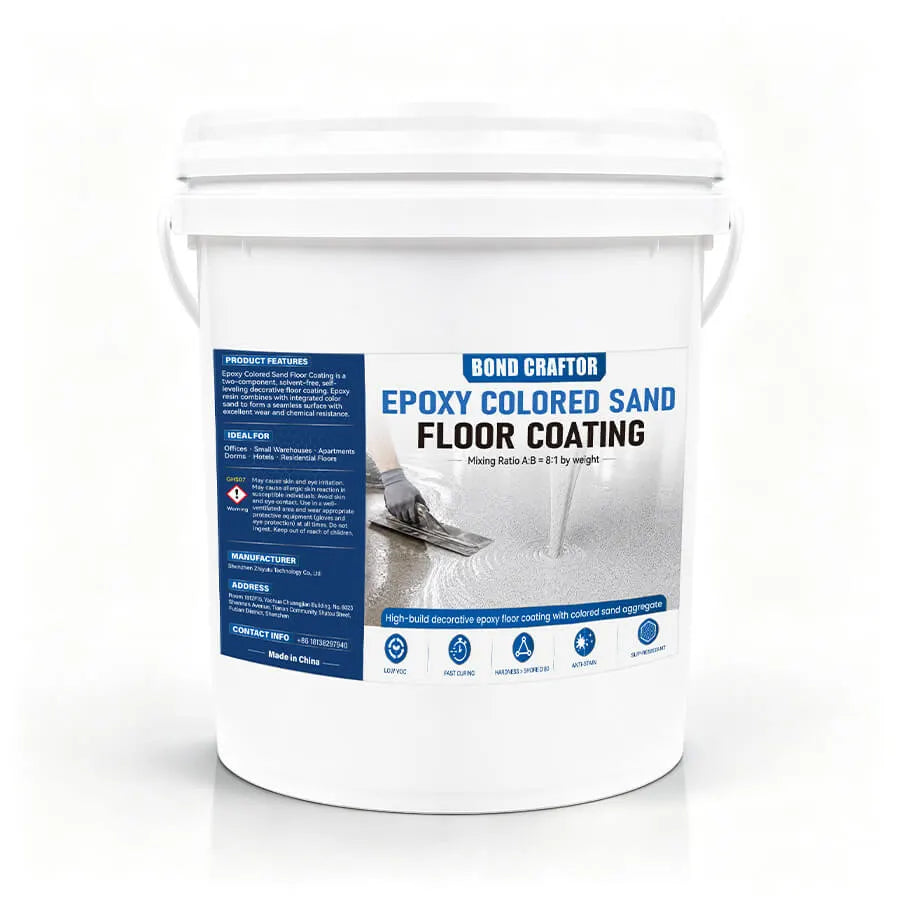
The colored quartz sand is already in Part A, so there’s no extra step. Just mix and pour.
Heads up: this layer is measured by weight, not volume. Steps 1 and 3 use the bucket markings, but this one needs a scale. Don’t eyeball it!
How to do it:
- Mix 8 parts A to 1 part B, by weight.
- Mix with a helix drill mixer for at least 3 minutes, until the sand is evenly blended.
- Pour the mix onto the floor and spread it out to about 1.2–1.3 mm thick. Work in one direction for an even color.
- Let it do its thing. It’ll flow and level itself into a smooth surface.
- Put on your spiked shoes to walk on the wet coating, and roll out any bubbles you see.

Step 3: Lock It In with a Clear Polyaspartic Topcoat
Think of this as a screen protector for your floor.
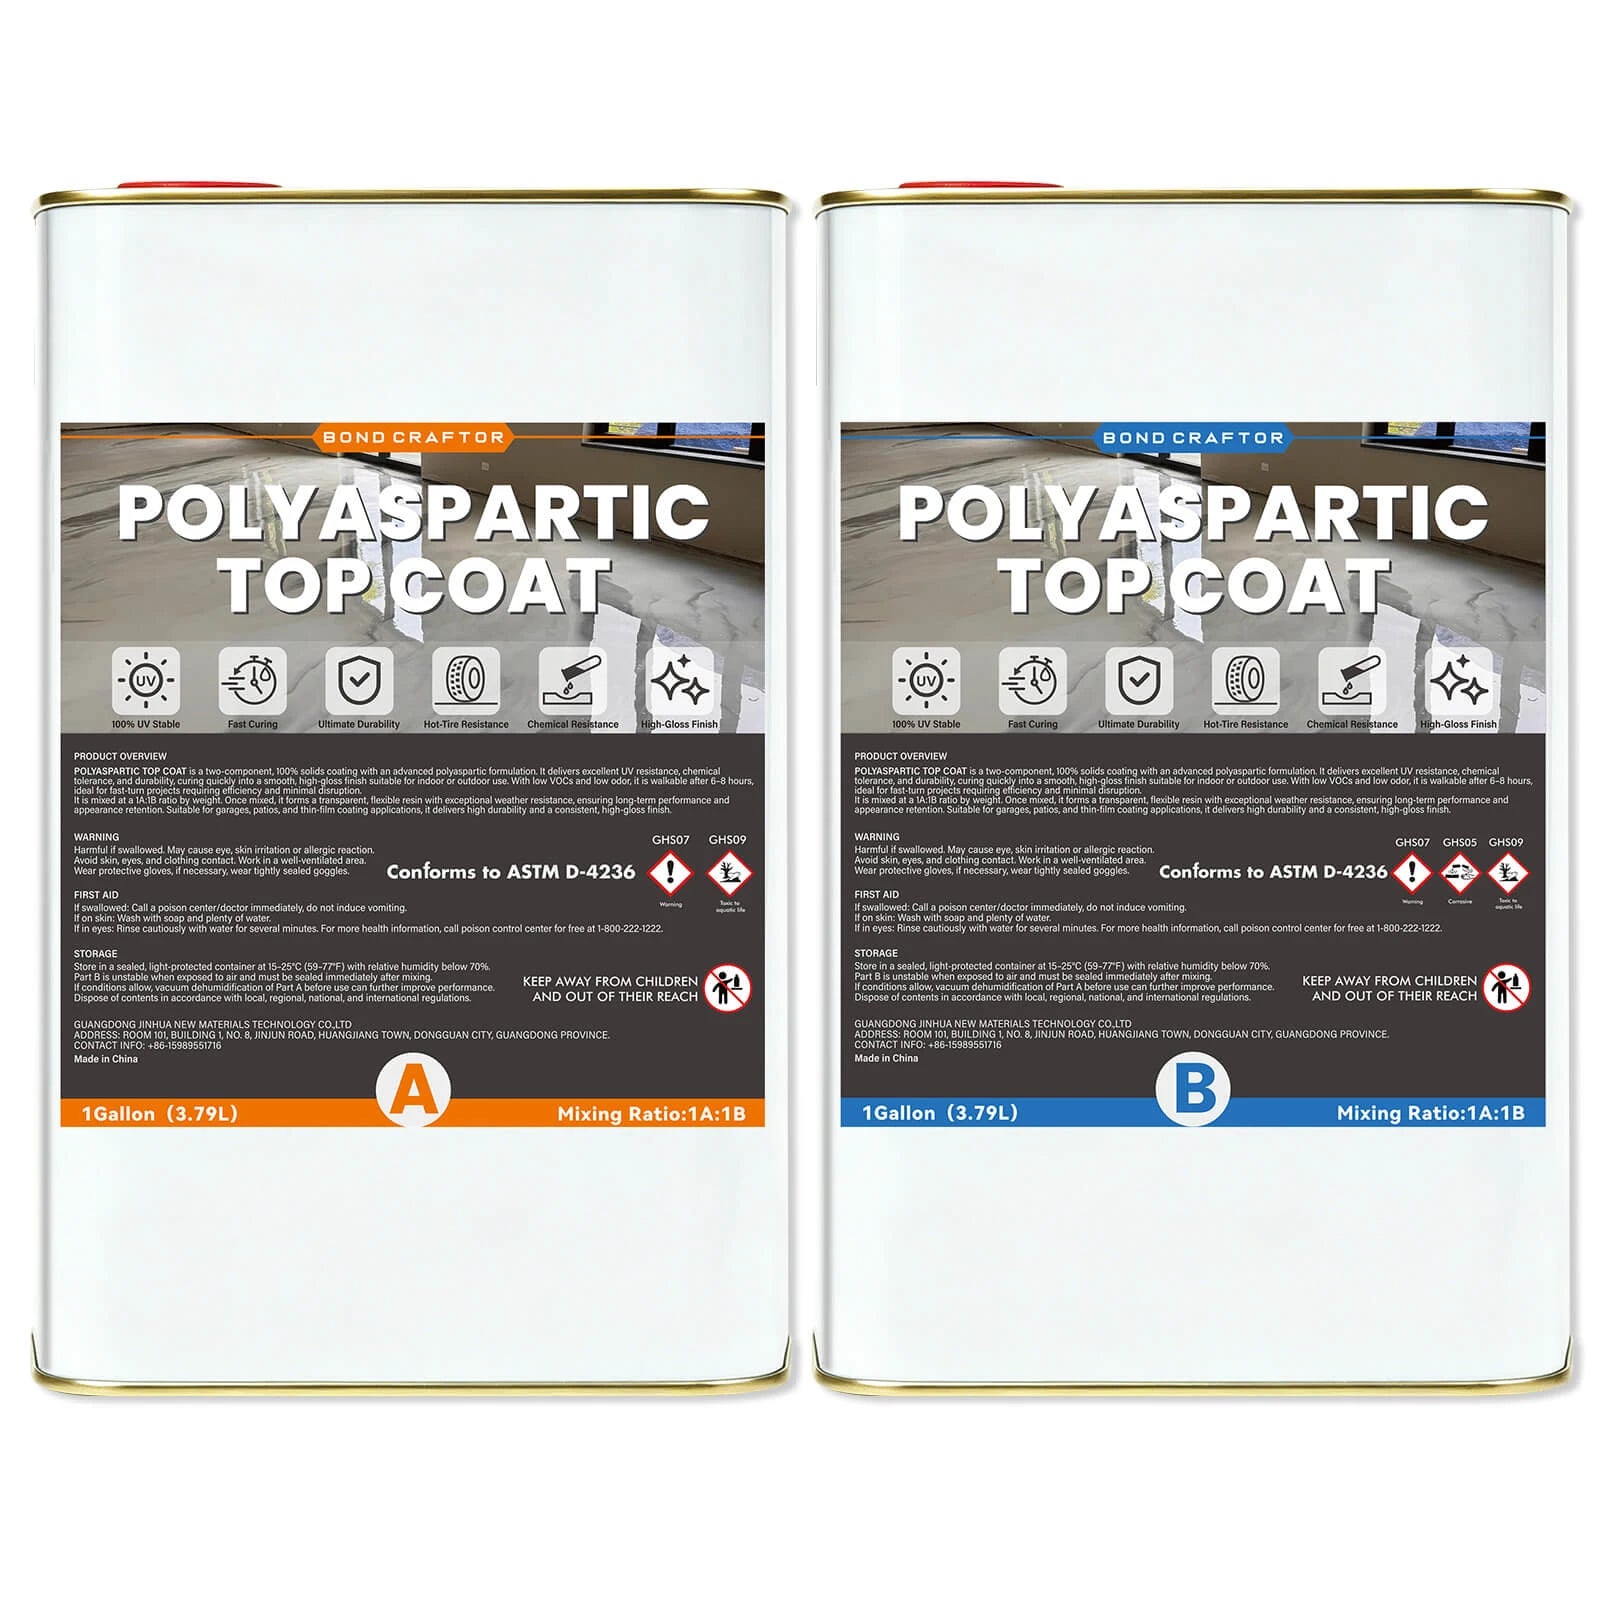
The clear polyaspartic topcoat takes the scratches so your color layer doesn’t. It’s also UV-resistant, which helps keep your floor from yellowing in the sun. If your floor is outdoors or gets a lot of sunlight, don’t skip this step.
How to do it:
- Mix 1 part A to 1 part B, by volume. Heads up, this one’s back to volume, not weight like the last layer.
- Mix with a helix drill mixer until fully blended.
- Brush the edges, then roll out the floor in thin, even coats.

The Finished Floor
And that’s it! Here’s what you end up with:
- A seamless, speckled finish with a high-gloss shine and no grout lines.
- A floor that wipes clean. Oil, spills and tire marks come right off.
- Real grip. The quartz sand texture keeps it from getting slippery.
- Serious toughness. Shore D hardness ≥80, compressive strength ≥70 MPa, and adhesion to concrete ≥1.5 MPa.
The topcoat is dry to the touch in about 5–7 hours and fully cured in 36–48 hours.

Quick Cheat Sheet
Screenshot this one for project day.
| Step | Layer | Mix ratio | Measure by | What it does | Dry to touch | Full cure |
|---|---|---|---|---|---|---|
| 1 | Moisture Vapor Barrier | 2 : 1 | Volume | Blocks moisture from the slab | 4–6 hr → start Step 2 | 48 hr |
| 2 | Epoxy Colored Sand | 8 : 1 | Weight | Adds color, texture and grip | 24 hr → start Step 3 | 3–5 days |
| 3 | Clear Polyaspartic Topcoat | 1 : 1 | Volume | Protects against scratches and UV | 5–7 hr | 36–48 hr |
How Long Before You Can Walk or Park on It?
Good news: you won’t be locked out of your garage for long. Here’s the timeline at room temperature (about 68–77°F):
| What you want to do | When it’s OK |
|---|---|
| Walk on it (socks or clean shoes) | Once the topcoat is dry to the touch, about 5–7 hours after Step 3 |
| Move light stuff back in (bikes, shelves, storage bins) | After the topcoat fully cures, about 36–48 hours after Step 3 |
| Park your car | 3–5 days after Step 2, once the epoxy colored sand layer has fully hardened |
| Heavy loads (car jacks, workbenches, heavy equipment) | Give it the full 3–5 days or longer. When in doubt, wait an extra day |
A few things to keep in mind:
- Cold slows everything down. If your garage is below room temperature, add extra time. At around 50°F, cure times can nearly double.
- Dry to the touch isn’t the same as fully cured. The surface may feel hard, but the layers underneath keep hardening for days. Walking is fine, but don’t drag anything heavy across it yet.
- Hot tires need a fully cured floor. Parking too early is one of the most common reasons DIY floors get tire marks or peel. Waiting a couple of extra days is worth it.