

Table of Contents
Have you ever seen beautiful resin jewelry, glossy coasters, or custom decorations and thought:Could I make that myself?The answer is absolutely yes.
Epoxy resin has grown from a specialty industrial material into one of the most popular DIY crafting materials in the world. Today, makers use it at home to create jewelry, gifts, home décor, art, and even products to sell.
And the best part?You do not need to be an artist or a professional maker to start. You only need the right resin, a little creativity, and some patience.
In this guide, you’ll discover what you can make with DIY craft epoxy resin, beginner-friendly project ideas.
What Is DIY Epoxy Resin Crafting?
DIY epoxy resin crafting means using a two-part epoxy resin system—Part A resin and Part B hardener—to create decorative or functional items.Once mixed together, the liquid resin slowly cures into a solid, glossy, durable finish.
You can pour it into molds, coat surfaces, embed objects, or mix in: Pigments, Glitter, Dried flowers, Shells, Stones, Photos, Stickers and Metallic flakes. After curing, you’re left with a finished piece that often looks polished and professional.That’s why so many people love working with resin.

Why Is Epoxy Resin So Popular for DIY Projects?
- Beginners Can Learn Quickly: You do not need advanced crafting skills. Many starter kits use a simple 1:1 mix ratio, making resin easy to measure and mix.
- Results Look Premium: Even beginner projects often come out glossy, clear, and high-end looking.
- Affordable to Start: One kit can make multiple smaller projects such as jewelry, keychains, coasters, trays, and molds.
- Endless Creative Freedom: You can customize colors, shapes, textures, themes, and embedded objects.
- Great for Gifts or Selling: Many makers create resin items for shops, local markets, or personalized gifts.
What Type of Epoxy Resin Is Best for Crafts?
Not every resin is designed for the same job.Best Overall for DIY Crafts: Craft Epoxy Resin.Craft epoxy is usually the easiest place to begin because it offers:
- Easy 1:1 mixing
- Good working time
- Crystal-clear finish
- Low odor formulas available
- Great for molds and small pours
💡TIP: If you are new to resin, start with a beginner-friendly craft formula.Read why many beginners start here.
What Can You Make with DIY Craft Epoxy Resin?
Now for the fun part.If you are wondering what people actually make with DIY craft epoxy resin, this is where things get exciting. These are some of the most popular beginner-friendly resin projects because they are simple to create, visually appealing, and often easy to gift or sell.
Whether you want a relaxing hobby, a side business, or personalized home décor, these projects are a great place to begin.
1. Resin Coasters
Small resin pads placed under cups or glasses to protect tables and countertops.

💡TIP: Want to make giftable coaster sets with flowers or custom designs? See how to make beautiful dried flower resin coasters here.
2. Resin Jewelry
Rings, earrings, pendants, and charms made with small silicone jewelry molds.

💡TIP: Want to start with easy wearable resin projects? Learn how to make resin earrings step by step.
3. Resin Keychains
Small decorative resin charms attached to key rings.

💡 Beginner Tip: Always attach the key ring only after the resin is fully cured.
4. Jewelry Trays & Catch-All Dishes
Shallow trays used for rings, coins, keys, candles, or small daily items.

💡TIP: If you love flat surface projects like trays, boards, or counters, use a coating formula. See how to get a smooth glossy finish here.
5. Resin Bookmarks
Thin resin pieces used as bookmarks.

💡 Beginner Tip: Use lightweight decorations for a thinner finish.
6. Resin Jewelry Boxes
Small decorative boxes for rings, earrings, keepsakes, or special gifts.

💡 Beginner Tip: Let all parts fully cure before closing.
7. Resin Cake Stands
Multi-level display stands for desserts, jewelry, candles, or party décor.

💡 Beginner Tip: Keep colors balanced across each layer.
8. Resin Photo Frames
Decorative resin frames for photos, art, wedding memories, baby photos, or keepsakes.

💡 Beginner Tip:Avoid covering the photo area with too many decorations the picture remains the main focus.
9. Resin Cutting Boards
Wood boards enhanced with decorative resin designs.

💡 Beginner Tip: If the board may contact food, use a food-safe resin, keep designs around the edges, and clearly note proper use for buyers.
10. Resin Wall Art
Decorative resin art panels hung on walls.

💡 Beginner Tip: Start small before making large panels.
Beginner Epoxy Resin Craft Tips You Should Know
Tip 1: Remove Bubbles Early(No bubbles = better finish)
For cleaner, more professional-looking results, remove bubbles before or right after pouring. A vacuum chamber works well for mixed resin, while a heat gun helps clear surface bubbles.
💡TIP: Surface bubbles are one of the biggest beginner frustrations. See the real causes of resin bubbles here.
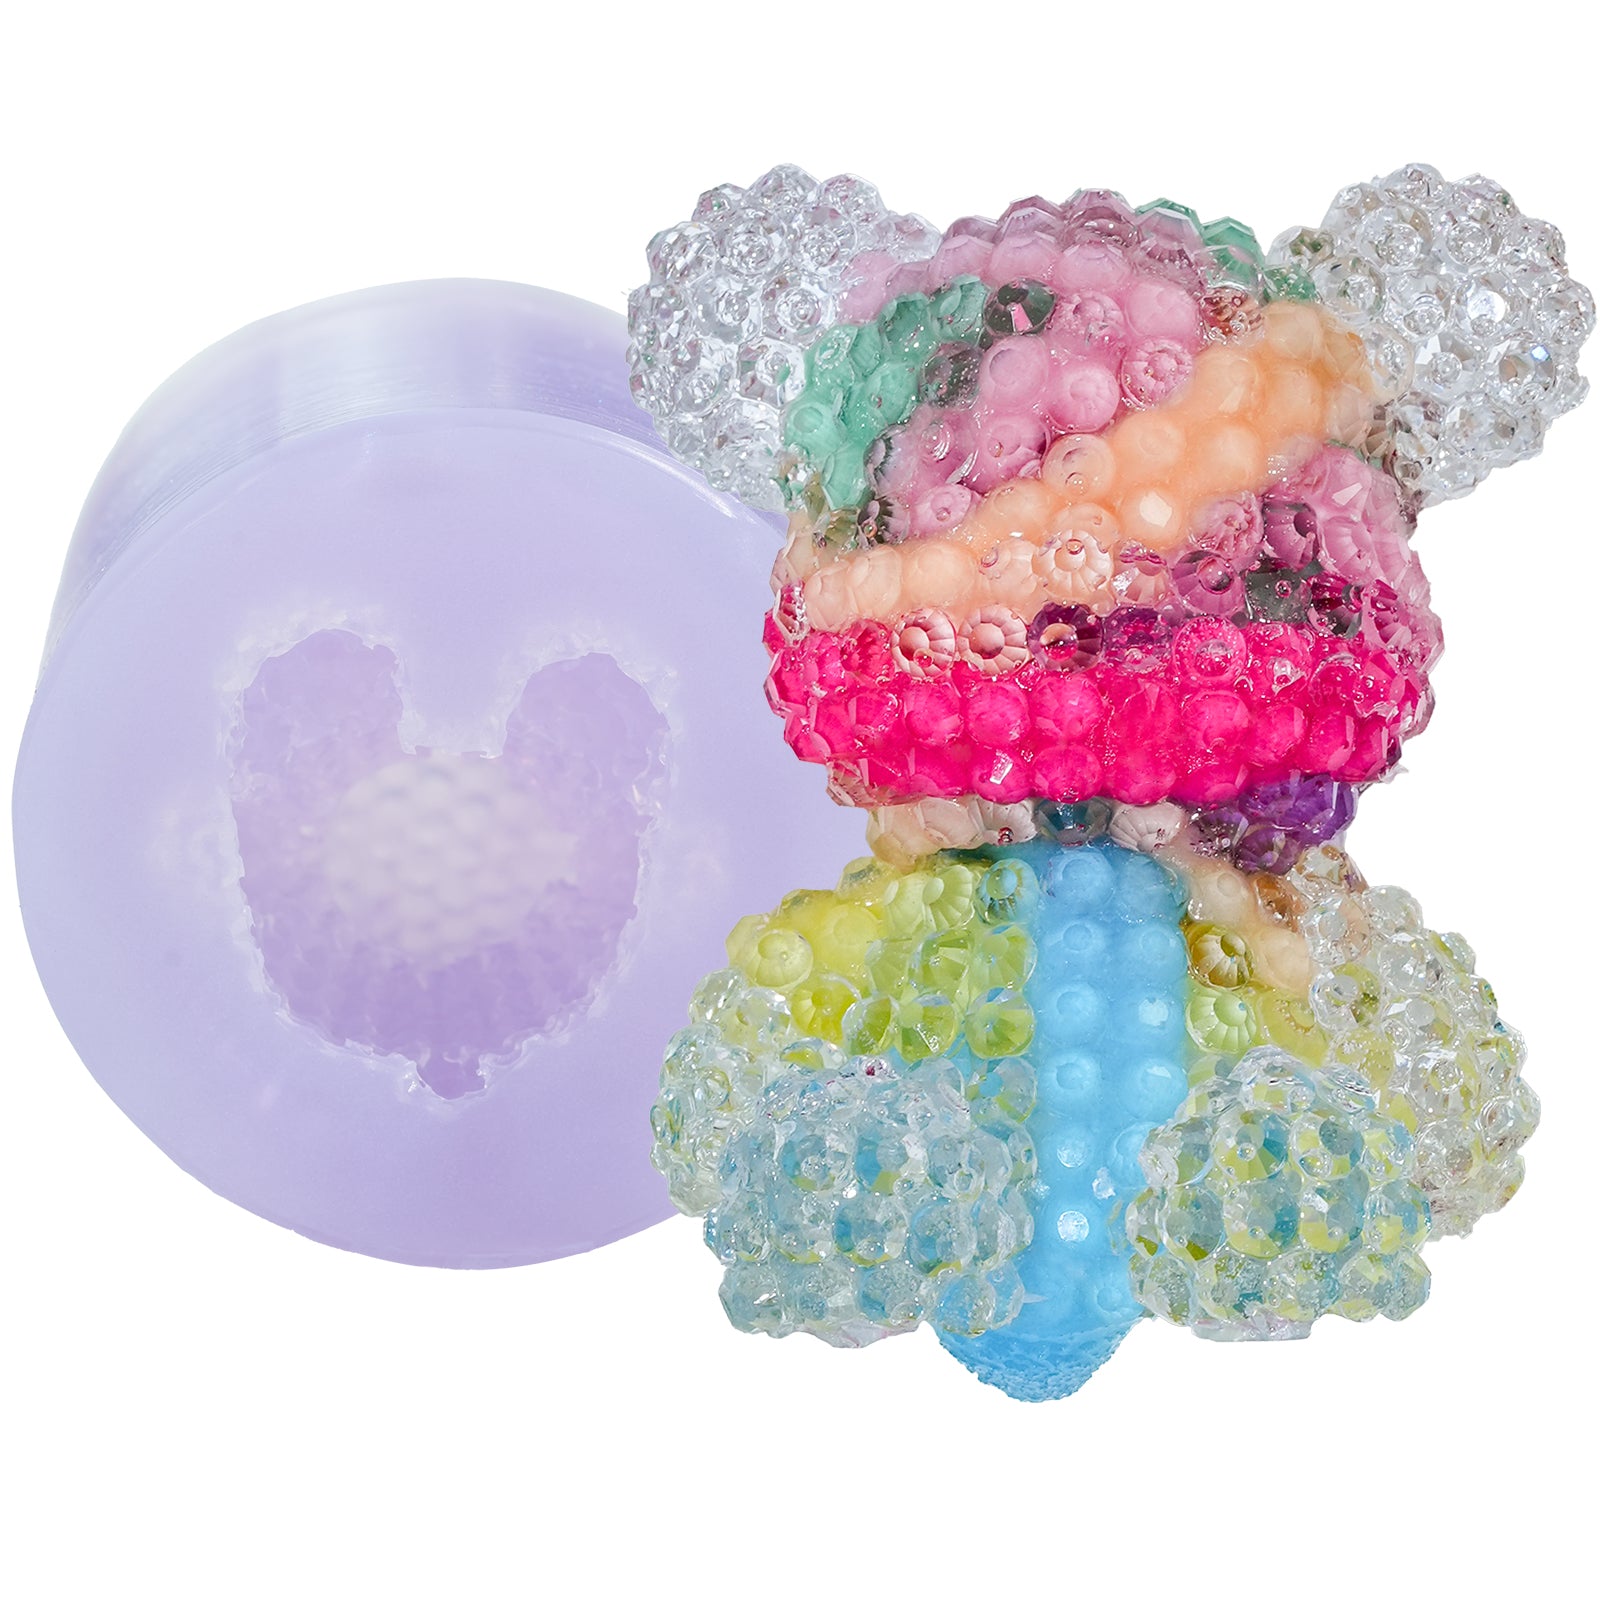
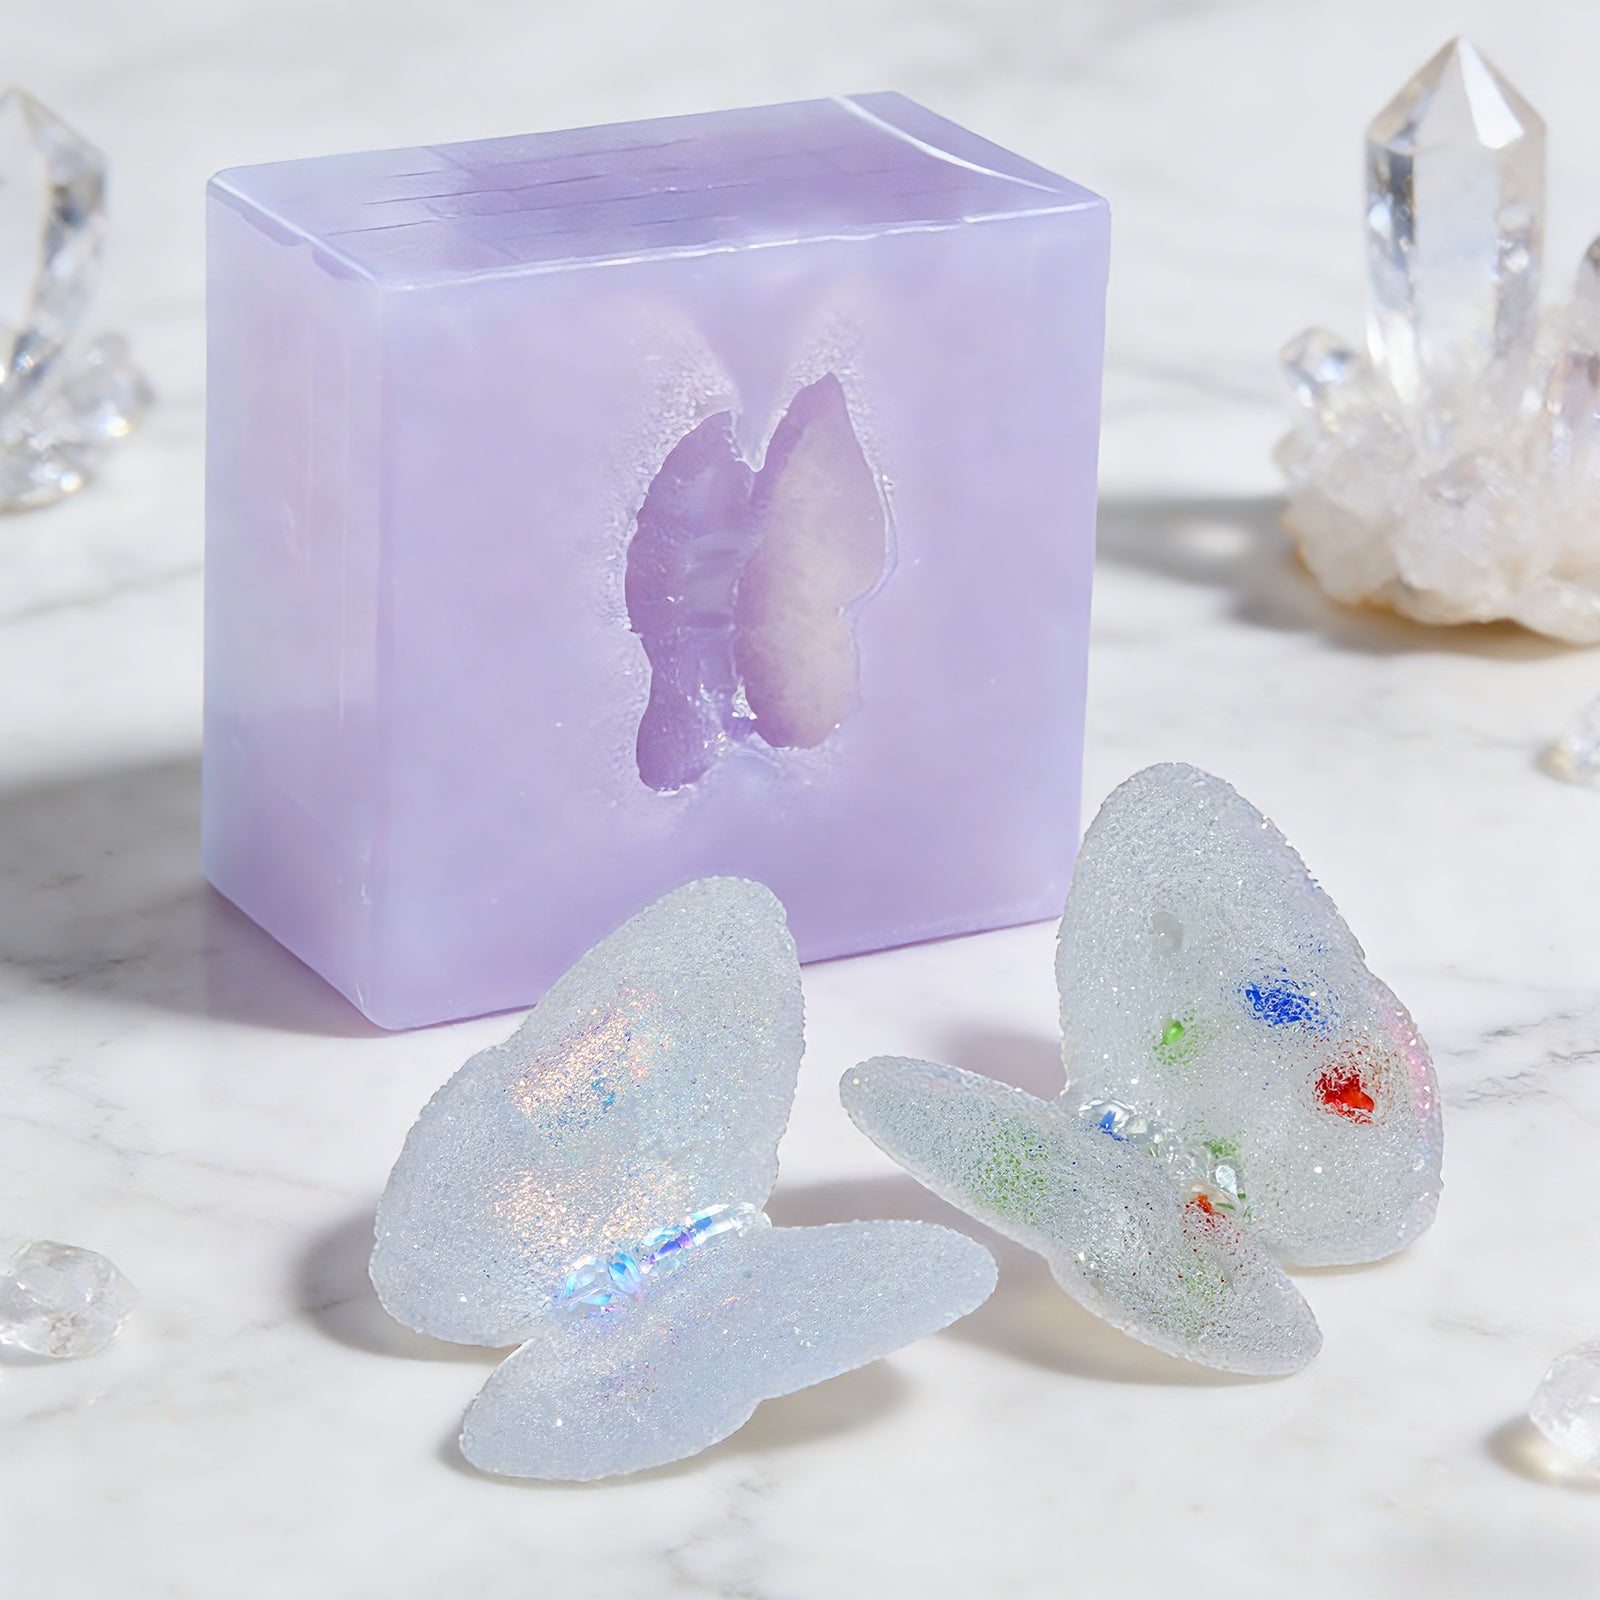
Tip 2: Buy Better Molds
Cheap molds often tear, stick, or leave marks on your project. Good silicone molds release easier, last longer, and improve final results.Since you will use them again and again, they are worth the investment.
💡TIP: If your molds tear or stick, the problem is usually technique or mold quality. Learn how to demold cleanly every time.
Tip 3: Color & Additives Matter
Many eye-catching resin projects rely on the right decorative elements.Try using: Mica powder、Glitter、Dried flowers、Gold or silver foil、Beads or stones and Resin pigments.Small details can make a simple project look premium.

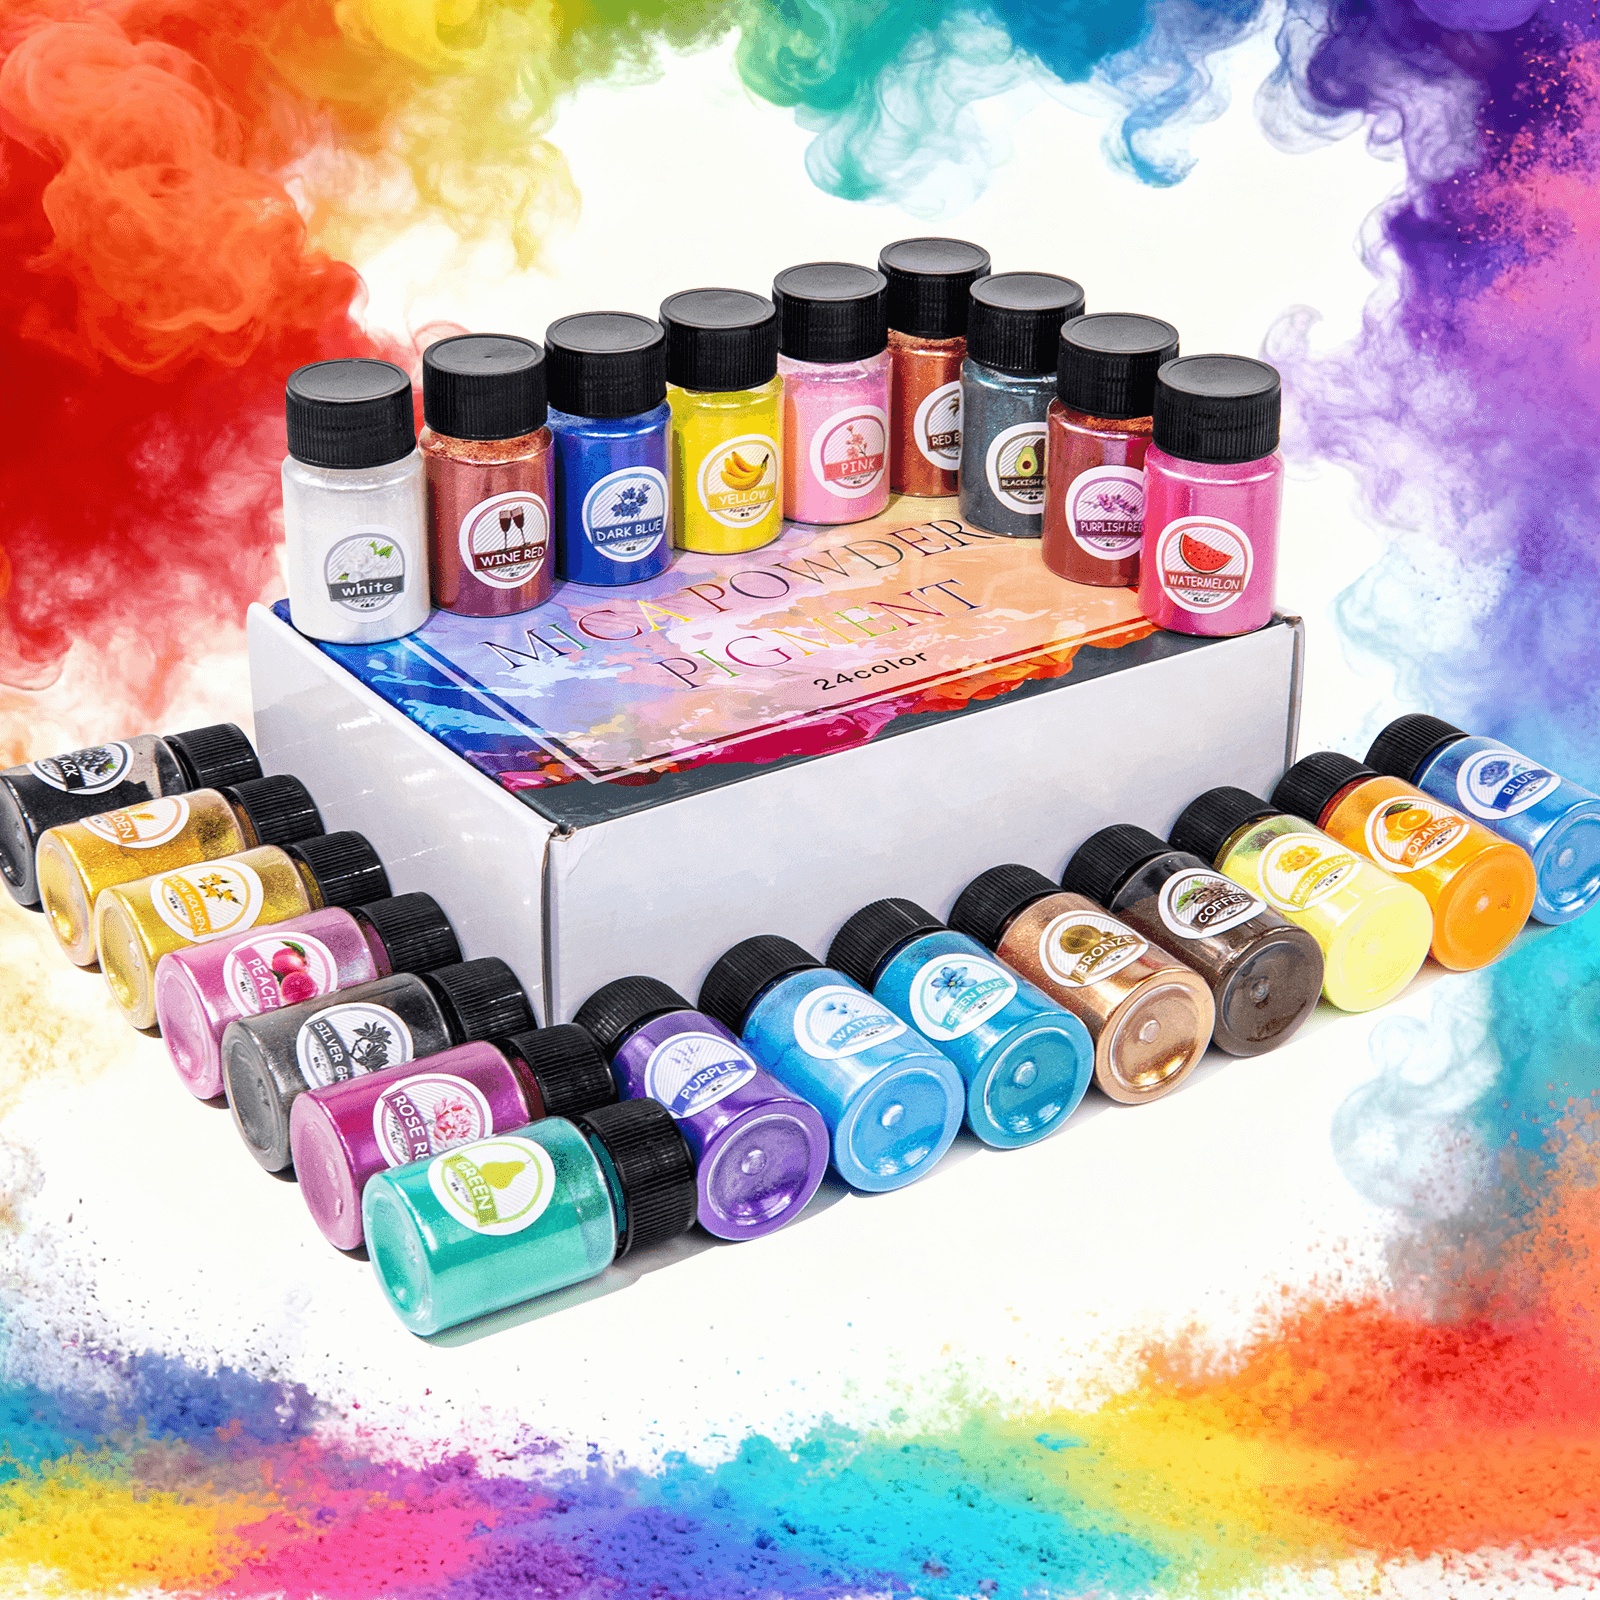
💡TIP: Colors can completely transform a simple project. See how to use pigments, powders, and glitter correctly.
Tip 4: Do Not Overdo It
Less is often more.Too many colors, glitter, flowers, and decorations can make a project look messy. Clean, balanced designs usually look more elegant and expensive.Let the resin shine.
Tip 5: Room Temperature Matters
Most epoxy resin performs best in a warm room, around 70–75°F (21–24°C).
- Too cold: slow curing
- Too hot: faster curing and more bubbles
A comfortable room usually gives better results.
Tip 6: Be Patient
One of the biggest beginner mistakes is demolding too early.Even if the resin feels hard, it may still need more curing time. Waiting longer often means stronger, clearer, cleaner pieces.
Tip 7: Protect Your Workspace
Resin can stick to tables, floors, and tools.Use: Silicone mats、Plastic sheets、Wax paper and Old newspaper.Prepare first, clean less later.
Tip 8: A Heat Gun Is Worth It
A small heat gun is one of the best beginner tools you can buy. Use quick passes over the surface after pouring to pop surface bubbles and smooth the finish. Simple tool. Big difference.
Final Thoughts
The best part of DIY craft epoxy resin is that you do not need to be an artist to create something beautiful.
Start simple. Learn the basics. Improve one project at a time.
And the best part? It is genuinely fun to make something beautiful with your own hands. So choose one project, get your resin, and begin. You may be surprised by what you can create.
Frequently Asked Questions About Epoxy Resin Crafts
Quick answers for beginners before starting your first resin project.
Where should I start as a beginner?
Is resin toxic? Can I use it in my kitchen?
What tools do I need to start?
Helpful upgrades include a vacuum chamber, pigments, glitter, mica powder, silicone mats, and a measuring scale.
Can I sell resin crafts and make money?
Can cured resin be painted later?
How long does resin take to cure?
Craft epoxy: around 24 hours
Fast cure epoxy: 6–12 hours
UV resin: minutes under a UV lamp
Deep pour epoxy: 48–72+ hours