

You poured the epoxy. You waited three days. You pulled off the mold — and instead of the glass-like river you imagined, you have a cloudy, slightly yellowed slab with a cluster of small bubbles frozen in the middle. The product said "crystal clear." It is not crystal clear.
This is one of the most common complaints in the epoxy community. And almost every time, the product isn't the problem. The process is.
Transparency in clear deep pour epoxy isn't a feature that some brands have and others don't. It's the result of four specific, measurable conditions — any one of which, if missed, will compromise the final clarity regardless of how premium the resin is. This article breaks down each factor, explains the science behind it in plain language, and gives you a pre-pour checklist you can actually use.

Viscosity is the measure of a liquid's resistance to flow. Water has very low viscosity. Honey has very high viscosity. Epoxy resin sits somewhere in between — and where it sits has a direct effect on whether your pour comes out clear.
Here's why: when you pour epoxy into a mold, air is inevitably introduced. Tiny bubbles form during mixing, rise through the liquid during pour, and continue escaping from the substrate. In a low-viscosity resin, those bubbles can rise quickly and escape before the resin begins to gel. In a high-viscosity resin, they rise slowly — and if the resin gels before they reach the surface, they're permanently trapped.
Lower viscosity = faster bubble escape = clearer result. This is not a minor difference. Table top epoxies typically have a mixed viscosity of 800–2,000 mPa·s. A properly formulated deep pour system should be well below 300 mPa·s.
| Product Type | Mixed Viscosity | Bubble Escape Rate | Transparency Impact |
|---|---|---|---|
| Standard Table Top Epoxy | 800–2,000 mPa·s | Low | Bubbles easily trapped |
| General "deep pour" label | 400–600 mPa·s | Medium | Some bubbles escape |
| Deep Pour Epoxy Resin (2–4 Inch Casting) | 250±50 mPa·s | High | Bubbles escape naturally |
| Deep Pour Epoxy Resin Kit – 4 Inch Casting | 236 mPa·s | Highest | Ideal for ultra-deep pours |

Temperature changes viscosity — and most people don't account for it
Even a low-viscosity formula will thicken significantly in cold conditions. At 16°C (61°F), a resin rated at 250 mPa·s at 25°C can behave more like 400–500 mPa·s. That shift is enough to trap bubbles that would have escaped in warmer conditions.
The ideal working temperature for deep pour epoxy is 22–28°C (72–82°F). If you're working in a cooler space, you can restore the resin's flow properties before you open the bottles: place the sealed A and B components in a warm water bath (40–45°C maximum — never use boiling water or direct heat) for 15 minutes before mixing. Do not open the bottles during the bath. This reduces viscosity back toward the rated value and gives your bubbles a fighting chance.
Epoxy curing is a chemical reaction — and chemical reactions generate heat. This is called exothermic heat, and it's the second major enemy of transparency in deep pour applications.
In thin coatings, exothermic heat dissipates quickly through the surface. In deep pours, it has nowhere to go. Heat accumulates in the center of the pour, accelerates the curing process, and creates several problems simultaneously:
- Bubbles that were slowly rising get caught in an acceleration of the gel phase and freeze in place
- Thermal stress creates micro-fractures inside the cured resin — visible as haze or cloudiness
- UV stabilizers break down prematurely under sustained high temperature, causing early yellowing
- In extreme cases, the center remains uncured while the surface hardens — creating a soft, sticky interior
The solution is a slow-curing formulation. A resin that cures slowly releases heat gradually, keeping the internal temperature within a range where bubbles can continue escaping and the resin can develop evenly throughout its full depth.
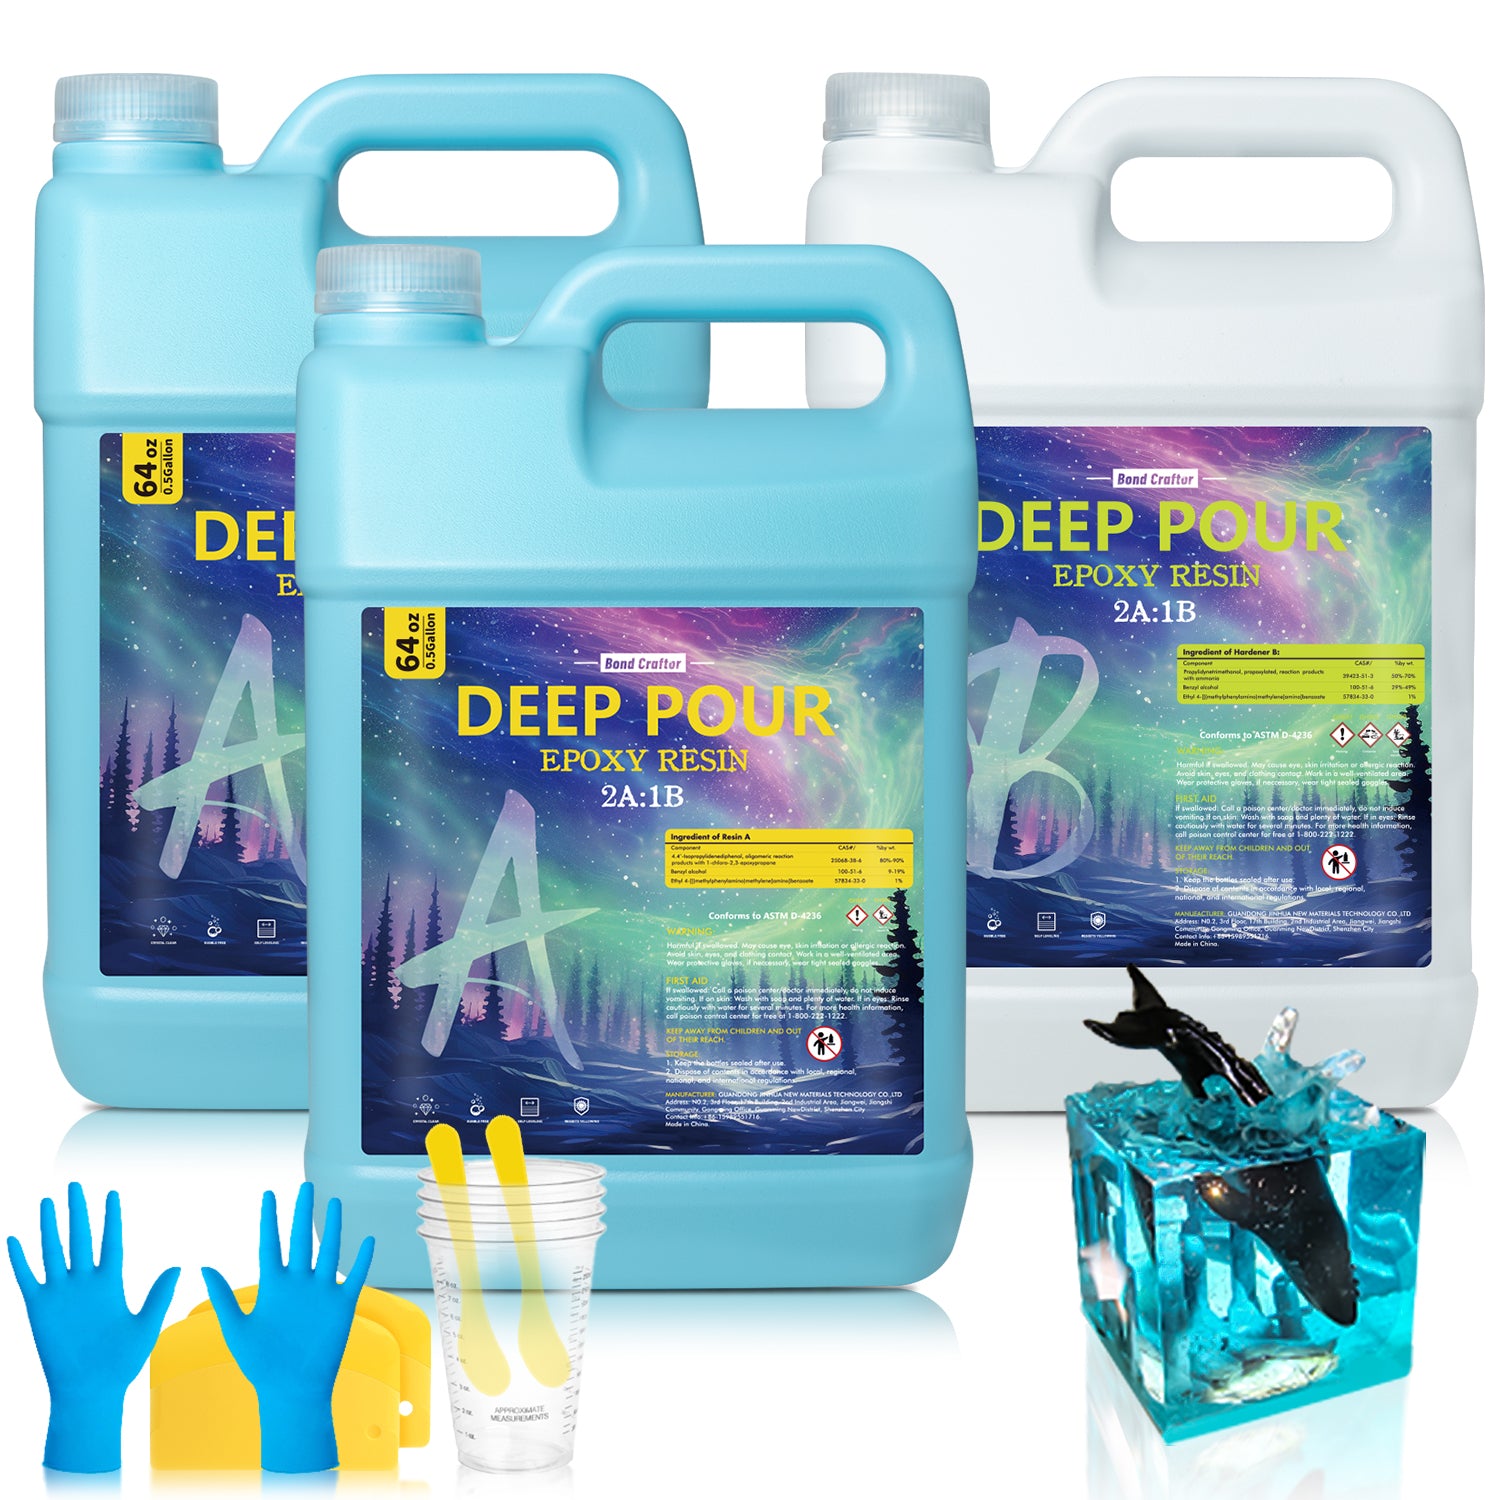
This is the technical reason why a 6-hour working time matters for transparency — it's not just about giving you more time to work. A 6-hour pot life means the hardener is releasing very slowly, which means the exothermic reaction is spread across a long, controlled window. Bond Craftor Deep Pour Epoxy Resin (2–4 Inch Casting) is designed around exactly this principle: 6 hours of working time, ~50 hours to initial cure, and 168 hours to final cure at room temperature.
Practical rules for heat control during curing
- Never exceed the manufacturer's stated maximum pour depth per layer — the thicker the pour, the more heat accumulates
- For pours over 2 inches with Deep Pour Epoxy Resin (2–4 Inch Casting), pour in layers with at least 24 hours between each
- Keep the workspace temperature below 28°C during curing — warmer rooms speed up the reaction and increase exothermic peak
- Never use supplemental heat sources (heat lamps, space heaters directed at the mold) to accelerate curing
- Cover finished pours with a dust cover, not a sealed container — trapped air circulation increases temperature around the pour
This is the factor that surprises most people: the majority of bubbles in a finished pour were introduced during mixing, not during pouring. And they were introduced by mixing too aggressively.
When you stir epoxy quickly — particularly with a circular motion — you fold air into the liquid the same way you'd fold air into whipped cream. The faster and more chaotic the stirring motion, the more air you incorporate. In a high-viscosity resin, this would be a minor issue because you'd use a slower stirring speed by default. But even in a low-viscosity deep pour formula, aggressive mixing can introduce thousands of micro-bubbles that the resin can't fully expel before gelling.
The correct mixing method
Step 1: Measure accurately before you begin. Both Bond Craftor deep epoxy use a 2:1 volume ratio (Part A to Part B). Measure Part A first, then add Part B. Do not reverse the order — adding the larger component to the smaller one can cause inconsistent mixing at the edges of the container.
Step 2: Stir in one consistent direction. Choose clockwise or counter-clockwise and maintain it throughout. Reversing direction creates turbulence that introduces air. Move at a slow, deliberate pace — your goal is to move the liquid, not agitate it.
Step 3: Scrape the walls and bottom continuously. Unmixed resin at the edges of the container is the most common cause of sticky spots and inconsistent curing. Every 30 seconds, drag the stirring rod across the bottom and up the sides of the cup, bringing unmixed material into the center. Total stirring time: 3–5 minutes.
Step 4: Rest before pouring. After mixing, let the combined resin sit undisturbed in the mixing cup for 2–3 minutes. Visible bubbles will rise to the surface during this window. A quick pass with a heat gun or torch (held 5–8 cm above the surface) will break most of them before you pour.
Step 5: After pouring, defoam the surface. Pass a heat gun or propane torch quickly over the poured surface — a single sweep, never hovering in one spot. The gentle heat causes bubbles to expand and burst. Repeat this once or twice in the first 15 minutes after pouring, before the resin begins to gel.

A note on pigments and colorants
If you're adding color, the type of pigment you use has a direct effect on transparency. Specialized resin pigments, mica powder (also called pearl powder), and resin-specific color paste are compatible with deep pour formulas and will not affect curing chemistry. What will affect curing chemistry is acrylic craft paint — the water content in standard acrylics interrupts the chemical cross-linking reaction, creating cloudy, incompletely cured sections regardless of your technique.
| Colorant Type | Effect on Transparency | Recommended |
|---|---|---|
| Resin-specific pigment paste | None — compatible chemistry | ✓ Yes |
| Mica powder / pearl powder | None — particle suspension only | ✓ Yes |
| Alcohol ink (small amounts) | Minimal at low ratios | ⚠ Use sparingly |
| Acrylic craft paint (water-based) | Cloudiness, incomplete cure | ✗ Never |

One of the most frustrating transparency failures happens when the pour looks perfect during application and develops clouds and bubble clusters hours later, after you've walked away. Almost every time, this comes from the substrate — not the resin.
Wood is a porous material. Every wood fiber contains microscopic air pockets. When warm liquid epoxy contacts those pockets, the air is driven out — and it has nowhere to go except up into your pour. If the resin has already started to thicken by the time those bubbles finish rising, they get trapped permanently.
This is not a product defect. It is a substrate preparation issue. And the solution is straightforward: seal the wood before the main pour.
Bubble risk by substrate type

The correct sealing process for wood
Step 1: Check wood moisture content. Wood moisture should be at or below 12% before any epoxy contact. Use a moisture meter if you have one, or perform a water drop test: place a few drops of water on the surface. If it absorbs within 1–2 minutes, moisture content is likely acceptable. If it beads, the surface is either too dense (sand it) or has a residual finish that needs removal.
Step 2: Apply a thin seal coat. Mix a small quantity of epoxy — either your deep pour formula or a compatible surface epoxy — and brush it onto all wood surfaces that will contact your main pour: top face, side edges, and especially the irregular texture of any live edges. Target a thickness of approximately 1/16 inch (1.5 mm).
Step 3: Allow the seal coat to cure completely. This is the step most people rush. A seal coat that is still in its gel phase will release trapped air into the main pour on top of it. Wait until the seal coat is fully solid and non-tacky before proceeding. Depending on temperature, this typically takes 12–24 hours.
Step 4: Proceed with the main pour. Once the seal coat is solid, the wood pores are closed. Your main deep pour now has a non-porous substrate, and the low-viscosity resin can do its job without competing against a continuous supply of rising bubbles.
A special note on dried flowers and inclusions
Embedding dried botanicals is one of the most popular deep pour applications — and one of the highest-risk for transparency issues. Fresh flowers are absolutely not suitable for embedding: their moisture content causes internal rot, discoloration, and sustained bubble release throughout the curing period. Even "dried" flowers from a florist may retain more moisture than they appear to. The safest approach is to use flowers that have been processed with silica gel desiccant crystals — a process that removes moisture while preserving shape and color.
A separate issue affects light-colored petals (white, pale pink, cream): these can turn translucent when submerged in resin due to an oil-saturation effect. If you're seeing this, the fix is to apply a thin spray of clear sealant to the back of each petal before embedding — this closes the fiber structure and prevents the resin from saturating through.
The Pre-Pour Transparency Checklist
Run through this before every pour. All four factors need to be confirmed — not three out of four.

What "Crystal Clear" Actually Looks Like — and How to Verify It
A fully cured deep pour section that has had all four factors properly controlled will meet the following observable standards:
- No visible bubbles at any depth, including along wood interfaces where bubbles most commonly originate
- No cloudiness or haze — the cured resin should be as visually clear as glass when viewed through its full depth
- No yellowing — a properly formulated, slow-curing resin with UV inhibitors will show no color shift from transparent in the first cure cycle
- Consistent hardness throughout — no soft center, no sticky areas, Shore D hardness uniform from surface to base (Bond Craftor deep pour epoxy: 82–84D throughout)
Transparency is also verifiable before you fully commit to a large project. Pour a small test section — a 1-inch deep pour in a small silicone mold — using the same substrate, the same temperature conditions, and the same technique you plan to use on the main piece. If the test section cures clear, your conditions are correct. If it doesn't, identify which of the four factors was off before scaling up.
Both Bond Craftor systems are formulated for crystal clear results.
Low viscosity. Slow cure. Natural defoaming. The four factors are built into the formula — your job is the technique.