·
Jul 21, 2025
How to Make Earrings with UV Resin
Gather Your Materials
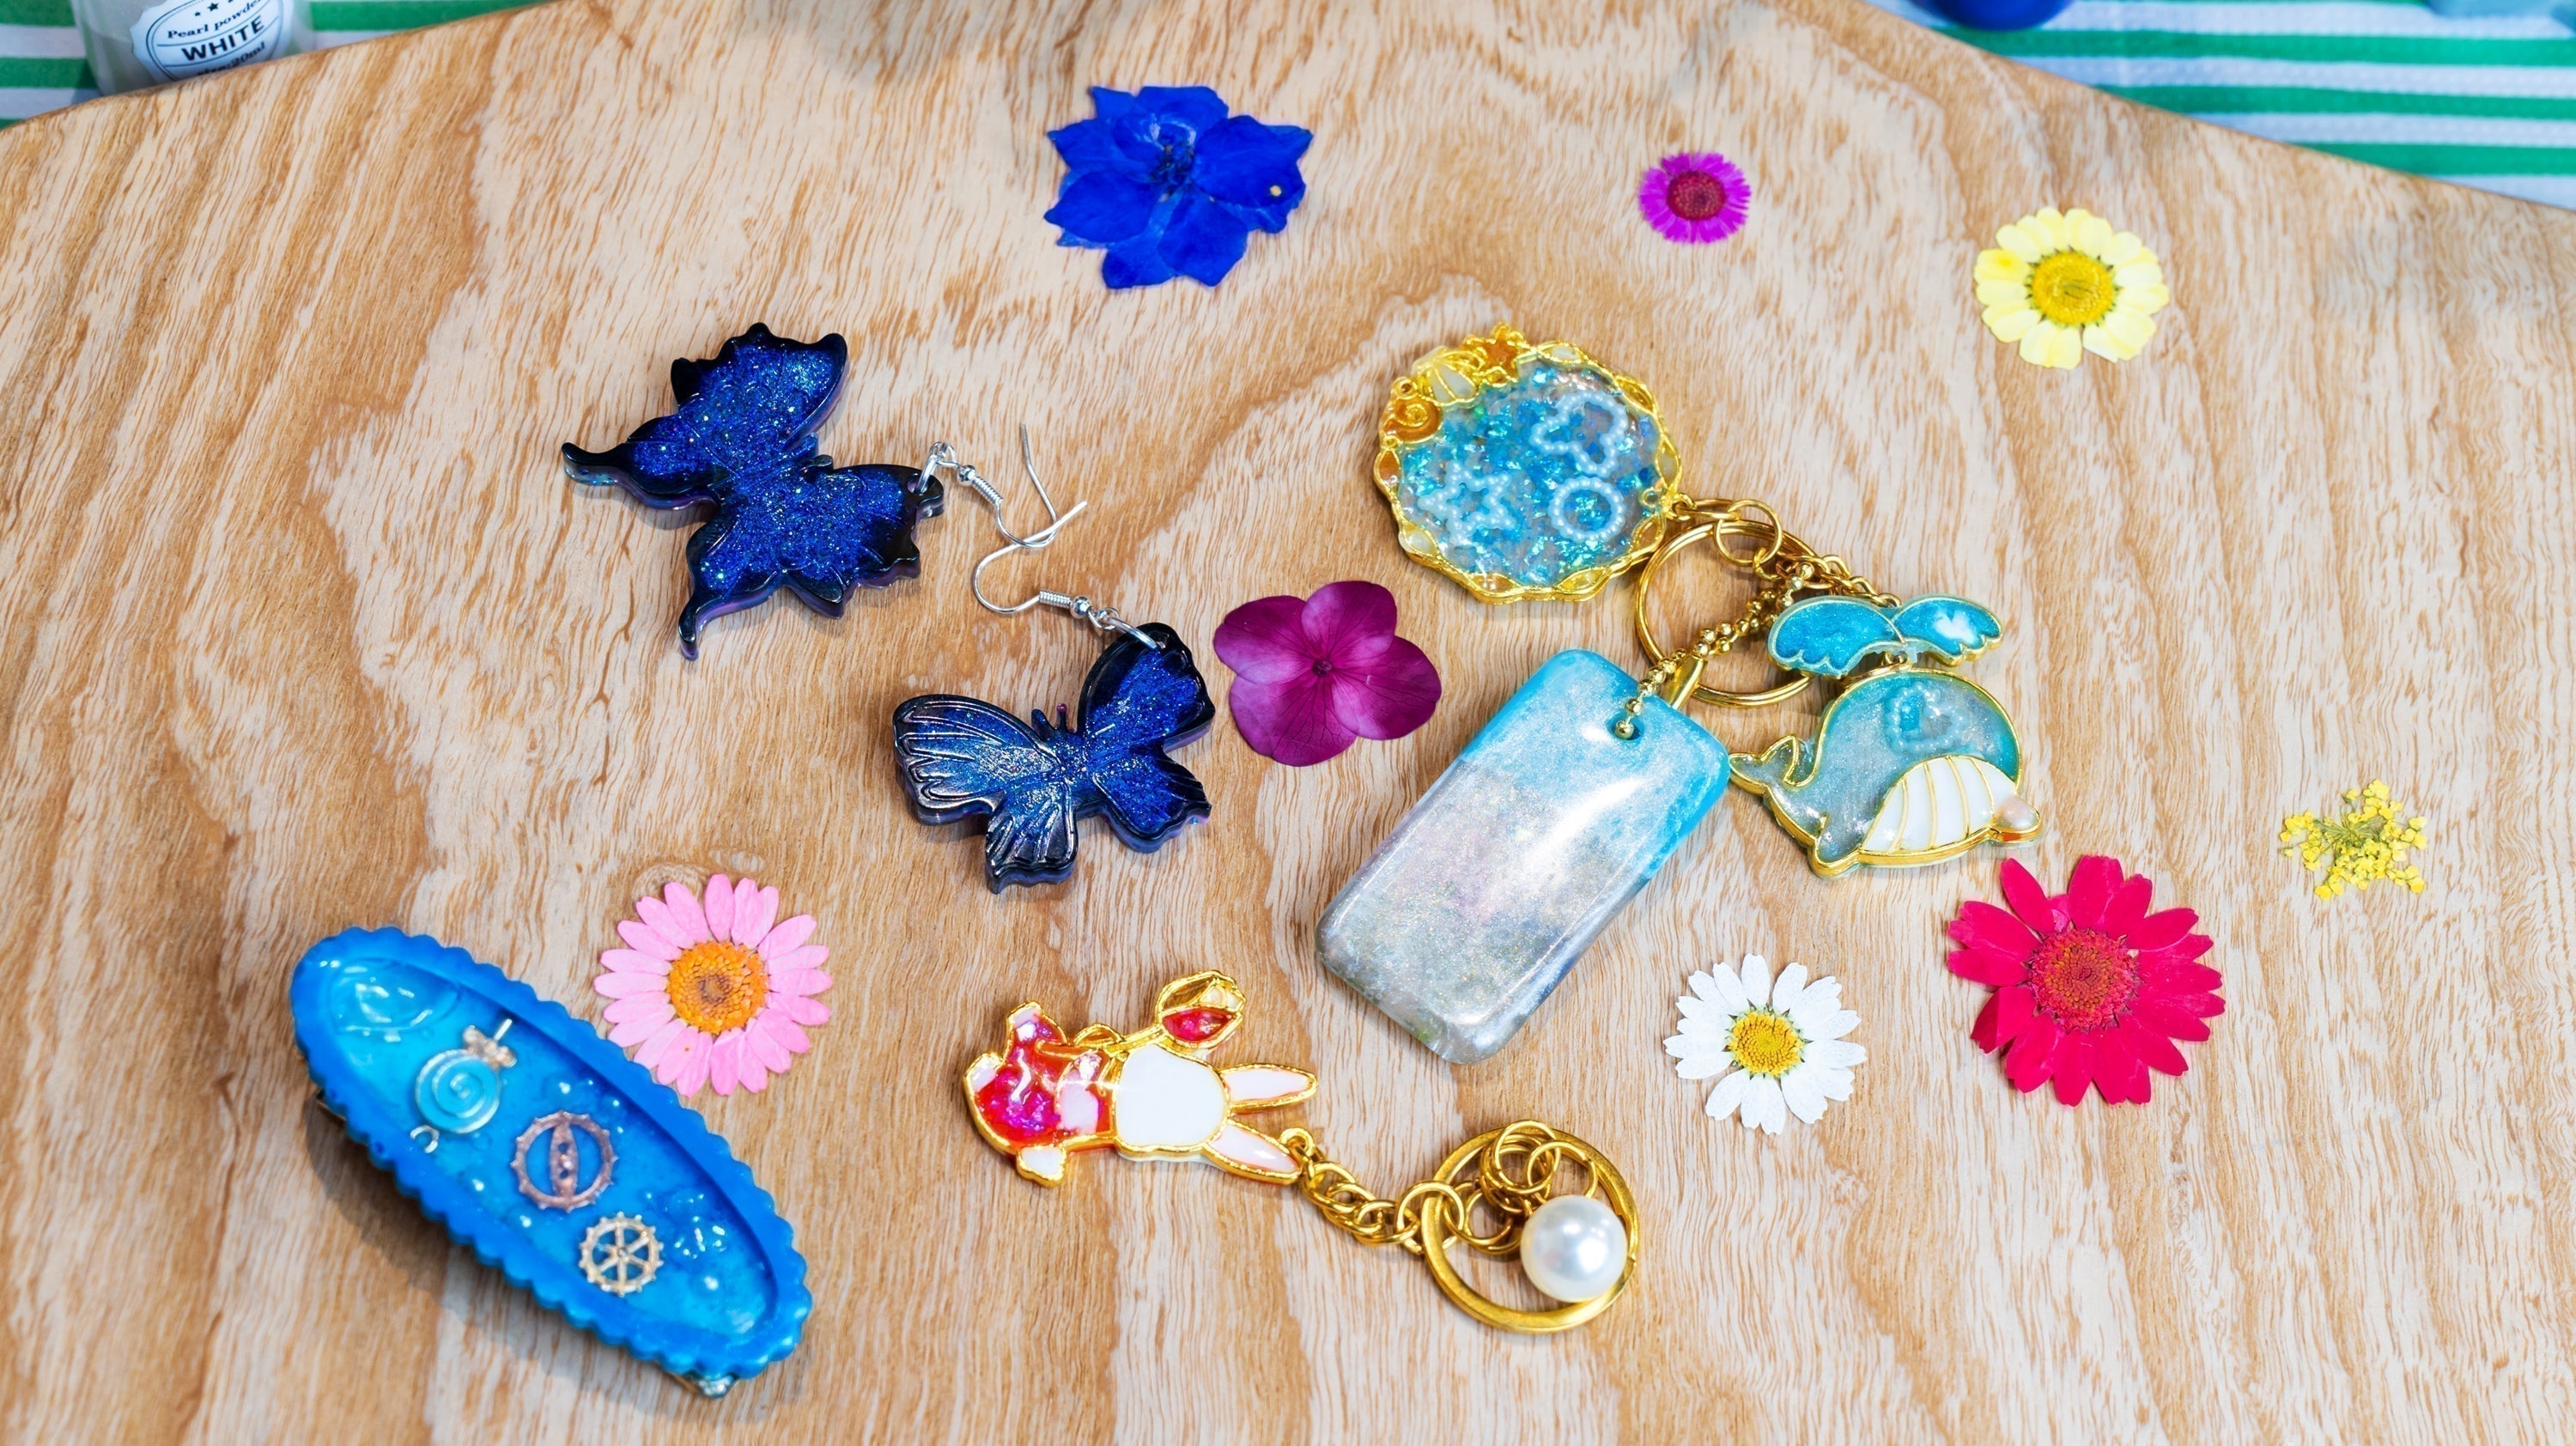
First, assemble all the necessary supplies. You’ll need high-quality UV resin (choose a clear or colored variant based on your design), earring molds (silicone molds work best for easy release), a UV lamp or sunlight (a 36W UV lamp is ideal for consistent curing), mixing cups, wooden sticks or plastic spoons for stirring, and decorative elements like glitter, dried flowers, small beads, or metallic flakes. Don’t forget earring hardware—hooks, studs, or posts with jump rings—and a pair of pliers for assembly.Prepare Your Workspace
Set up a clean, flat surface in a well-lit area, preferably near a window if you plan to use sunlight for curing (though a UV lamp is more reliable). Cover your workspace with a silicone mat or parchment paper to catch any spills. Ensure your molds are clean and dry—even a tiny speck of dust can ruin your design. If needed, wipe them with a lint-free cloth.Mix and Color the Resin
If using clear resin and wanting to add color, squeeze a small amount of resin into a mixing cup. Add a few drops of resin dye or pigment and stir slowly with a wooden stick to avoid creating bubbles. For a marbled effect, swirl in different colors without overmixing. Remember, UV resin cures quickly, so only mix as much as you can use within 5–10 minutes.Add Decorations
Pour a thin layer of resin into your earring molds to create a base. Then, carefully place your decorative elements—dried flowers, glitter, or beads—onto the resin. If you want the decorations to be fully embedded, pour a little more resin over them, ensuring they’re completely covered. Use a toothpick to gently push down any floating elements and pop any bubbles that rise to the surface.Cure the Resin
Once your mold is filled and decorated, it’s time to cure the resin. Place the mold under the UV lamp and let it cure for 2–3 minutes. Check if the resin is firm to the touch—if it’s still tacky, cure it for another minute. If using sunlight, leave the mold in direct sunlight for 15–30 minutes, depending on the intensity. Avoid moving the mold during curing to prevent shifting decorations.Demold and Finish
After curing, gently flex the silicone mold to release the resin earrings. They should pop out easily. If there are any rough edges, use fine-grit sandpaper (400–600 grit) to smooth them down. For a glossy finish, you can apply a thin layer of clear UV resin, cure it again, and buff lightly with a soft cloth.Attach Earring Hardware
Using pliers, open a jump ring and attach it to the small loop or hole in your resin earring (if your mold doesn’t have a loop, you can drill a tiny hole after curing, but be careful not to crack the resin). Connect the jump ring to your chosen earring hook, stud, or post. Close the jump ring securely to ensure the earring is safe to wear.Tips for Success
- Work in small batches to prevent resin from curing before you’re done decorating.
- If bubbles are a problem, hold the UV lamp a few inches above the resin for 10 seconds to let bubbles rise, then cure fully.
- Experiment with different mold shapes—geometric, floral, or abstract—to create diverse designs.
- Store unused resin in a cool, dark place to extend its shelf life.
Watch the video to get creative inspiration
With these steps, you’ll be able to craft beautiful, personalized UV resin earrings that showcase your style. Don’t be afraid to get creative—mix colors, layer decorations, and try new techniques. Each pair will be one-of-a-kind, making them perfect for gifts or adding a unique touch to your own jewelry collection. Happy crafting!


