

One of our first-time customers recently shared an epoxy project that didn't go as planned. He was making a river table with wine cork halves embedded in burgundy-tinted and clear epoxy. Before pouring, he sealed the corks with tabletop epoxy, poured a 1/2-inch burgundy base layer, and placed the corks once the resin reached a honey-like consistency. He then waited about 24 hours before adding the clear layer.
As the clear resin was poured, the corks began to rise. Some pulled portions of the partially cured burgundy base upward with them, leaving uneven ridges and crater-like marks around the corks. Small bubbles also showed up across the burgundy layer.

So what went wrong? It usually isn't the resin itself. Two things usually are:
- Buoyancy: light objects like cork want to float in liquid resin, and heavy ones like coins want to sink.
- Trapped air: porous objects release air as the resin cures, and that air ends up as bubbles.
The good news is that both can be handled. Once your objects are clean, dry, and sealed, two simple methods keep them where you put them: a layered pour and the glue method. This guide explains why objects float, sink, or bubble, how to prepare them, and how to choose the right method for what you're embedding.
Quick Guide: Find Your Object
Start here. Find what you're embedding, note its main risk, and use the sections below to prepare it and fix it in place.
| Object | Main Risk | Recommended Preparation |
|---|---|---|
| Wine corks | Floating and trapped air | Dry thoroughly, seal all exposed surfaces, glue in place before pouring |
| Dried flowers | Floating, trapped air, color changes | Dry completely, test color stability, glue the base or set in a thin layer |
| Shells | Air trapped in cavities | Clean, dry, seal or fill hollow areas |
| Coins | Sinking or shifting | Set in a thin layer, or glue in place before pouring |
| Wood pieces | Moisture and air release | Control moisture, seal exposed surfaces, glue in place |
| Small decorations | Floating, sinking, or shifting | Test compatibility, then glue in place or set in a thin layer |
Notice that floating, sinking, and bubbles show up as separate problems. They have different causes, so they need different fixes.

Why Do Objects Float, Sink, or Create Bubbles in Epoxy?
Liquid epoxy is a heavy fluid. Anything you submerge in it gets pushed upward, and whether it rises or falls depends on how it compares to the resin around it.
Floating. Objects lighter than the resin rise. Cork, many woods, dried flowers, and hollow decorations all fall into this group, and any air trapped inside makes it worse. Deep pour epoxy stays workable for 2–6 hours, which gives a light object a long time to drift. One detail surprises many makers: once an object is fully submerged, pouring more resin on top does not hold it down. The upward push stays the same. Only glue, or resin firm enough to grip, keeps it in place.
Sinking. Coins, metal charms, and stones are denser than the resin. The low viscosity that helps deep pour release bubbles also lets heavy objects settle to the bottom or slide sideways before the resin sets.
Bubbles. Bubbles around embedded objects usually come from one of three sources:
- Air folded into the resin while mixing
- Air escaping from porous materials like cork, wood, and dried flowers. As the resin cures, it warms up, and the air inside the object expands and pushes out
- Air pockets in shell spirals, hollow figurines, and the gaps under flat objects
This is why the work starts before you mix any resin.
How to Prepare Objects Before Embedding Them
Most embedding problems can be prevented at this stage. Set up in a clean, well-ventilated space at 70–75°F with humidity below 60%. Wear nitrile gloves and eye protection whenever you handle resin, and work through these steps for every object.
- Clean it. Remove dust, oils, loose fibers, and sand. Wash non-porous items like coins and shells with mild soap and water, then let them dry fully.
- Dry it completely. Moisture interferes with the cure and can leave cloudy patches. Use kiln-dried wood that has sat in your shop for a few days. Dried flowers should feel crisp, not leathery. Store corks somewhere dry before use.
- Seal porous materials. Brush a thin seal coat of Table Top Epoxy over every exposed surface of corks, wood, and other porous items. Our Table Top Epoxy reaches initial cure in about 8 hours. Let each coat cure before moving on. Corks often need a second coat.
- Check for cavities. Look inside shells, hollow figurines, and the undersides of bottle caps. Fill cavities with a small amount of resin and let it cure first, or position the opening facing up so air can escape.
- Run a test sample. Embed one spare object in a small cup using the same resin and colorant you plan to use. Watch for color changes in flowers, ink bleeding, coatings lifting, or steady bubbling.

Important: A seal coat reduces outgassing and helps the resin wet the surface evenly. It does not stop floating. A sealed cork is still lighter than the resin, so you still need to fix it in place.
Two Ways to Keep Objects in Place During Deep Pours
Start with clean, dry, prepared objects. Then fix them in place with one of these two methods, or combine them.
| Method | Best For | Watch Out For |
|---|---|---|
| Layered pour | Objects you want suspended above the bottom, such as flowers, coins, and small decorations | Each layer needs time to set before the next one goes on. |
| Glue method | Corks, wood pieces, flower petals, and anything that tends to float or shift | Use only a small amount, and test the glue with your resin first |
Method 1: Layered Pour (Suspend Objects Between Layers)
You build a firm base first, then set your objects into a thin fresh layer on top of it. Once that layer cures, the final pour seals everything in.
- Work through your project as usual, including any seal coat, until you reach the deep pour stage.
- Pour a small amount of mixed resin into your mold or onto your project surface. This is your base layer.
- Wait until the base has reached its initial set and is dry to the touch. For Bond Craftor deep pour, that's about 14–16 hours at 70–75°F.
- Pour a thin layer of fresh resin over the base.
- Arrange your objects on this thin layer with tweezers or a gloved fingertip.
- Let it cure for about 12 - 14 hours, so the layer sets around the objects and holds them in position.
- Mix your final batch and pour it slowly over the objects until you reach full depth. Stay within your product's maximum single-pour depth of 2" or 4", depending on the formula.
- Finish as usual. Pass a heat gun or torch over the surface to release bubbles, then let the piece fully cure.
Thin layers of deep pour cure more slowly than you might expect. Curing is driven by the heat the resin generates as it reacts, and a thin layer has much less mass to build that heat than a 2" pour. It can take noticeably longer to set, especially below 70°F, so test the surface with a stir stick instead of trusting the clock.
This method has a limit. Very buoyant objects like corks can still pull loose from a thin layer, which is what happened in the customer's project above. For those objects, use the glue method.
Method 2: Glue Method (Fix Objects Before Any Resin)
With this method, you glue each object to your project surface before you pour any resin, even before you seal the project surface. If you're embedding porous objects like corks, seal the objects first and let that coat cure, then glue them down.
- Get a UV glue or a quick-set glue.
- Apply a small amount to the project surface or to the object.
- Press the object into position. Cure UV glue under a UV lamp. Quick-set glue needs about 4 hours to set.
- Repeat for every object you're embedding. Let all the glue cure completely before you seal the project surface or start pouring.
Use as little glue as you can, because it may show through clear resin. Test it first, since some glues can fog, whiten, or release bubbles when resin covers them. If you're gluing into a mold, check that the glue grips the mold surface, because some glues won't stick to silicone.
The two methods also work well together. For a cork river table, for example, glue the corks down first, then pour the resin in layers.
How to Prevent Bubbles Around Embedded Objects
You can't promise a perfectly bubble-free pour every time, but you can remove most of the causes. Start by working out which kind of bubble you're dealing with.
1. Bubbles from mixing. These are spread evenly through the resin. To reduce them, mix at a 2:1 ratio by volume, stir slowly, and scrape the sides and bottom of the cup without whipping. Then pour in a thin, steady stream down the mold wall or a stir stick, never straight onto your objects. Cold resin is thicker and holds onto bubbles, so keep your resin and your space at 70–75°F.
2. Bubbles from the objects themselves. These form trails rising from a cork, a piece of wood, or a flower, and they can keep appearing for hours as the resin warms during its cure. A complete seal coat is the main fix, ideally two coats on cork, along with thorough drying. A heat gun or torch can help with bubbles that reach the surface. Keep it moving, hold it at a distance, and only pass it over the surface. Overheating a deep pour can speed up the reaction and create more heat than you want. Keep the torch away from flammable materials such as solvents, rags, and plastic sheeting.
Where the bubbles sit is a useful clue. Bubbles clustered around an object, or rising from it in trails, usually point to the object outgassing. Bubbles scattered evenly across a whole layer point more toward mixing, colorant, or the surface of that layer itself.

Choosing the Right Epoxy for Embedded Objects
The best results usually come from using two products together: a table top epoxy to seal, and a deep pour epoxy to encase.
Table top epoxy is built for thin coats. It has a short working time (about 30–35 minutes) and reaches initial cure in roughly 8 hours, which makes it a good choice for seal coats.
Deep pour epoxy is made for depth. Bond Craftor Deep Pour Epoxy Resin mixes at 2:1 by volume. It gives you 2–6 hours of working time, cures with low heat, and is formulated to release bubbles. It comes in two formulas: one for single pours up to 2" deep, and one for single pours up to 4" deep. Choose the one that matches the depth of each layer you plan to pour. That long open time is what lets bubbles rise out of a thick pour. It also means buoyant objects have time to move, which is why fixing them in place matters so much.
Plan for the full timeline. Initial cure takes 50–72 hours, and full cure takes 72–168 hours before the piece is ready for normal use.

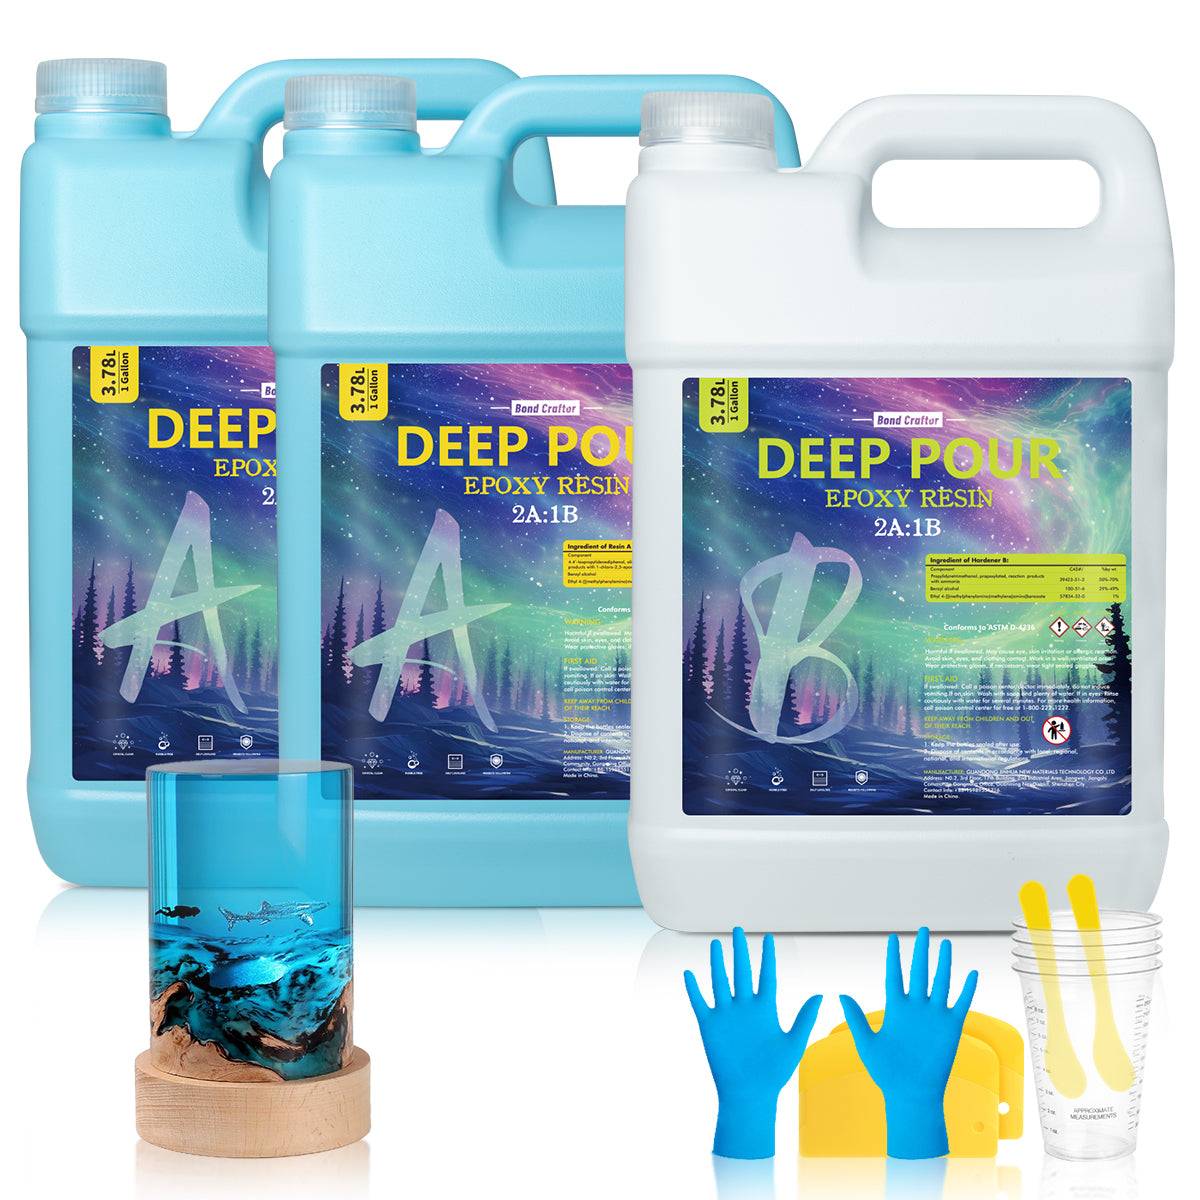
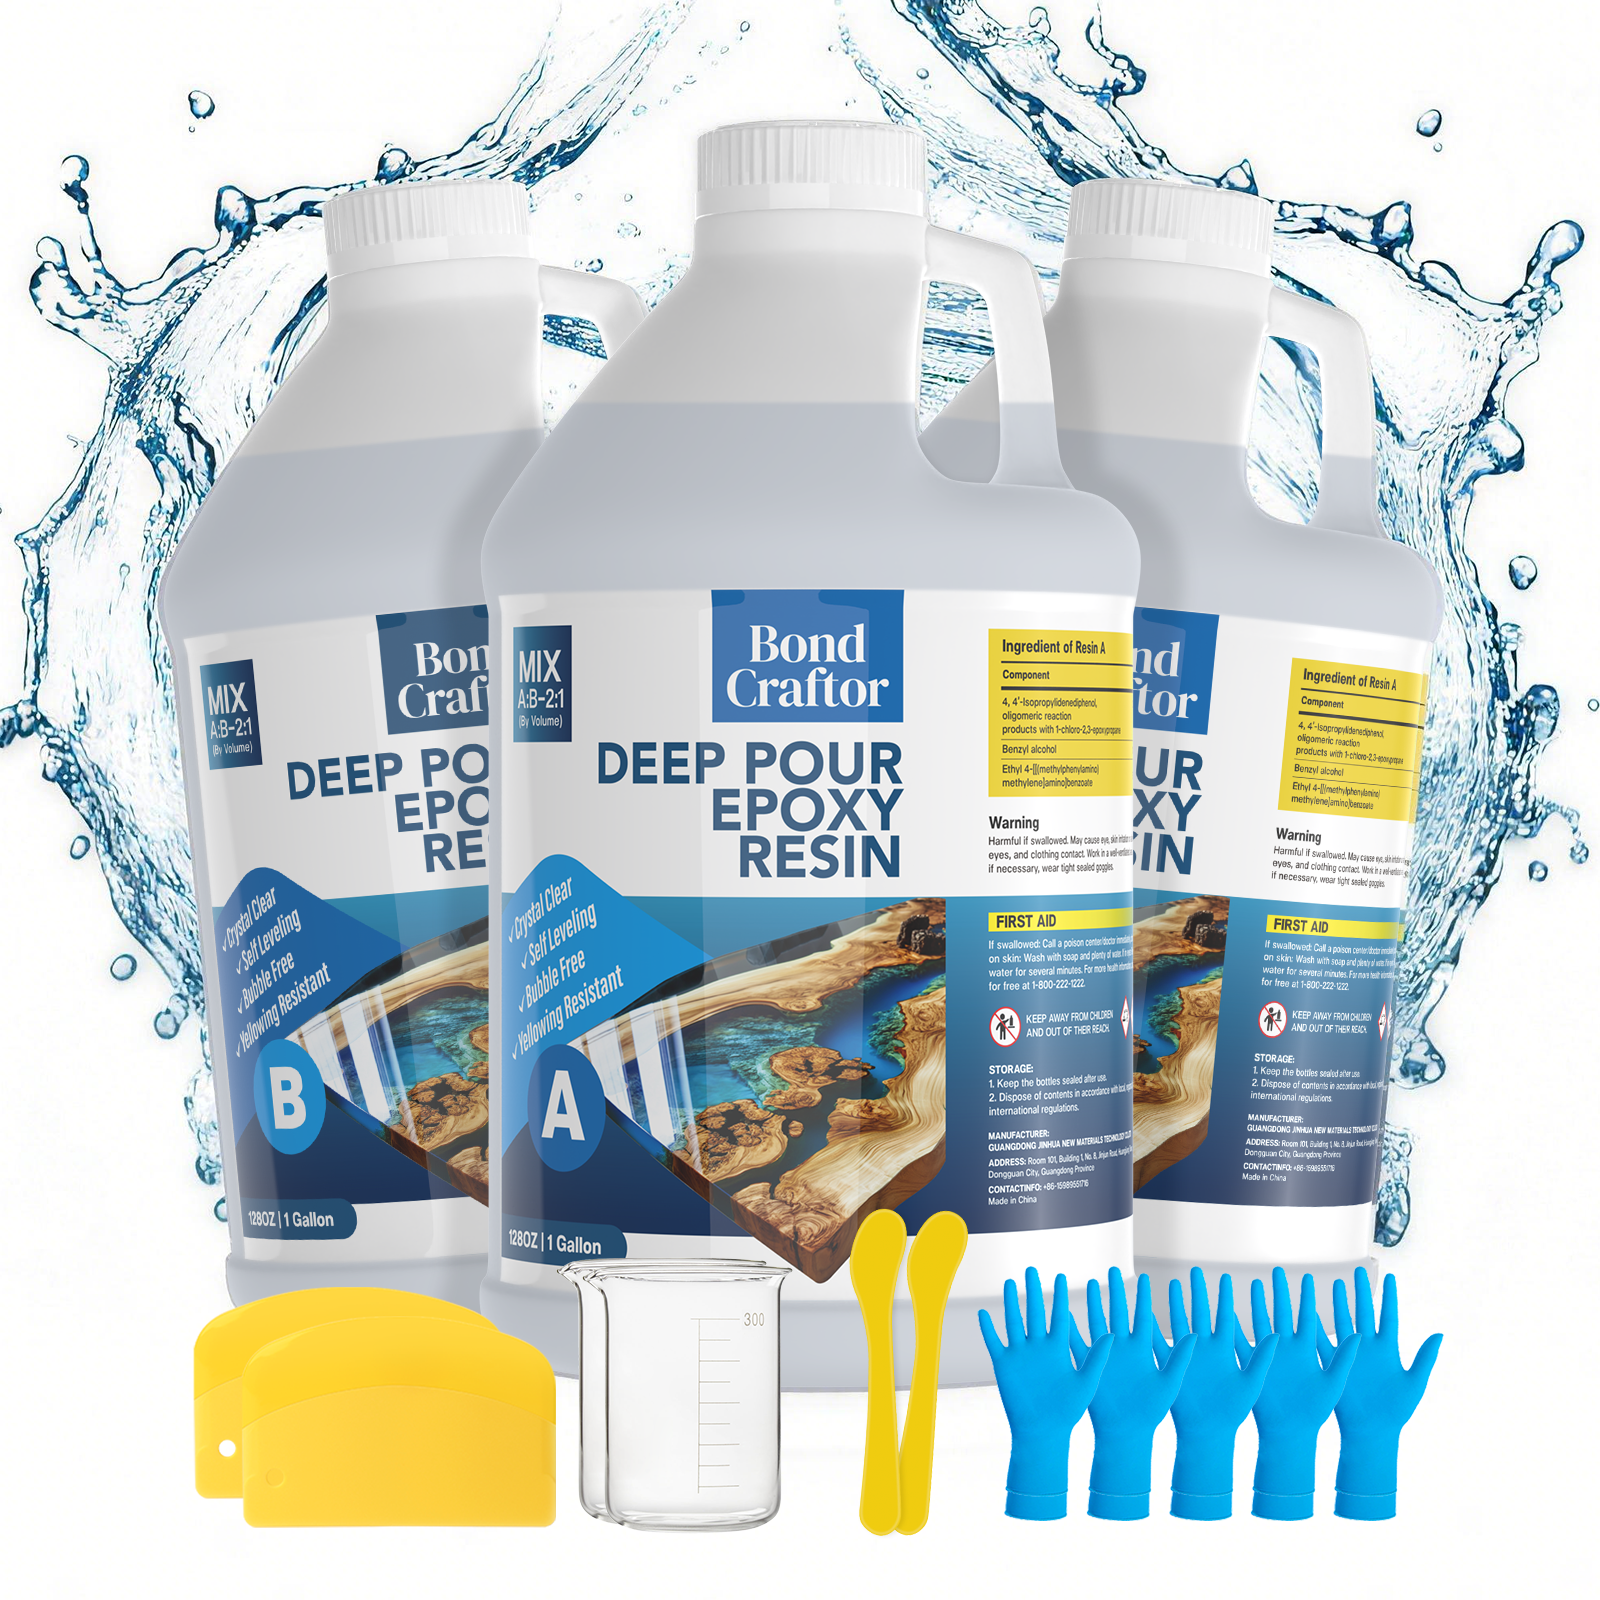
Ready to Start Your Project?
Embedding objects comes down to two things: controlling the air your objects carry and keeping them where you put them. Seal your objects, choose a layered pour or the glue method, and give each layer time to set. When you're ready to start, Bond Craftor Deep Pour Epoxy Resin gives you the working time and pour depth to get it right.
How to Embed Objects in Deep Pour Epoxy Resin FAQ
Can I pour multiple layers of deep pour epoxy?
Yes. Let each layer partially cure before you pour the next one. If a layer has hardened past the tacky stage, lightly scuff it with fine sandpaper and wipe it clean before the next pour.
How long should I wait before placing objects in a layered pour?
Let the base layer reach its initial set and become dry to the touch, about 14–16 hours at 70–75°F. Then pour a thin layer, place your objects in it, and let it cure for about 12–14 hours before the final pour. Thin layers and cooler rooms take longer, so test the surface with a stir stick instead of relying on the clock alone.
Should I choose the 2-inch or 4-inch deep pour formula?
Choose the formula that matches how deep each pour will be. Never pour a single layer deeper than the formula's maximum. If your project is deeper than that, build it up in several layers.
Can I embed fresh flowers in epoxy?
It's best not to. Fresh flowers hold moisture, which can cause cloudy patches and curing problems, and they may brown or decay inside the resin. Dry them completely first. They should feel crisp, not leathery.
Can I color the resin around embedded objects?
Yes. Use colorants made for resin, such as resin dyes, mica powders, or pigment pastes. Avoid water-heavy acrylic paints, because water disrupts the resin's chemistry. Test your colorant alongside your objects first, since some dried flowers and inks can react to the resin.