


Turn this little octopus toward the light and watch its colors come alive. As the image above shows, the head glows teal-green with a golden shimmer, while the tentacles sweep from deep blue into violet and magenta at the curled tips. Every small turn sends a new wave of color across the surface. The method behind it is simple: brush mica powder into a silicone mold, then fill it with black-tinted craft epoxy resin. The dark base makes every shift of the powder pop. Follow along and make a color-shift resin art of your own.
Watch the video tutorial, then follow the steps below to create your own color-shift resin octopus.
Materials You'll Need
Everything here is easy to find, and most of it you may already have from other epoxy resin for crafts projects. The star of the show is a detailed octopus silicone mold, since every sucker and curl will catch the powder.
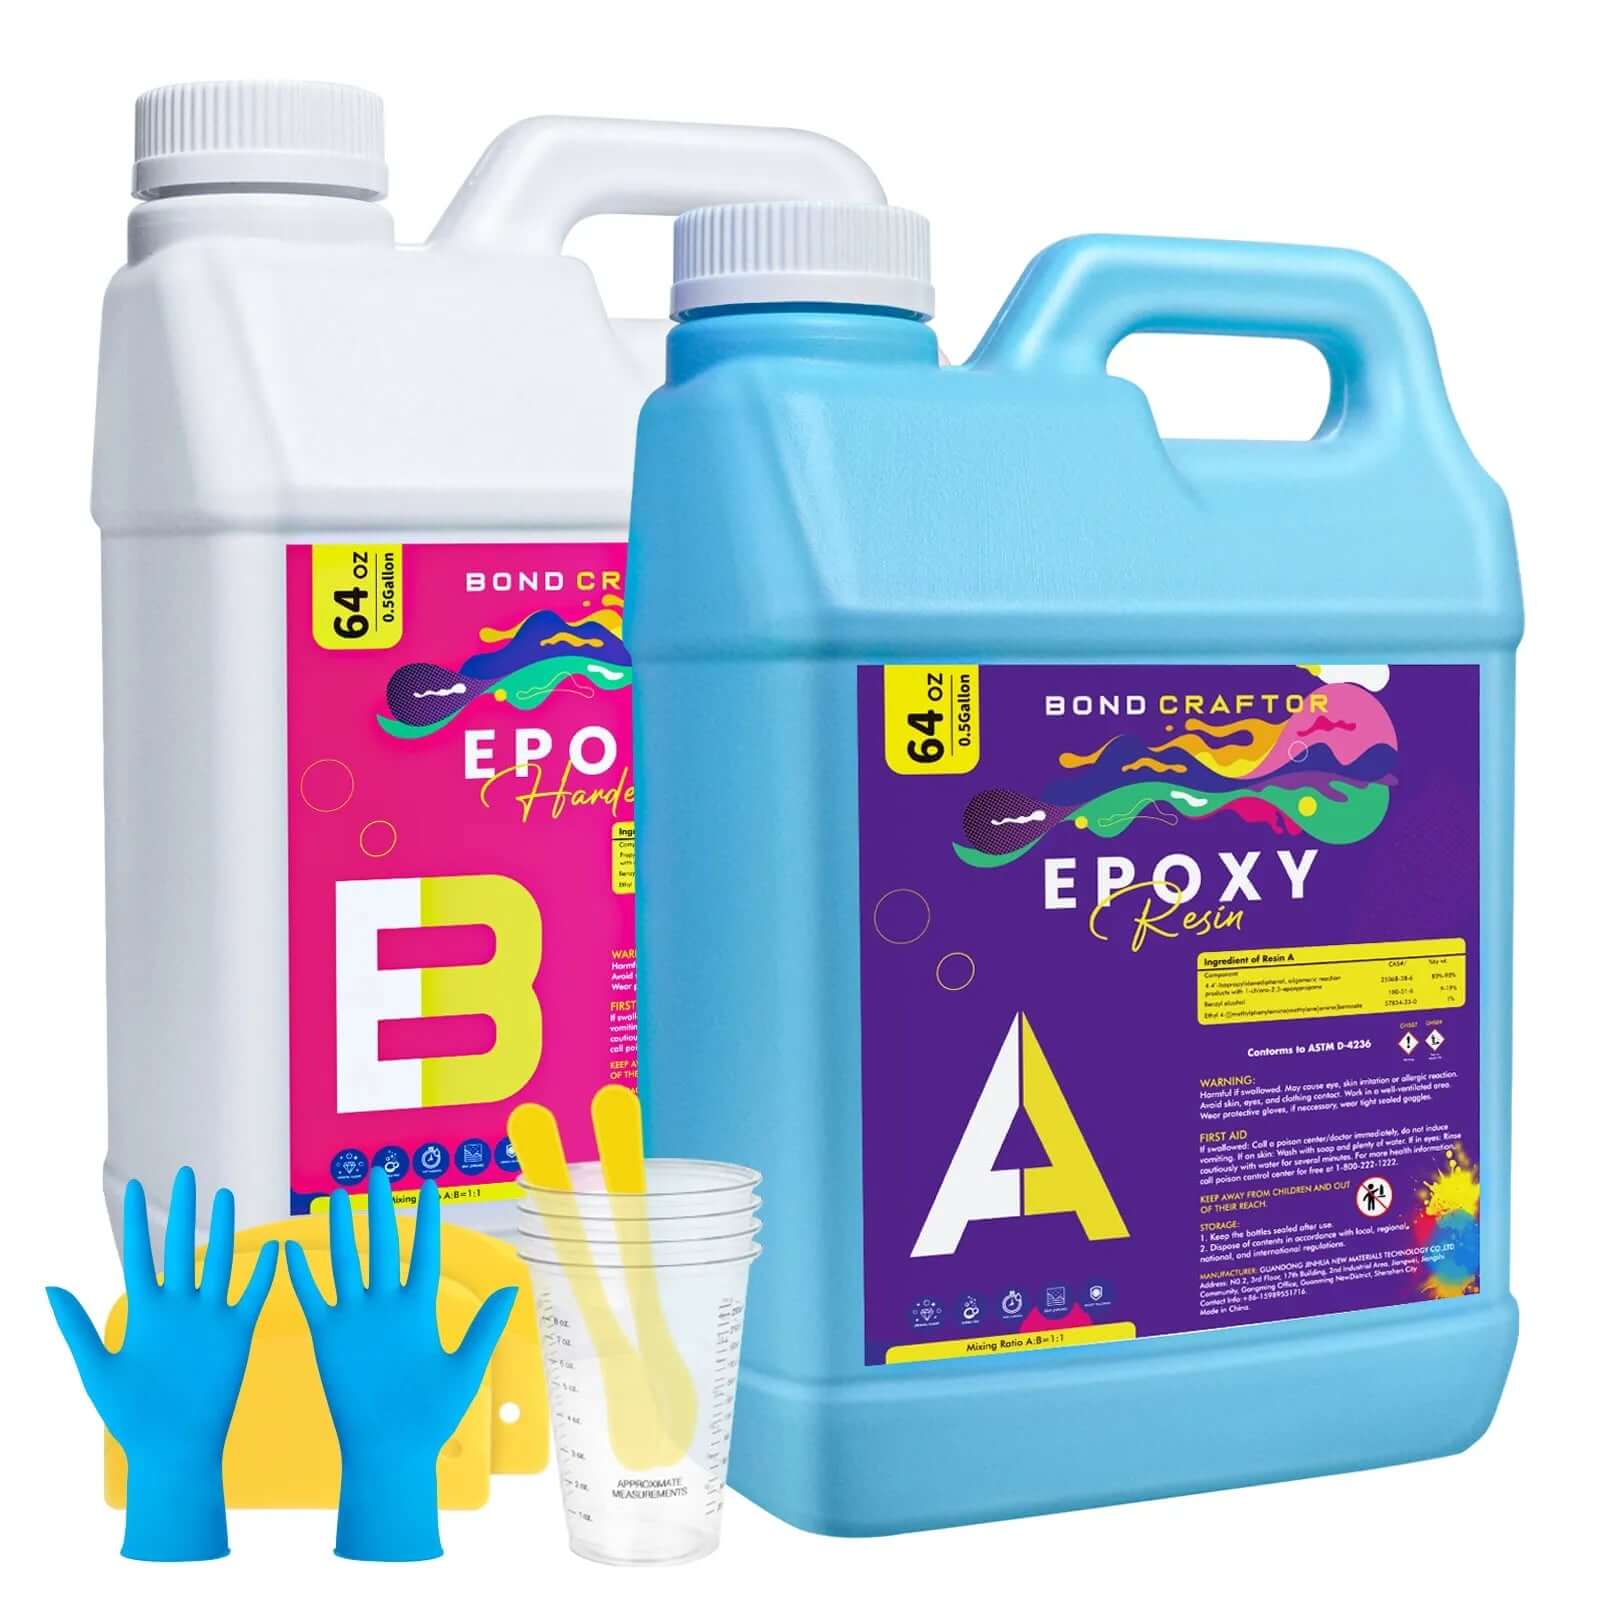
- Craft epoxy resin — Bond Craftor Epoxy Resin (Part A resin + Part B hardener)
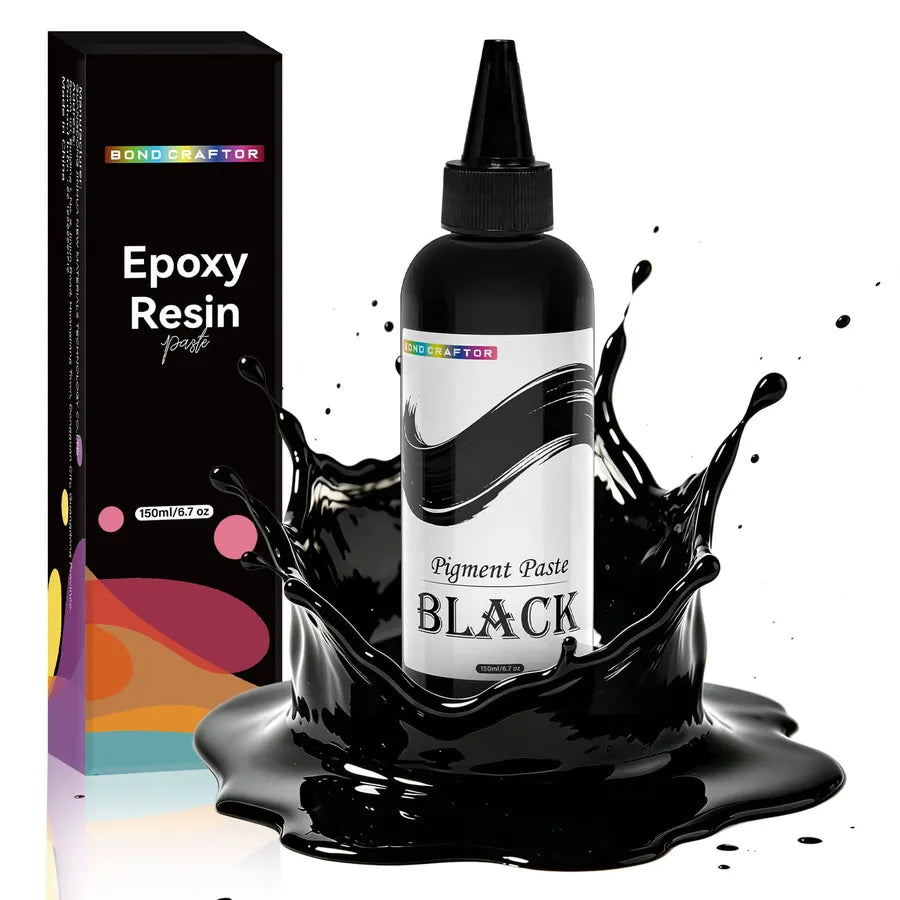
- Black resin pigment paste — a concentrated colorant made for epoxy
- Mica powder — a color-shift (chameleon) mica powder for the surface effect
- Octopus silicone mold
- Soft brush — for dusting the powder into the mold
- Measuring cups and mixing sticks
- Gloves and a protective work surface

Step 1: Brush Mica Powder into the Mold
The color shift lives on the surface of the octopus, so this step decides how the finished piece will look. Start with a mold that is completely clean and dry. Any dust, water or leftover residue can stop the powder from sticking evenly.
Dip a soft, fluffy brush into the mica powder and tap off the excess. Work the color-shift pigment across the inside of the mold in light, sweeping strokes. Build up the coverage gradually rather than loading on a thick layer all at once.
Don't worry if the powder looks pink or coppery at this stage. Against the pale silicone, color-shift mica shows only one of its tones. The full teal, blue and purple shift appears once the black resin sits behind it.
Pay special attention to the tentacles, the suckers and the deep folds. These recessed spots are easy to miss, and they are also where the color shift looks most striking. Turn the mold toward a light and check for bare patches or clumps. Brush any heavy buildup back out, since loose piles of powder can leave dull or muddy spots in the resin.


Step 2: Measure and Mix the Craft Epoxy Resin
Bond Craftor Epoxy Resin is a two-part epoxy resin: Part A is the resin and Part B is the hardener. The two only cure properly when they are measured accurately and mixed thoroughly.
Pour Part A into a clear graduated mixing cup, then add Part B to the same cup. Use the volume markings on the cup to measure each part according to the mixing ratio on your product's label.
Stir slowly and steadily. Scrape the sides and bottom of the cup as you go, because unmixed resin tends to cling there. Pockets of unmixed resin can leave soft, sticky spots in the finished octopus. Slow stirring also keeps you from whipping too many bubbles into the mix.


Tip: Mixing ratio, stirring time and maximum pour depth vary between products. Always follow the instructions for the craft epoxy resin you are using.
Step 3: Prepare the Black Epoxy Pigment Paste
Why black? Color-shift mica powder reflects light in changing colors, and a dark background behind it makes those colors look deeper and brighter. On clear or pale resin, the same powder can look washed out.
Add the black colorant — here, Bond Craftor Black Pigment Paste — to the mixed resin. The paste comes in a squeeze bottle with a fine nozzle, so you can squeeze a few swirls straight onto the surface of the resin. Pigment paste is highly concentrated, so start with a little; you can always add more.
Stir gently with your spatula until the color is completely even. You'll watch the clear resin turn smoky, then a solid, glossy black.
Check the cup for any light streaks before moving on. A fully uniform black epoxy resin gives you the cleanest backdrop for the color shift.


Step 4: Pour the Resin and Let It Cure
Pour the black resin slowly into the powdered octopus resin mold. A thin, steady stream lets the resin flow into the tentacles without blowing the powder off the mold walls. Watch the narrow tips and deep curls as you pour, and top up any spots that haven't filled.
If you have other powdered molds ready, fill them from the same batch. In the video, a dragon and a gecko mold are poured alongside the octopus, so no mixed resin goes to waste.
When the molds are full, set them on a stable, level surface where they won't be bumped. Cover them loosely to keep dust off, then leave them to cure. In the video, the pieces were demolded 24 hours later. Resin casting rewards patience, so let the resin set before you try to remove the piece.
Demold time vs. full cure: Resin is often firm enough to demold before it has fully cured. The 24 hours shown in the video is the demold time; check your product's instructions for the full cure time, and handle the octopus gently until it gets there. Cooler rooms and thicker pours take longer.


Step 5: Demold and Reveal the Color Shift
This is the moment the whole project builds toward. Start at the outer edge of the mold and gently peel the silicone back, working your way around. Release the tentacles one at a time, flexing the mold away from the resin rather than pulling the octopus out. Thin tips are the most delicate part, so take your time there.
Now pick up your color-shift resin octopus and turn it under a light. As the angle changes, the mica powder flips between teal, gold, blue and purple across the head, the suckers and every curling arm. The black base keeps the shift crisp and saturated from every side.

The Finished Color-Shift Resin Octopus
The finished octopus has a smooth, glossy surface, and every sucker and curl from the mold comes through in sharp detail. Up close it reads as a dark, polished piece; turn it slightly and a wave of color rolls across it. It makes an eye-catching desk ornament, shelf piece or gift.
This technique isn't limited to octopus molds. Any silicone mold with raised details, curves or texture will show off color-shift mica powder beautifully, like the dragon, gecko and frog shown at the start of the video, or crystals, shells and keychains. Pick a mold you love, apply the same steps, and see what you create next. We hope this guide helps you make many more stunning epoxy resin crafts of your own.

Color-Shift Resin Art FAQ
What is color-shift mica powder?
Color-shift mica powder, sometimes called chameleon powder, is a fine pearlescent pigment that reflects different colors depending on the viewing angle. When you tilt a finished piece, the surface can move from teal to gold to purple, which is what gives this octopus its changing look.
Why do I need a black resin base?
A dark base makes color-shift pigments look richer. Light passing through the mica layer reflects off the black resin behind it, so the colors appear deeper and more vivid. On clear or light-colored resin, the same powder often looks pale or washed out.
Can I mix the mica powder directly into the resin instead?
You can, but the effect will be different. Mixing the powder into the resin spreads it through the whole piece, giving a softer shimmer. Brushing it into the mold first places the pigment right on the surface, which creates the strongest and clearest color shift.
How long does the resin octopus take to cure?
Curing time depends on the resin you use, the room temperature and how thick the pour is. Check your resin's instructions for both the demold time and the full cure time, and handle the piece gently until it has fully cured.
How do I avoid bubbles in my resin casting?
Stir slowly to avoid whipping air into the mix, and pour in a thin, steady stream. Pouring slowly also lets the resin push air out of the tentacles and other narrow spots as it fills the mold.
Can I use this technique with other silicone molds?
Yes. Any silicone mold with raised details, curves or texture works well, such as dragons, crystals, shells, keychains and small figurines. The more detail a mold has, the more angles the mica powder has to catch the light.