

·
Jul 14, 2025
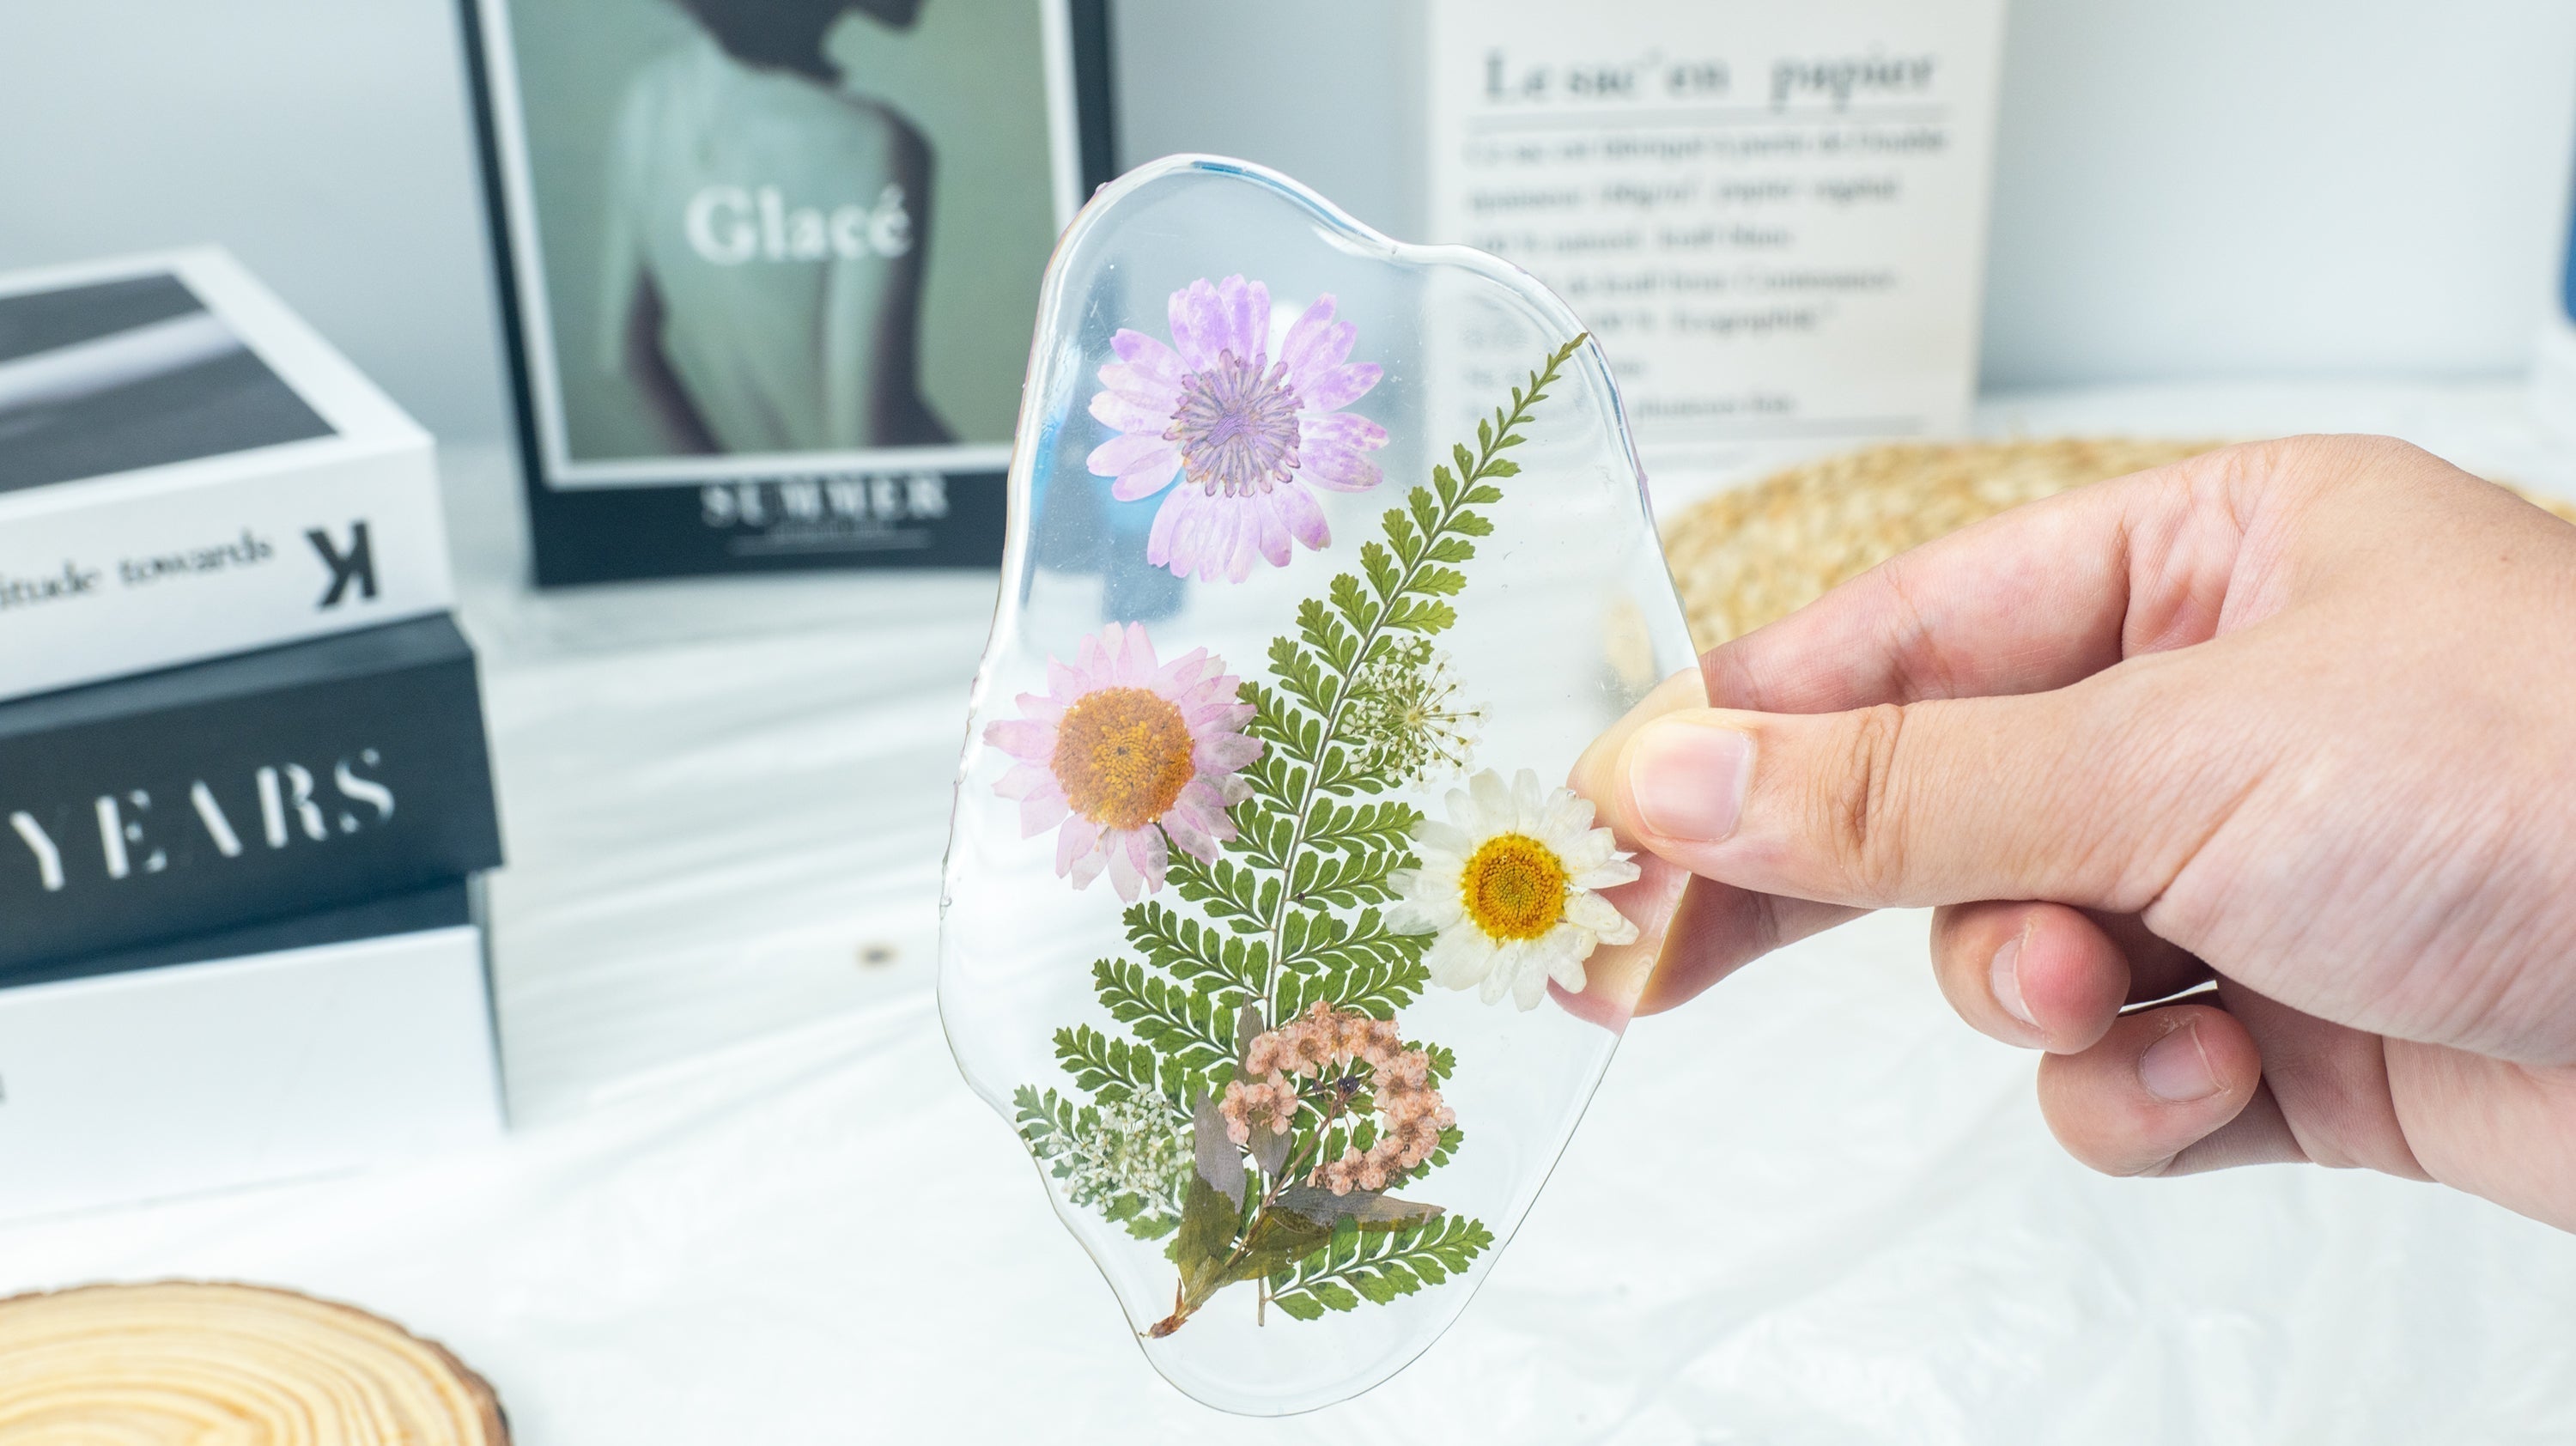
How to Make Your Perfect Dried Flower Coaster
There’s something incredibly satisfying about turning a handful of dried flowers into a clear, glossy coaster you can actually use. It’s part craft, part keepsake: a little slice of nature frozen in time under glass-like resin. Whether you’re brand new to resin or you’ve already fallen in love with it, dried flower coasters are a beautiful project that feels special without being complicated.
In this guide, we’ll walk through everything step by step—from choosing the right resin and flowers to mixing, pouring, layering, and curing. By the end, you’ll know exactly how to create a smooth, bubble-free coaster that looks polished enough to gift, sell, or keep on your own coffee table.
Materials You’ll Need
Before you start mixing, it helps to have everything laid out and ready. Resin has a limited working time, so an organized setup makes the whole process calmer and a lot more fun.
Core Materials
- Epoxy resin and hardener – A clear, craft-grade epoxy is ideal for small projects like coasters. If you prefer a more relaxed working time, reach for the Bond Craftor Epoxy Resin Crafting Kit. If you like faster turnarounds, the Bond Craftor Fast-Curing Epoxy Resin is a great option.
- Silicone coaster mold – Flexible, non-stick, and perfect for easy demolding.
- Dried flowers and/or hay – Completely dry, pressed or lightly flattened botanicals work best.
Tools & Safety
- Graduated mixing cups (for measuring equal volumes of A and B)
- Stir sticks
- Tweezers (for arranging flowers)
- Optional: heat gun or small torch (for popping surface bubbles)
- Nitrile gloves
- Safety glasses
- Face mask or respirator if your space is not well ventilated
Set up in a dust-free area with a level surface. Cover your work table with plastic or parchment so you can focus on creating instead of worrying about spills.
About the Resin You’re Using
For dried flower coasters, you want a resin that’s crystal clear, self-leveling, and resistant to yellowing over time. Bond Craftor’s craft-friendly formulas are designed with exactly this kind of project in mind.
Why These Resins Work Well for Coasters
- Easy 1:1 mix ratio by volume – No complicated math, just equal parts Part A and Part B.
- Good working time – Enough time to mix, pour, and adjust your flowers without rushing.
- Self-leveling – The surface naturally evens out to a smooth, glassy finish.
- Clear and hard when cured – Once fully cured, your coaster is durable enough for daily use and hot mugs (within normal household temperatures).
You don’t need to memorize all the technical specs, but you should hold on to one key idea: accurate measuring and thorough mixing make all the difference between a perfect coaster and one that cures soft, cloudy, or streaky.
Step-by-Step: How to Make a Dried Flower Coaster
Let’s go through the full process in order. Don’t worry—it looks long on paper, but in practice it feels like a calm, satisfying routine.
Step 1: Measure Your Resin Accurately
Start by measuring equal volumes of Part A (resin) and Part B (hardener) using two clean graduated cups. For example:
- 50 ml of Part A
- 50 ml of Part B
Equal volume is important. Too much hardener or too much resin can lead to tacky spots, cloudy areas, or a weaker final piece.

Step 2: Pour Part B Into Part A
Pour the measured Part B slowly into the cup containing Part A. Adding B into A (not the other way around) helps the two blend together more evenly and reduces the chance of unmixed streaks.

Step 3: Mix Slowly and Thoroughly
Stir the resin mixture slowly for about 3 minutes, scraping along the sides and bottom of the cup as you go. Then keep stirring for another 2 minutes. You’re aiming for a completely uniform mixture with no cloudy streaks or “threads” of unmixed resin.
Slow, steady mixing helps minimize bubbles. If a few appear, don’t worry—we’ll deal with them later.
Step 4: Let the Resin Rest for a Few Minutes
Once mixed, let the resin sit in the cup for about 3–4 minutes. During this time, many of the smaller bubbles naturally rise to the surface and pop, giving you a cleaner pour and clearer final piece.
Step 5: Pour a Thin Base Layer
Pour a very thin layer of resin into the bottom of your silicone mold—just enough to lightly cover the base (around 2 mm thick). This “base window” gives your flowers something to sit on and helps prevent air from getting trapped right under them.

Step 6: Place Your Dried Flowers and Hay
Now for the fun part—arranging your botanicals.
Gently place your fully dried flowers and hay onto the thin resin layer. Ideally, your botanicals have been dried thoroughly (for example, baked around 60°C for a couple of hours or pressed completely dry). Any leftover moisture can cause hazing, bubbles, or spots later, so “crispy dry” is best.

Step 7: Adjust the Layout While the Resin Is Still Fluid
Use tweezers to nudge and adjust the flowers until you’re happy with the composition. Try to finish this part within about 10 minutes of pouring the base layer—after that, the resin starts to thicken and will hold onto things more stubbornly.
This is the moment to decide: do you want a centered, symmetrical layout, or something more organic and scattered?

Step 8: Pour the Second Layer to Cover the Flowers
Mix a fresh batch of resin if needed (again, 1:1 by volume). Pour slowly into the mold, starting near the middle and letting the resin flow gently around and over the flowers. Your goal is to fully submerge the botanicals without flooding the mold too quickly.

If bubbles appear around petals or stems, you can:
- Gently tap the mold on the table to help them rise, or
- Lightly pass a heat gun or small torch over the surface, keeping it moving so the resin doesn’t scorch.
Step 9: Cover and Let Cure for 24 Hours
Place an upside-down box or clean cover over the mold to protect it from dust and pet hair. Let the resin cure undisturbed for about 24 hours at room temperature.
A stable environment matters here—very high humidity can cause a slightly cloudy surface, so if your space is very humid, try to work on a drier day or in a conditioned room.

Step 10: Decide If You Want a Final Top Layer
After about 24 hours, check the coaster surface. Press your fingernail gently into an inconspicuous spot:
- If it doesn’t leave a mark and feels firm, the layer is cured enough to accept a thin finishing pour.
- If it still feels soft, give it more time before moving on.
If you’d like an ultra-glossy, perfectly domed finish, you can mix a small new batch of resin and add a thin final layer on top.
Pour from a low height (around 10 cm) in a slow stream to avoid introducing new bubbles. You only need enough to just cover the surface and create that smooth, “glass” look.
Step 11: Let the Coaster Fully Cure
Once your final layer is poured, let the coaster cure for another 24–48 hours at around 25°C (77°F). Cooler rooms will slow curing; warmer ones may speed it up, but avoid very hot environments that could cause the resin to cure unevenly.

Step 12: Demold and Finish the Edges
When the resin is fully hard, gently peel the silicone mold away from the coaster. This is the most satisfying part—your flowers are now locked inside a clear, solid piece.
If you notice any slight sharpness or sticky residue along the edges:
- Lightly sand the edge with fine-grit sandpaper, or
- Wipe the sides with a cloth very lightly dampened in ethanol or alcohol to clean and brighten them.
Your dried flower coaster is now ready to use, display, or gift.

Tips for Even Better Results Next Time
- Work in small batches at first: It’s easier to control bubbles and timing when you’re not juggling a huge cup of resin.
- Test your flowers: If you’re unsure how a certain flower will behave in resin, try a mini test pour with a small mold.
- Keep it dust-free: A simple cardboard box over your project can save you from tiny dust specks in the finish.
- Take notes: Jot down how much resin you used, which flowers worked best, and how long curing took in your space. Next time will be easier.
Bringing Your Coaster Ideas to Life
Once you’ve made your first dried flower coaster, it’s hard to stop at just one. You can experiment with different color backdrops, translucent tints, metallic flakes, or seasonal botanicals—spring blossoms, autumn leaves, even small keepsakes like tiny charms or confetti.
If you want a relaxed, craft-session pace, the Bond Craftor Epoxy Resin Crafting Kit is a great everyday choice. If you’re working on multiple pieces and want them to set up faster, the Fast-Curing Epoxy Resin helps you move from pouring to demolding more quickly.
Most importantly, treat each coaster as a tiny canvas. The more you play, the more your personal style emerges—and that’s where the real magic of resin art lives.