

·
Aug 13, 2025
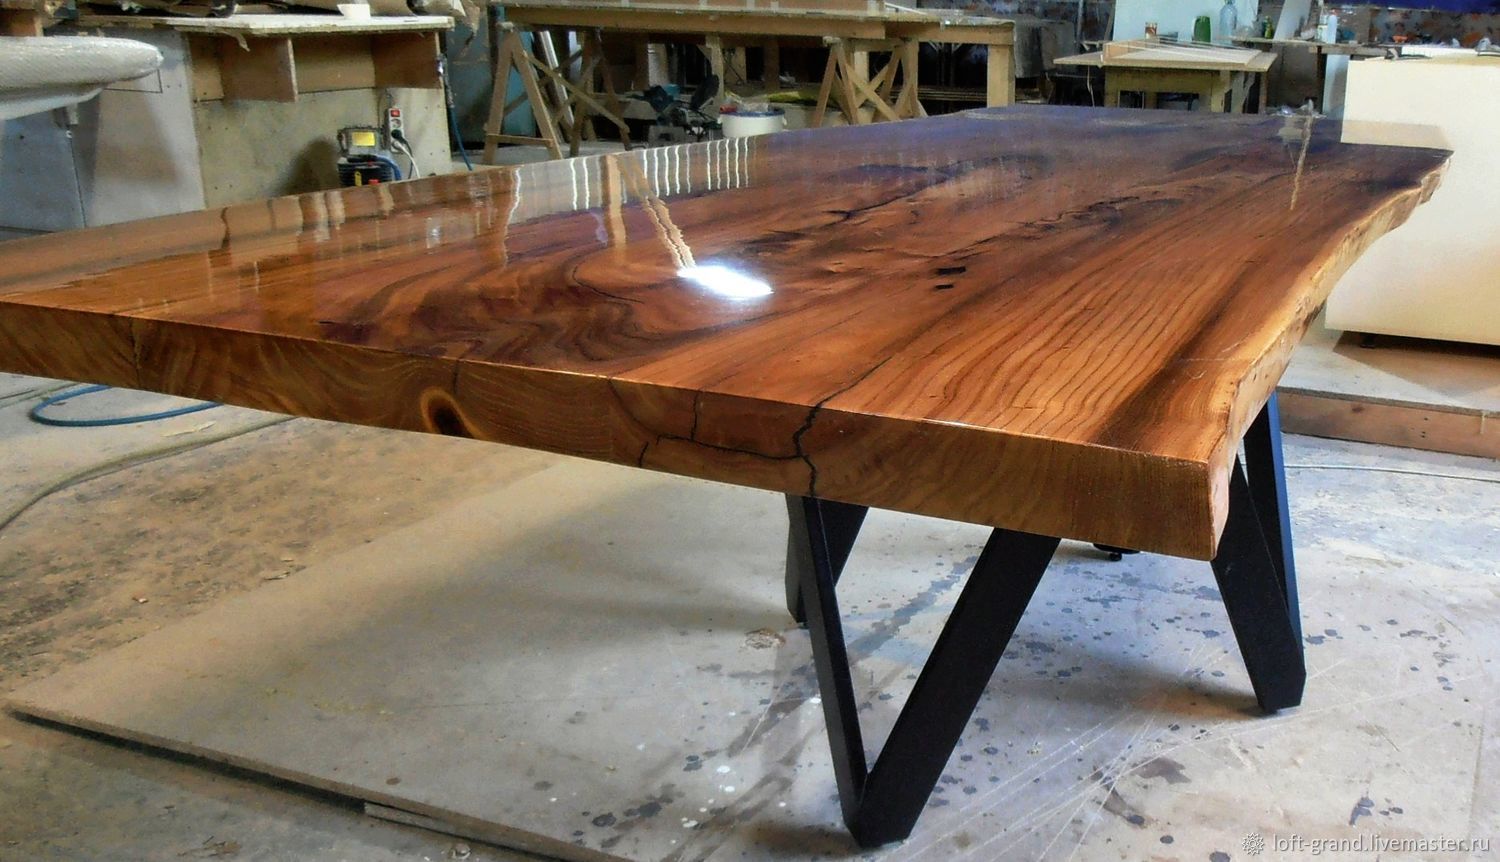
How to Apply Epoxy Resin on Table Tops for a Smooth, Glossy Finish
Preparation: Get Your Table Top and Workspace Ready
First, ensure your table top is in the right condition. It should be clean, dry, and free of any dust, grease, or debris. Start by sanding the surface with medium-grit sandpaper (around 120-180 grit) to remove old coatings and create a rough texture that helps the epoxy adhere better. For porous surfaces like raw wood, this step is especially crucial. After sanding, vacuum up all the dust and wipe the table down with a lint-free cloth dampened with denatured alcohol or acetone to remove any remaining residue.
If your table has cracks or deep imperfections, fill them with a suitable wood filler before proceeding. External guides such as the Woodworkers Guild of America’s article on furniture prep can offer additional sanding tips for perfect adhesion.
Your workspace is equally important. Find a well-ventilated, dust-free area to set up your project. The temperature should be mild, between 70-80°F (21-27°C), for best results—extreme temperatures can affect the epoxy's curing process. Place a plastic drop sheet or drop cloth underneath the table to protect the floor and surrounding items from drips and spills. Verify that the table is level to ensure the epoxy spreads evenly.
Gather Your Supplies
Having all the necessary tools and materials on hand will make the process much smoother. Here's what you'll need:
- High-quality epoxy resin and hardener suitable for table tops (choose a resin designed for furniture projects, such as our Bond Craftor Table Top Epoxy Resin which offers excellent self-leveling and UV resistance)
- Mixing containers (disposable plastic cups work well)
- Stir sticks (wooden or plastic, disposable)
- A spreader tool (such as a plastic trowel, foam roller, notched trowel, or squeegee)
- Sandpaper (various grits, from medium to fine)
- Denatured alcohol or acetone
- Lint-free cloths
- Painter's tape, masking tape, or sheathing tape (to mask off edges and prevent epoxy from dripping)
- A heat gun or torch (for removing bubbles)
- Disposable gloves and protective eyewear
- Paper towels
- Foam brush
- Measuring cups (optional)
You can find high-quality epoxy resin kits and all these supplies in our store. Just click [here](link to your epoxy resin product page) to browse our selection of table top epoxy resins, and [here](link to your tools and supplies category) for all the necessary application tools.
Seal the Surface (Optional but Recommended)
For porous surfaces like raw wood, applying a thin sealing coat of resin before your main pour can help prevent bubbles from escaping. Mix a small batch of resin and apply it with a brush or foam brush, ensuring complete coverage. Use a squeegee if needed to spread it evenly. Allow the seal coat to cure for at least 6 hours before moving on to the main coat. If your surface is not porous or has been sealed, you can skip this step.
Create a Barrier with Tape
Create a barrier of painter's tape, masking tape, or sheathing tape around the edges of the table top if the top doesn't have a raised rim of its own. Press the tape in place around the entire table top with the tape sticking up at least half an inch to prevent epoxy from dripping over the sides. This will give you clean, neat edges.
Add Decorative Elements (Optional)
If you're adding decorative elements (like wood chips, glitter, photos, coins, or bottle caps), place them on the table top surface before pouring the resin. Keep in mind that pouring the resin may move objects, so affix light objects like photos with a glue stick. While the glue is wet, use a roller or a smooth round bottle to get air bubbles out from underneath the print. A glue gun can be used for heavier objects such as coins and bottle caps.
Mixing the Epoxy Resin
You will need to figure out roughly how much resin you will need for your entire project. It’s always better to have a little extra resin left over than to have to mix up another batch mid-project.
Read the instructions on your epoxy resin and hardener carefully, as the mixing ratio can vary between products. Most often, it's a 1:1 ratio by volume, but some might be different. Pour the required amounts of resin and hardener into separate cups first, then pour those into a clean mixing container.
Stir the mixture slowly and thoroughly for at least 3-5 minutes (larger pours may require 5-6 minutes), making sure to scrape the sides and bottom of the container to ensure everything is well combined. It is recommended to not mix more than 1 gallon at a time. Be careful not to stir too vigorously, as this can introduce air bubbles into the mixture. Once mixed, let the epoxy sit for a minute or two to allow any small bubbles to rise to the surface.
You can either pour this resin as is for a clear finish or mix in any color or glow pigments at this time. If you are using more than one color, pour the clear resin from the mixing cup into new cups, one for each color, and then stir in your pigments.
Applying the First Coat
Pour the mixed epoxy onto the center of the table top slowly in a thin stream. Use your spreader tool to evenly distribute the epoxy across the surface, working from the center outwards. Fill any indents or flaws in the table’s surface with the mixture by using a foam brush to guide the resin into these indentations. Continue pouring until the entire table top is coated. Aim for a thickness of about 1/8 to 1/4 inch for the first coat, or a thin 1/16" thick coating if following a multi-layer approach. Make sure to cover the entire surface, including the edges, but avoid building up too much epoxy on the edges as it can drip.
Removing Bubbles
After applying the first coat, bubbles will likely form on the surface. To remove them, use a heat gun or torch held about 6-12 inches above the epoxy. Move the heat source slowly and evenly across the surface in sweeping motions, and the heat will cause the bubbles to rise and pop. Be careful not to hold the heat in one spot for too long, as it can damage the epoxy, cause it to cure too quickly, or even scorch it. Do not use a torch on surfaces that might be flammable (i.e., paper, plastic, etc.).
Applying Subsequent Coats
For thicker coverage, you can pour in multiple layers. Allow the first coat to cure for 6 hours before making a second pour. Remove the tape rim from the perimeter of the table top and create a fresh masking tape rim around the table top. Mix a fresh batch of resin, making a slightly larger batch than before. Pour the resin mixture slowly onto the table top until the entire top is coated. Apply additional coats as desired, allowing adequate curing time between coats (at least 6 hours) and using a fresh rim of tape each time.
If you need to pour several layers for additional thickness and wait longer than 48 hours between coats, lightly sand the surface with 220 grit sandpaper before applying the next coat. Wipe away the dust with a lint-free cloth dampened with denatured alcohol.
Curing and Finishing
Allow the final coat to cure completely according to the product instructions. This can take anywhere from 72 hours to a week, depending on the epoxy and environmental conditions, but maintain a stable temperature of 70–80°F (21–27°C) in your workspace. Protect the surface from dust by covering it loosely with a clean box or plastic tent. Avoid touching the surface until it is fully cured.
Once fully cured, you can remove the painter's tape. If there are any rough edges or drips, sand them down with fine-grit sandpaper and polish the surface with a buffing pad for an extra shine. We recommend you allow the table top to cure and harden for 5 days before placing objects on it.
You can spray your cured epoxy table with a UV resistant acrylic for added protection against outdoor elements, though all epoxy resin will eventually yellow after prolonged UV exposure.
Maintain Your Glossy Table Top
Once cured, your epoxy-coated table will have a durable, glass-like finish. To maintain its shine, clean with a soft, damp cloth and avoid abrasive cleaners. For added protection, you can place felt pads under decorative items to prevent scratches. For more maintenance tips, check out our blog on How to Protect Epoxy Resin Furniture from Scratches.
Tips for Success
- Work in small sections if you're new to applying epoxy resin, to avoid the mixture curing before you've spread it evenly.
- Keep a damp cloth and paper towels handy to clean up any spills or drips immediately.
For more inspiration on table top designs using epoxy resin, check out this great article from [a popular home decor website](link to an external home decor website with epoxy resin table ideas) or reputable resources like This Old House’s epoxy woodworking projects guide.
With a little patience and attention to detail, you can achieve a beautiful, smooth, and glossy finish on your table top using epoxy resin. Not only will it look amazing, but it will also be resistant to scratches, stains, and heat, making it a practical choice for everyday use. Investing in high-quality resin and taking your time during application will make all the difference.
Visit our store today to get all the supplies you need to start your epoxy resin table top project, including our full range of epoxy resin products.