

·
Oct 4, 2025
Epoxy Resin Crafting Kit: Easy Step-by-Step Guide for Beginners
If resin videos have ever stopped you mid-scroll—shimmering ocean coasters, flower-filled pendants, glossy trays—you’re not alone. Resin crafting has gone mainstream because it’s one of the few DIY hobbies where beginners can create professional-looking pieces at home with a modest setup.
The catch? Starting from scratch can feel confusing. Which resin? What ratio? Why does everyone talk about bubbles and curing? I learned quickly that the fastest way past analysis paralysis is to start with a complete kit. Instead of hunting down bottles, cups, molds, gloves, and then realizing you forgot one tiny thing, you open a box and begin.
This guide keeps things practical: a clear “why kit” section, realistic prep and safety, a five-step workflow with fixes, common pitfalls (and how to dodge them), plus simple project ideas. Follow along and your first pour won’t just be possible—it’ll be enjoyable.
Why start with a kit (and not a shopping list)
Buying supplies one by one sounds flexible… until it isn’t. Here’s the beginner-reality check:
What happens when you self-assemble
- You mix brands that don’t play well together.
- You forget “small” items (mixing sticks, gloves, pipettes), then pause mid-project.
- You overspend on extra quantities you won’t use for weeks.
- You learn through preventable mistakes (like the wrong mold type or uneven measurements).
What happens with a ready-to-use kit
- Resin + hardener are matched and labeled for a simple ratio.
- Essential tools are included (measuring cups, sticks, often beginner molds).
- Instructions are written for that exact resin system.
- You start faster and waste less—critical for confidence on project #1.
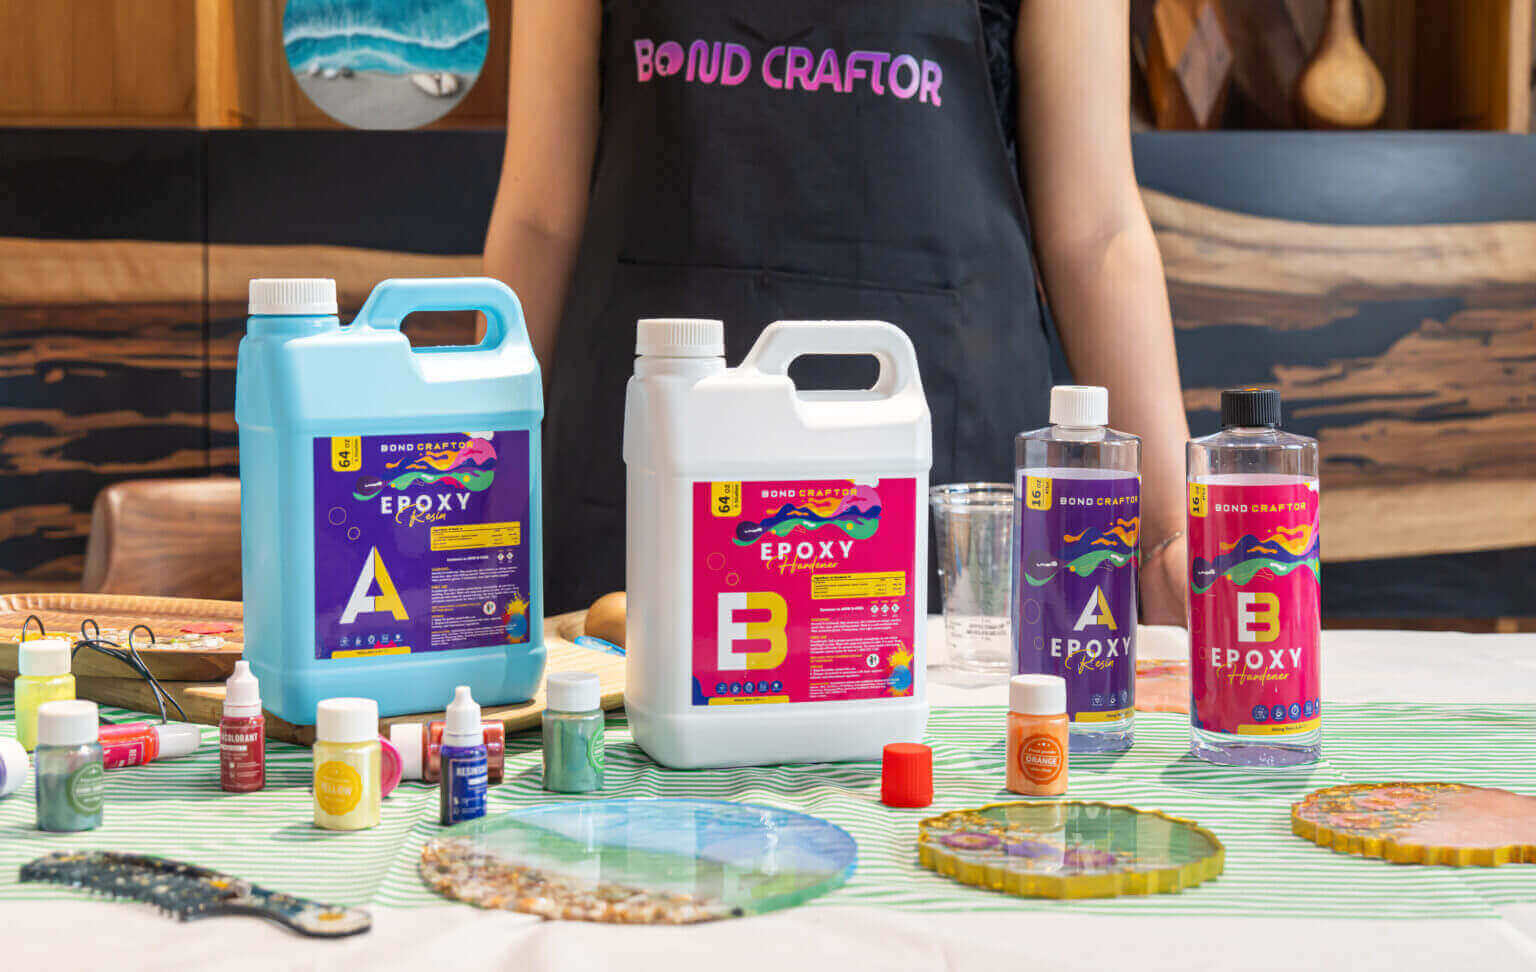
If you’re new and don’t want to gamble on mismatched products, a brand like Bond Craftor epoxy resin gives you clarity, durability, and a straightforward path to your first success.
Preparation & safety basics (the five-minute ritual)
You don’t need a lab—just a tidy corner and a few habits:
- Airflow & surface: Work in a well-ventilated space on a level table. Cover it with plastic or baking paper. Resin drips are forever.
- Gloves on: Resin is sticky; soap won’t remove uncured residue easily. Nitrile gloves save your skin (and your mood).
- Keep it clean: Dust and loose fibers turn glossy surfaces dull. Wipe down your area; keep pets and fans pointed away.
- Room conditions: Aim for a typical “comfortable room” day and avoid high humidity if you can. Dry, steady conditions cure cleaner.
- Store smart: Cap bottles tightly. Stash away from sunlight, kids, and pets.
Instead of piecing together supplies, it’s far easier to start with an all-in-one deep pour epoxy resin kit It packs resin, hardener, cups, and stir sticks, so you can prep in minutes and focus on creating.
Five easy steps to your first pour
Think of this as a cooking recipe: measure, mix, pour, rest, finish. The art lives inside the basics.
Step 1 — Measure like it matters (because it does)
Check the kit instructions for the mix ratio (commonly 1:1 ). Use the included measuring cups. A sloppy ratio is the #1 reason pieces stay rubbery or never fully cure.
Micro-tip: Pre-read the working time. It tells you how long you can mix and pour before the resin thickens. Set a phone timer; future-you will thank you.
Step 2 — Stir slowly and scrape the sides
Stir for 2–3 minutes in a steady, clockwise motion along the cup wall and bottom, making sure to scrape as you go. The goal is a smooth, even mix with no cloudy streaks.
Pro tip: If you still spot streaks, just keep stirring gently until the resin turns completely clear. Don’t rush this step—patience here means fewer bubbles and better results.
Step 3 — Pour with control; remove bubbles with care
Pour along the inner wall of the mold and let resin flow in, rather than dumping into the center (which traps air). Pop surface bubbles with a toothpick. If your kit allows, a quick pass with a heat source can smooth the top—light, brief, and never in one spot too long.
Embedding? Dry botanicals completely before adding. Trapped moisture is the enemy of clarity.
Step 4 — Let curing be boring (that’s good)
Most beginner systems need 12–24 hours to cure. Cover your piece with a clean box or container to keep dust off. Move the mold as little as possible—vibrations travel into waves and dimples.
How to check progress: Lightly touch an edge with a gloved fingertip after the recommended time. If it’s still tacky, wait. Patience creates gloss.
Step 5 — Demold gently; finish lightly
Flex the mold to release edges, then peel the piece out. If the rim is sharp, a quick touch with fine-grit sandpaper softens it. Want a deeper shine? Many kits include a finishing suggestion—follow it, or leave the satin edge for a hand-made aesthetic.
[object HTMLImageElement]Optional: A thin seal coat can level micro-scratches. Use tiny amounts, and keep dust away during that short cure.
Common beginner mistakes (and simple fixes)
You don’t need to make these to learn from them:
-
Eyeballing the ratio
- Symptom: Soft, bendy, or tacky pieces that never fully cure.
- Fix: Measure accurately by the kit’s instructions. Switch to new cups if you lose track.
-
Mixing like you’re beating eggs
- Symptom: Bubbles suspended throughout the piece.
- Fix: Slow the stir, scrape the sides, and pour down the mold wall. Use a toothpick or quick surface pass to burst bubbles.
-
Pouring too thick in one go
- Symptom: Overheating and internal cracks during cure.
- Fix: Keep beginner pours thin or layered. Let layer one gel before adding layer two.
-
High humidity / dusty room
- Symptom: Cloudy surface or tiny specks frozen in the gloss.
- Fix: Choose a drier day or room; cover with a clean box while curing.
-
Too much pigment or add-ins
- Symptom: Sluggish cure, soft spots, or color separating.
- Fix: Go light on pigments and alcohol inks. Dry all inclusions fully before embedding.
-
Demolding early
- Symptom: Warped pieces and fingerprint impressions.
- Fix: Wait the full cure window before flexing the mold. If in doubt, wait another few hours.
Mistakes happen; what matters is recognizing the cause and knowing the quick remedy.
Beginner-friendly project ideas (learn fast, fail cheap)
[object HTMLImageElement]Small projects teach technique without big risk. Each of these can be finished in an evening plus cure time.
1) Coasters with character
Why they’re great: forgiving and useful. Start clear, then experiment—glitter veils, marble swirls, or pressed flowers. You’ll practice bubble control and surface leveling.
2) Keychains from leftovers
After a pour, you often have a few milliliters left. Keep mini molds nearby for keychains. Even quirky shapes become conversation starters (and you’ll learn timing for tiny molds).
3) Pendants & earrings
A touch of pearl pigment makes jewelry pop. Try a subtle ombré or embed a tiny dried bloom. You’ll practice small-scale pours and precise demolding.
4) Pressed-flower bookmarks
Use thin, rectangular molds and fully dried petals or leaves. These reward light pours and dust-free cures—great practice for patience and cleanliness.
5) Mini tray or jewelry dish
Slightly larger than a coaster, but still friendly. You’ll learn to watch edges and corners, and how a careful top pass creates that “liquid glass” look.
6) Photo fridge magnets or tile insets
Seal a small photo before embedding (to prevent ink bleed), then pour a clear dome. You’ll learn about adhesion, sealing, and how light refraction enhances images.
Pick one, keep the design simple, and you’ll collect tiny wins that build real skill.
Quick troubleshooting Q&A
Q: My resin looks mixed but still has faint lines. Pour now or keep stirring?
A: Keep stirring gently until it’s truly uniform. Those lines are unmixed resin/hardener and can cause soft spots.
Q: Can I speed curing with heat?
A: Follow your kit’s guidance. Mild warmth can help; too much heat risks warping or bubbles.
Q: How do I keep dust off the surface?
A: Prep the area, then tent your piece with a clean cardboard box or food cover. It’s a simple fix with big results.
Ready when you are
Resin isn’t magic; it’s a sequence. Measure, mix, pour, wait, finish. With a little care, your first result can be something you actually want to use or gift.
Pour something small tonight—a coaster, a pendant—and you’ll wake up to a finished piece tomorrow. That first success is the gateway; the projects you’ve saved on your phone stop being “someday” and turn into “I made this.”