

·
Oct 7, 2025
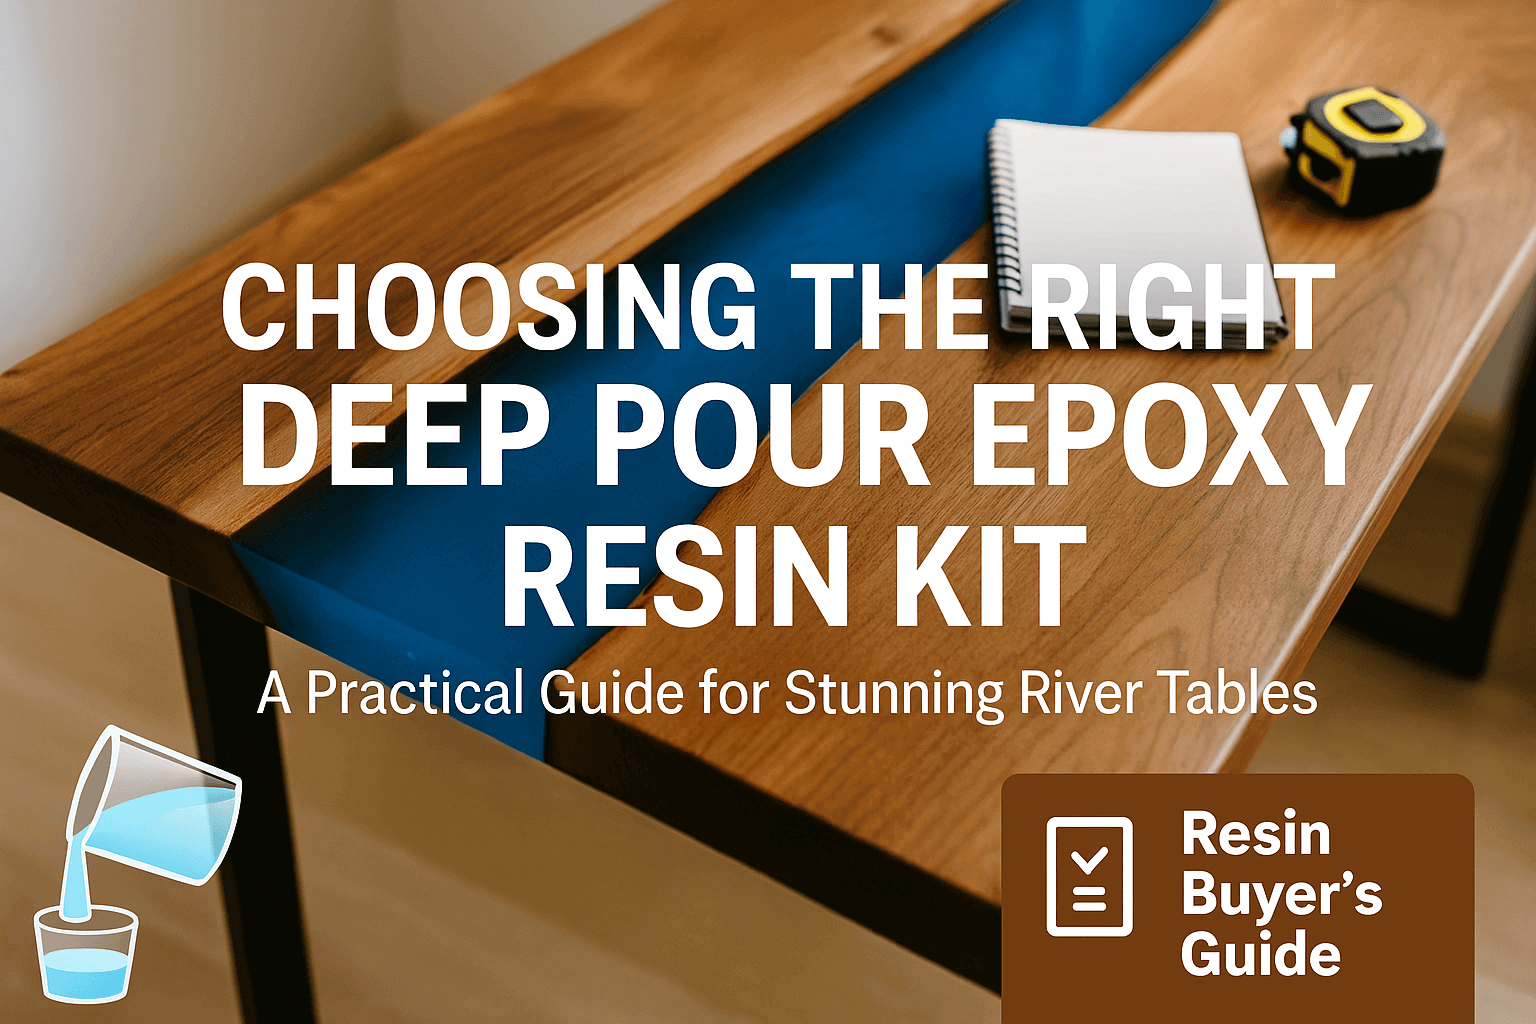
How to Choose the Best Deep Pour Epoxy Resin Kit for River Tables
Introduction
River tables have exploded in popularity. You’ve probably seen the videos: resin flowing like glass between two live-edge slabs, then polished into a surface that looks like moving water. It’s mesmerizing, and it often sparks the thought—“Maybe I could make one myself.”
But once you start planning, a tough question comes up: what resin should you use?
Many beginners assume any “epoxy resin” will do, only to end up with shallow pours, foamy bubbles trapped inside, or a surface that yellows after a few months. The difference between success and frustration usually comes down to choosing the right resin from the start.
Why Buy Epoxy Resin Online for Your River Table

Part of the appeal is obvious—they look incredible. A river table turns natural cracks and voids into features, not flaws, creating a piece that feels like art as much as furniture. But there’s also a practical reason more DIYers are trying it themselves: cost.
Buying a finished dining-size river table from a boutique maker can run into thousands of dollars. Doing it yourself shifts most of that cost into materials, especially resin, while giving you total control over the design. Species of wood, pigment color, edge shape—it’s all up to you.
That’s why it pays to be careful about resin choice early on. Before you click “add to cart,” take a moment to browse epoxy resin online from suppliers the specialize in woodworking. The difference is clear: detailed specs like pour depth, working time, and anti-yellowing formulas are front and center, rather than buried or missing.
Deep Pour vs. Tabletop Epoxy (and the Quick Label Test)
Here’s the catch: not all epoxy is the same. Tabletop resin is meant for thin coats—bar tops, coasters, surface sealing. It’s fast-curing, but it can only handle pours up to about a quarter inch. Try using it to fill a river table void, and you’ll likely end up with heat cracks, trapped bubbles, or worse.
Deep pour resin, on the other hand, is formulated for thicker applications. A good kit allows 2–4 inches per pour, cures slowly enough for bubbles to escape, and includes UV resistance to keep your “river” crystal clear for years.
A quick test when reading labels: if the product doesn’t clearly list single-pour depth in inches or millimeters, it’s probably not designed for river tables.

Key Features of the Best Deep Pour Epoxy Resin Kit
Once you know you need deep pour resin, the next step is comparing options. These are the features that matter most—along with how to check them before buying:
1) Pouring Depth Capacity
Look for a kit that clearly states “2–4 inches in a single pour.” Anything less is a red flag. If you’re building a larger table, you’ll need the upper end of that range for safety.
2) Clarity and Anti-Yellowing
The wow factor comes from glass-like transparency. A reliable deep pour epoxy resin kit should list UV resistance or anti-yellowing additives right on the spec sheet.
3) Bubble Resistance
Thicker pours mean more trapped air. Slow cure times (60-80 minutes of working time) give bubbles the chance to rise out.
4) Simple Mixing Ratio
A 2:1 ratio is far easier to measure accurately than unusual formulas. It also lowers the risk of sticky spots caused by imprecise mixing.
5) Safety and Suitability
If the table will live indoors, especially in a dining space, choose resins marked low-VOC and safe for indoor use.
Step-by-Step Guide to Choosing the Right Resin
It’s one thing to know the features, but how do you actually make a buying decision? Use this quick decision path—it works whether you’re building a small coffee table or a dining-size centerpiece.
Quick Decision Checklist
Do a small test pour→ It’s the cheapest insurance against project failure.
Measure depth→ Use a ruler to note the thickest point of your project.
Filter by pour depth→ Pick kits that match your measurement in one pour (or close to it).
Check working time→ 30–45 minutes is a safer window than a fast 15-minute set.
Confirm anti-yellowing→ Look for UV resistance or stabilizers, not vague “long lasting” claims.
Review customer photos→ Real builds are more reliable than studio shots.
Estimate the resin quantity→Measure only the resin cavity, not the whole tabletop.
- Metric: Liters = L × W_avg × D ÷ 1000
- Imperial: Liters = L × W_avg × D ÷ 61.024(1 gal = 3.785 L)
Example: 60 in × 4 in × 2 in = 480 in³ → ≈ 7.9 L (≈ 2.1 gal) → choose a 3-gallon kit.
Add 10–15% extra for sealing coats and waste.
Follow these steps and you’ll go from overwhelmed by options to confident in a single afternoon.

Common Mistakes to Avoid
Even with the right resin, it’s easy to slip up. Here are the most common errors—and how to sidestep them.
Mistake 1: Using tabletop resin for a deep pour.
It overheats and cracks when pushed beyond ¼ inch.
Fix: Always confirm a minimum of 2 inches depth per pour on the label.
Mistake 2: Pouring at the maximum limit.
Yes, the label might say 4 inches, but dumping a full depth in a warm shop is asking for exotherm cracks.
Fix: Stay under the max if the volume is large; two controlled pours are safer than one risky one.
Mistake 3: Rushing the mix.
Incomplete mixing leaves sticky spots or soft patches.
Fix: Measure precisely, stir slowly for 3–5 minutes, and scrape the sides and bottom of your container.
Mistake 4: Skipping a seal coat.
Raw wood releases air, creating tiny bubbles.
Fix: Brush on a thin seal coat first, let it tack, then do your deep pour.
Mistake 5: Ignoring your shop environment.
Cold slows curing; high humidity clouds the finish.
Fix: Keep your workspace steady around room temperature, and avoid drafts across the curing surface.
One or two of these mistakes can ruin an entire build. Avoid them, and you’re already halfway to a flawless table.
Where to Buy Resin You Can Trust
Search for “epoxy resin” online and you’ll find hundreds of results. The problem is, most of them aren’t meant for river tables at all. Many are cheap tabletop epoxies that claim to “work for everything,” but fail in deep pours.
To save yourself the frustration, shop with suppliers who clearly publish specs for woodworking and deep-pour projects. Look for:
- Single-pour depth rating (in inches or millimeters)
- Working and cure times spelled out, not just “fast” or “slow”
- UV/anti-yellowing claims backed by data
- A straightforward mixing ratio (like 2:1)
- Real project photos from customers

Buying from a dedicated woodworking supplier makes all the difference. It ensures you’re not gambling on mislabeled resin, and it gives you support if questions come up mid-project.
Final Thoughts
Making a river table isn’t as intimidating as it looks online. The secret is choosing a resin that’s actually designed for the job. Once that’s in place, the rest—slab prep, building the form, sanding, finishing—becomes a creative process instead of a fight with chemistry.
To recap:
- Tabletop resin won’t cut it. Deep pour kits rated for 2–4 inches are the way to go.
- Focus on clarity, UV resistance, bubble control, and an easy mixing ratio.
- Don’t skip the basics: seal coat your wood, pour smart, and test on a small batch first.
With the right epoxy in hand, your first pour can be a success. And when the resin levels out, clears up, and cures into a glassy river, you’ll see why so many makers get hooked.