·
Aug 4, 2025
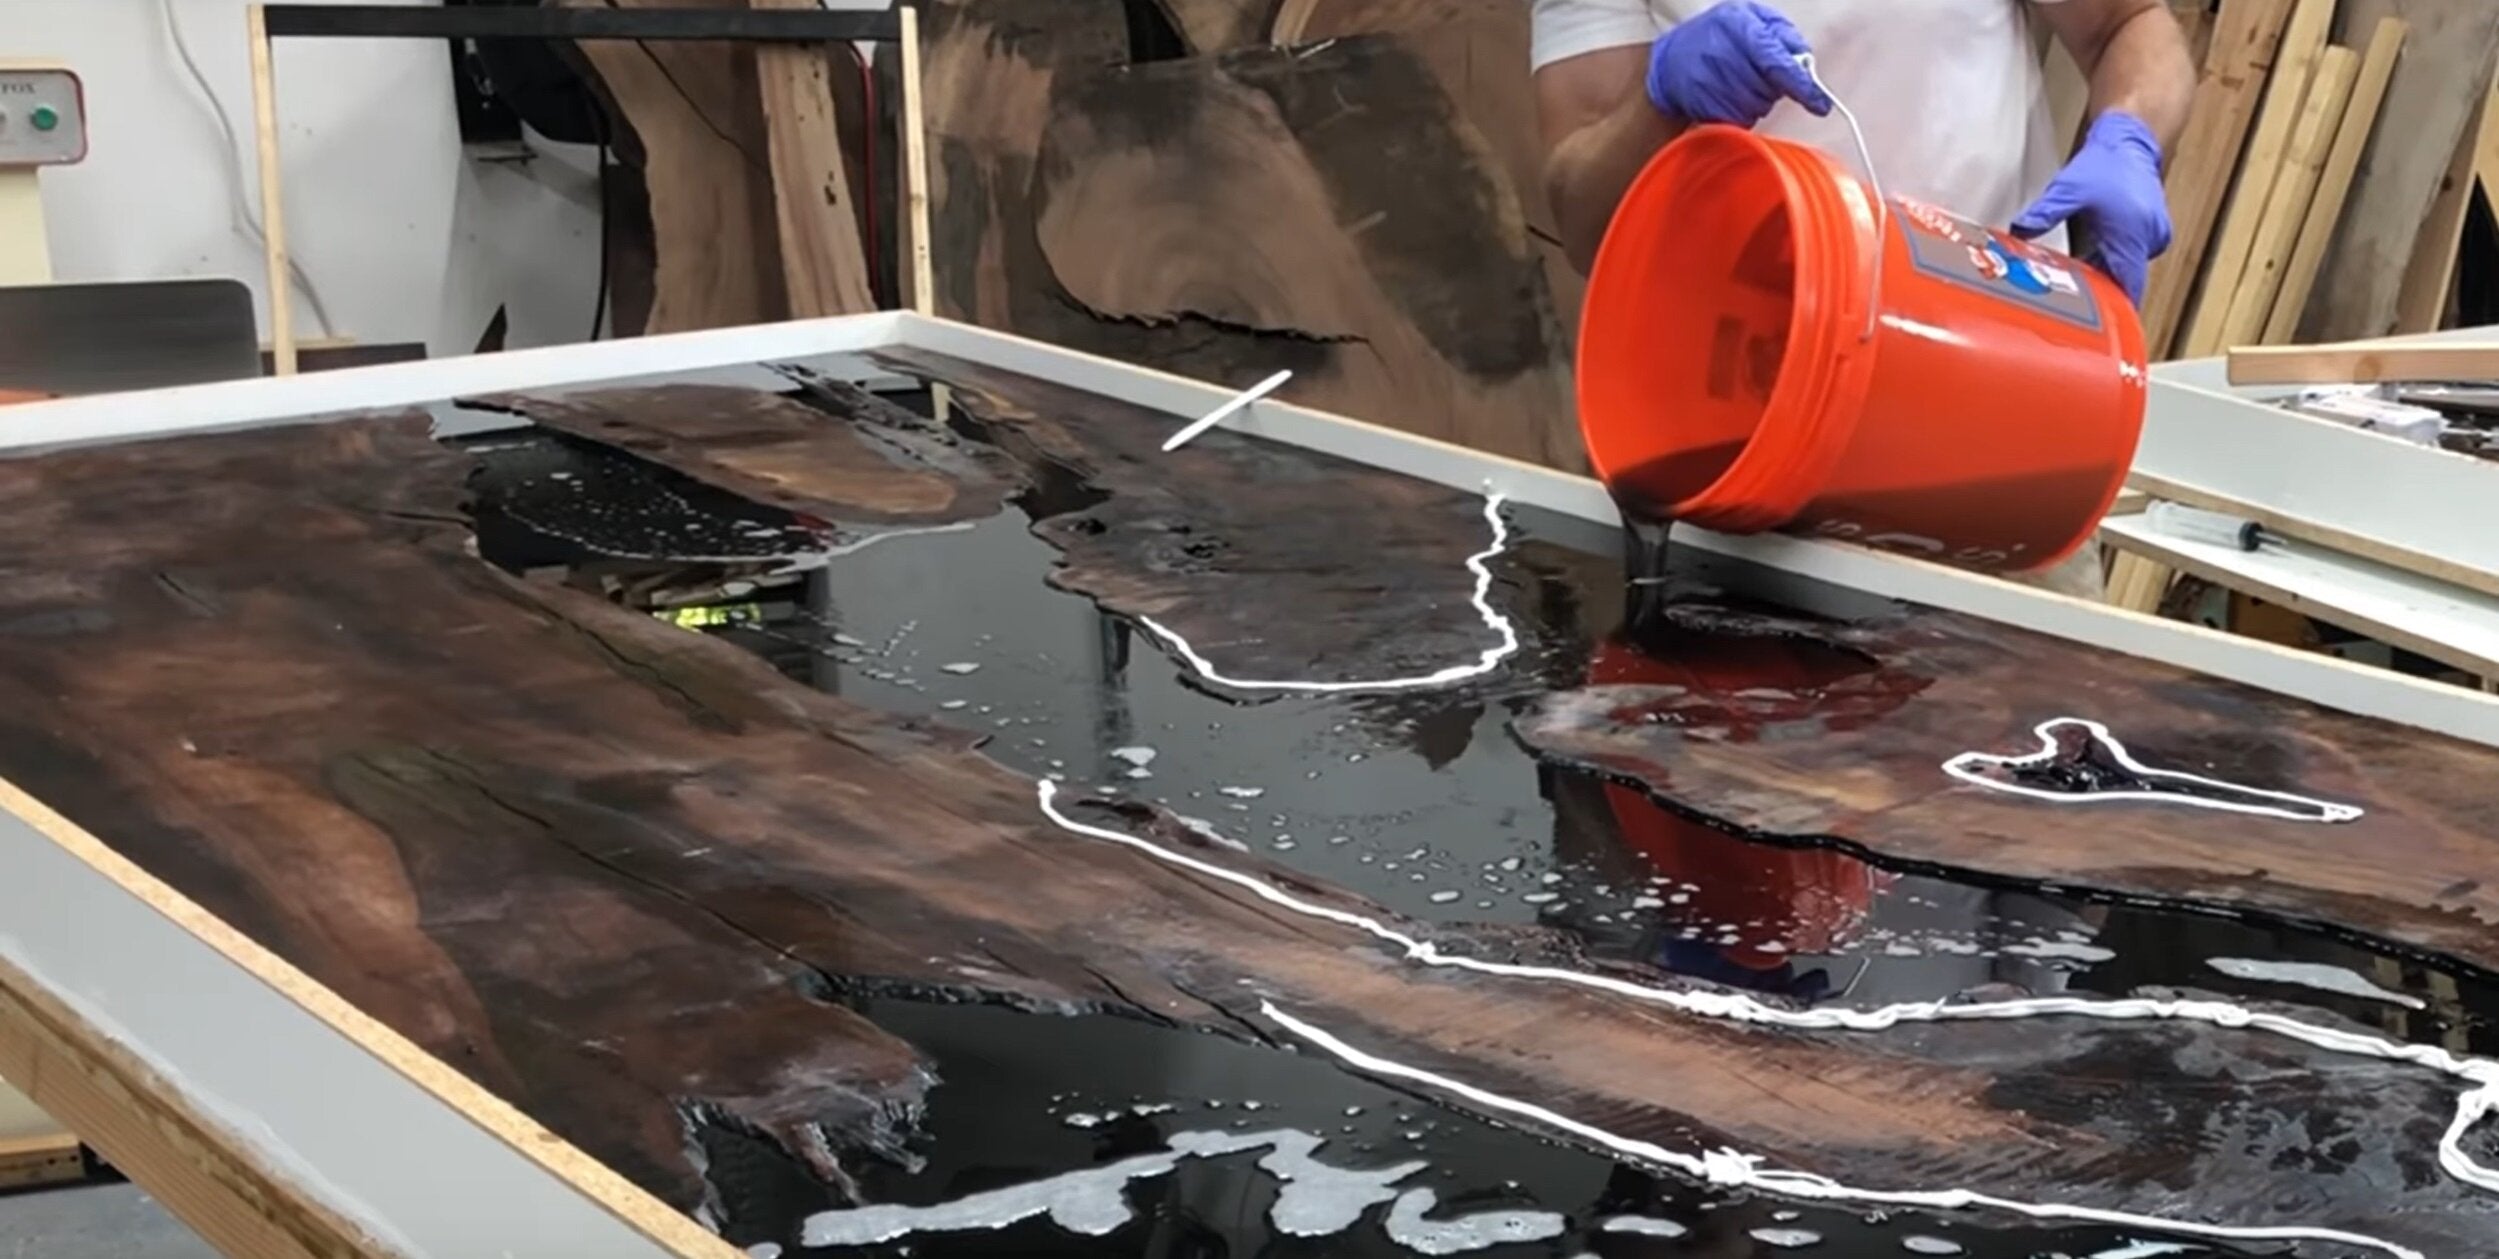
Tips for Deep Pour Epoxy Resin in Layers
1. Understand the Epoxy Resin's Pouring Limits
Before starting any project, it's important to understand the specific product you're working with. Deep pour epoxy resins typically allow for pours of 1 to 2 inches per layer. Pushing the limit beyond this can cause issues such as overheating, bubbling, or improper curing.
For best results, always check the manufacturer’s recommendations regarding the maximum pour depth for each layer. For example, if you're using Bond Craft’s Deep Pour Epoxy Resin, you can safely pour up to 2 inches per layer. Be sure to follow their guidelines to ensure the best outcome for your project.
Learn more about Bond Craft's Deep Pour Epoxy Resin here.
2. Consider the Curing Time for Each Layer
Curing time is one of the most important factors when working with deep pour epoxy resin. For larger pours, you'll need to allow the resin to fully cure before adding the next layer. This usually takes between 12 to 72 hours, depending on the temperature and humidity levels in your workspace.
It’s vital to give enough time for each layer to cure completely to prevent issues with adhesion between layers. If you rush the process and pour the next layer before the previous one has fully cured, you may end up with a weak bond between layers, causing the resin to crack or delaminate.
3. Temperature Control Is Key
Epoxy resin is sensitive to temperature fluctuations, and pouring in layers can be affected by the ambient temperature. Ensure your workspace is at a stable temperature between 70°F and 80°F (21°C to 27°C) for optimal curing. If the room is too hot, the resin may cure too quickly, causing bubbles and overheating. If it's too cold, the resin may not cure correctly, resulting in a sticky or soft surface.
If you are working in a cooler environment, you can use a heat source like a space heater to maintain a consistent temperature in your workspace. However, be cautious not to overheat the resin.
Learn more about controlling ambient temperature in our detailed guide on creating the ideal workspace for epoxy resin.
4. Use a Mixing Cup with Precision
Properly mixing your epoxy resin is essential for a successful deep pour. Always use clean, dry containers and accurate measuring tools. Mix the resin and hardener in a 1:1 ratio, unless otherwise specified. Avoid using containers with any leftover residues from previous projects, as they can interfere with the curing process.
Ensure the mixture is fully blended, with no streaks or lumps. Inadequate mixing can result in uncured patches or imperfections that will affect the final finish. You may also want to use a mixing paddle to get a thorough, even blend.
5. Add Layers Gradually
Once your first layer is fully cured, it’s time to add the second layer. It’s crucial not to rush the process and pour too much resin at once. Pouring resin too quickly can cause uneven surfaces, bubbles, and discoloration. Take your time with each layer to ensure an even application.
When applying multiple layers, consider adding colored pigments, metallic powders, or even embedding items like wood, stone, or resin embellishments in each layer. This can add a unique depth and texture to your project.
6. Avoid Bubbles
Bubbles are a common issue when pouring deep pour epoxy resin, but they can be minimized with the right technique. First, ensure your workspace is free from drafts, as moving air can introduce bubbles into the resin. Additionally, after pouring each layer, gently heat the surface with a heat gun or torch to pop any bubbles that may have formed.
It’s also helpful to use a resin with anti-bubble properties or one that is specifically designed to reduce bubbling. If you're working on a particularly large pour, consider using a slow-curing resin, as it allows air bubbles to escape more easily.
Find our detailed bubble-reducing epoxy resin blog here.

7. Sanding Between Layers
After each layer has cured, you may need to lightly sand the surface before applying the next layer. This helps improve the adhesion between the layers. Sanding also ensures a smooth and consistent surface. Use fine-grit sandpaper (around 220-grit) and be sure to clean the surface thoroughly before applying the next layer.
Keep in mind that sanding should be done lightly, just enough to create a rough surface for the next layer to bond with. Over-sanding could damage the resin.
8. Finishing Touches
Once all layers are completed and fully cured, it’s time for the final finish. Sand the surface with progressively finer grits of sandpaper, starting with 220-grit and finishing with 400-grit or higher. After sanding, polish the surface to a glossy shine using a resin polish or a rubbing compound.
This will give your project a professional, smooth finish. You can also apply a protective topcoat to ensure the durability of your project.
Conclusion
Layering is a crucial technique when working with deep pour epoxy resin. By taking your time, controlling the environment, and following the steps above, you’ll achieve stunning, professional-looking results every time. Whether you're creating a custom river table or a unique art piece, mastering the art of layering will allow you to unlock endless creative possibilities.
Be sure to follow the manufacturer’s instructions for your specific resin, and always take the proper precautions to ensure the best outcome.
For more tips on working with epoxy resin, don’t forget to check out our other guides and articles on our blog.


